
Hello crafty friends! It’s time for another sketch challenge at 52 Christmas Card Throwdown, and this one was such a joy to play with. In fact, I had so much fun that I ended up making two cards in different colourways — and now I can’t decide which one I love more!
Materials Used:
- A6 card bases – cherry cobbler and confetti white
- Double-sided DSP in two colourways
- Square and circle nesting dies (plain and stitched)
- White cardstock
- Holly sprig die cuts
- Sentiment stamps
- Black ink for stamping
- Glossy Accents for embellishing berries
- Scissors or paper trimmer, ruler, scoring tool, bone folder, adhesives
Step-by-Step Instructions:
Step 1: Create the Base Card and Flap
Start with an A6 card base. From the score line, measure 2 inches across the front and trim away the remainder. This leaves you with a neat 2” flap on the front to work with.
Step 2: Prepare and Fold the DSP
Cut a piece of double-sided DSP to A6 size. On the right edge, make a 1” cut in towards the centre.
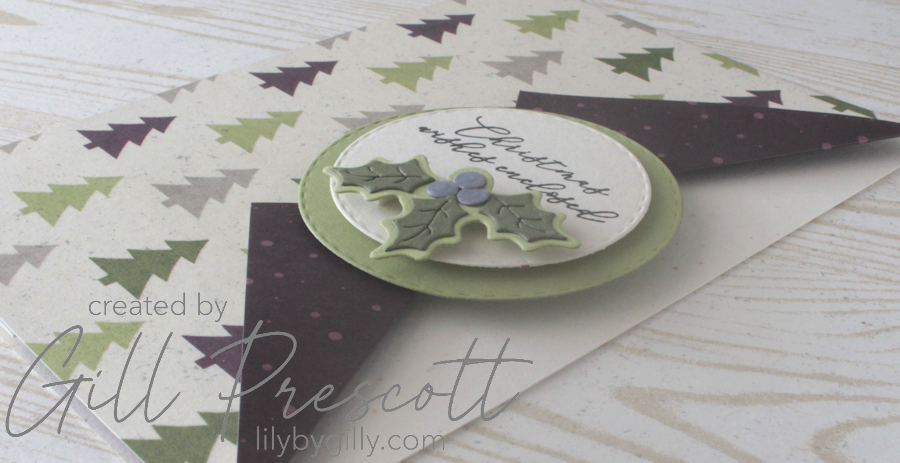
Using a ruler and scoring tool, score lines from the ends of the cut to the top and bottom corners on the same (right) side. Fold the resulting triangles back along the score lines and crease with a bone folder to reveal the reverse side of the patterned paper.
Adhere the DSP to the card front, only on the 2″ flap — this lets the folded corners remain dimensional and creates a neat, fun-fold card.
Step 3: Make the Focal Panel
Position your focal panel where the folds meet, just as shown in the sketch.
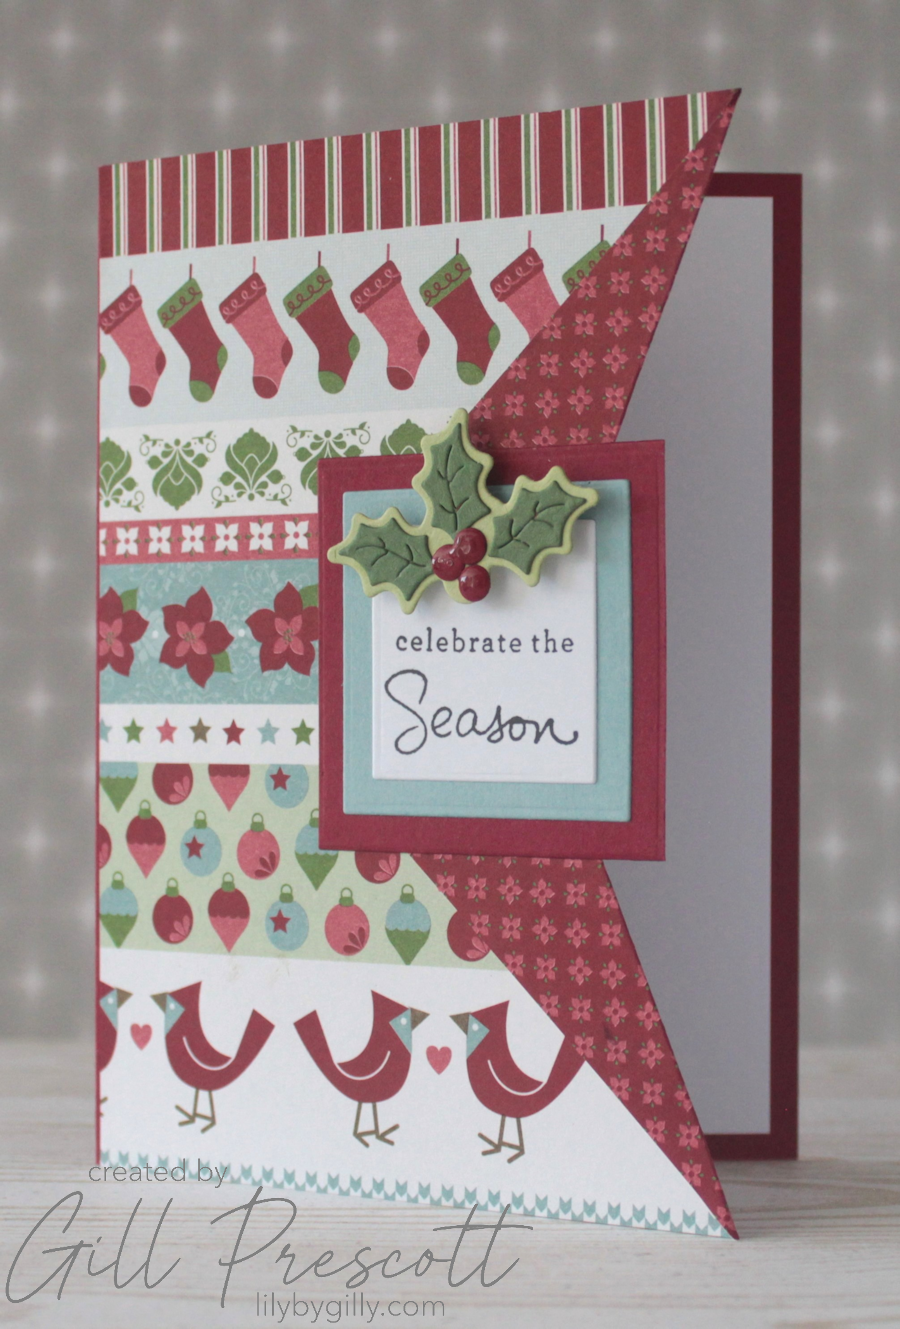
For the first card:
- Use three nesting square dies to cut panels from cardstock that coordinates with your chosen DSP.
- Stamp your sentiment on the top (white) square.
- Add a holly sprig die cut to match your palette.
- Finish with Glossy Accents on the berries for a touch of festive shine.

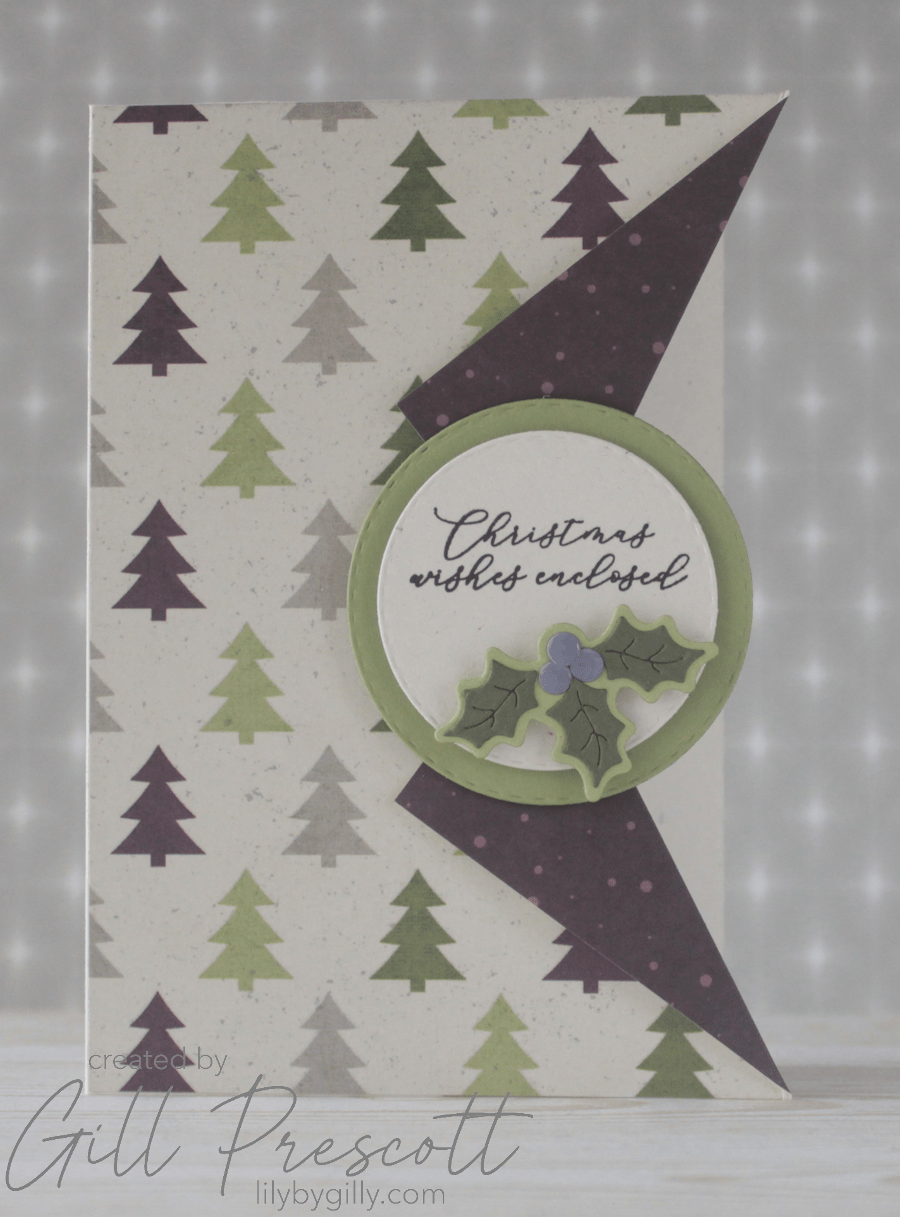
For the second card:
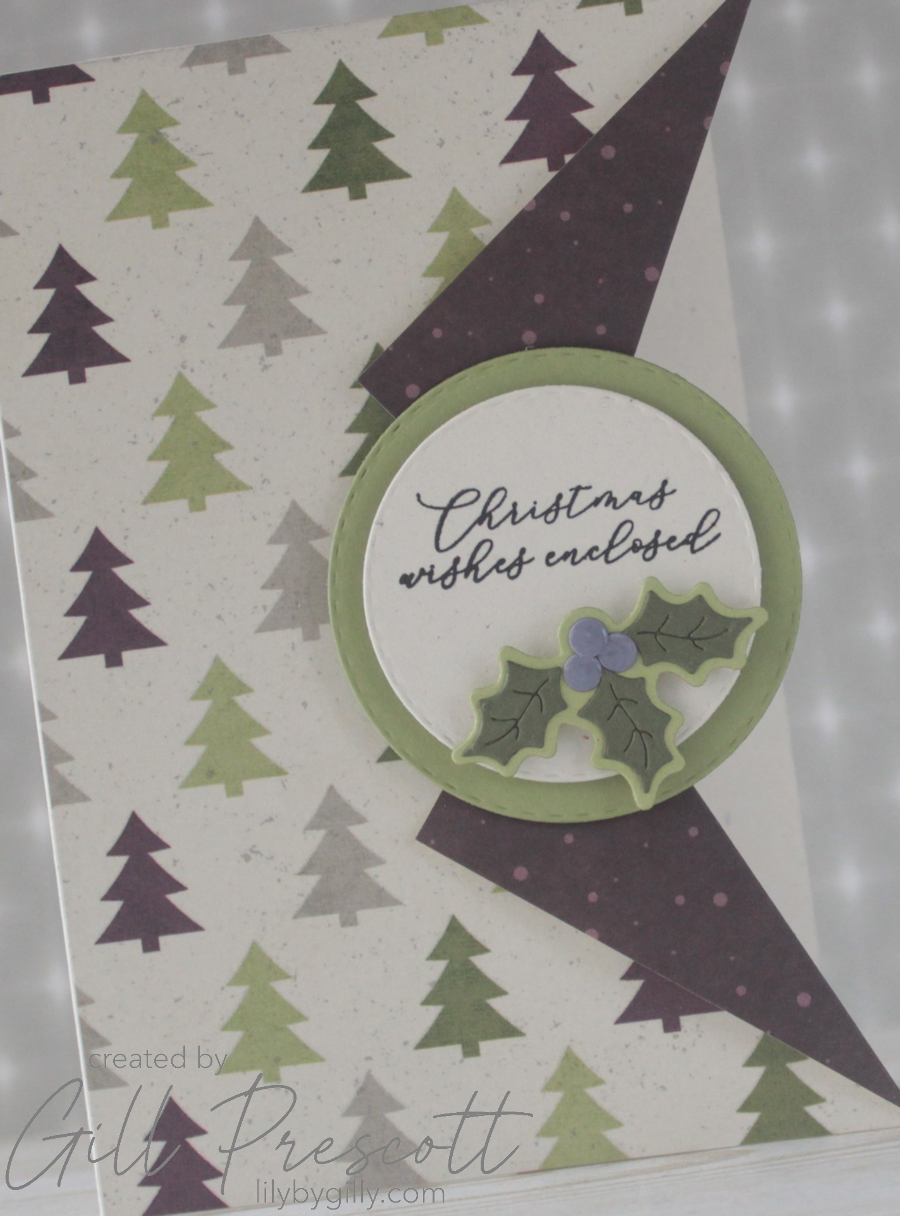
- Die cut two nesting circles (with stitched detailing, if you have them) in matching colours.
- Stamp the sentiment near the top of the white circle.
- Adhere your holly sprig just below the sentiment.
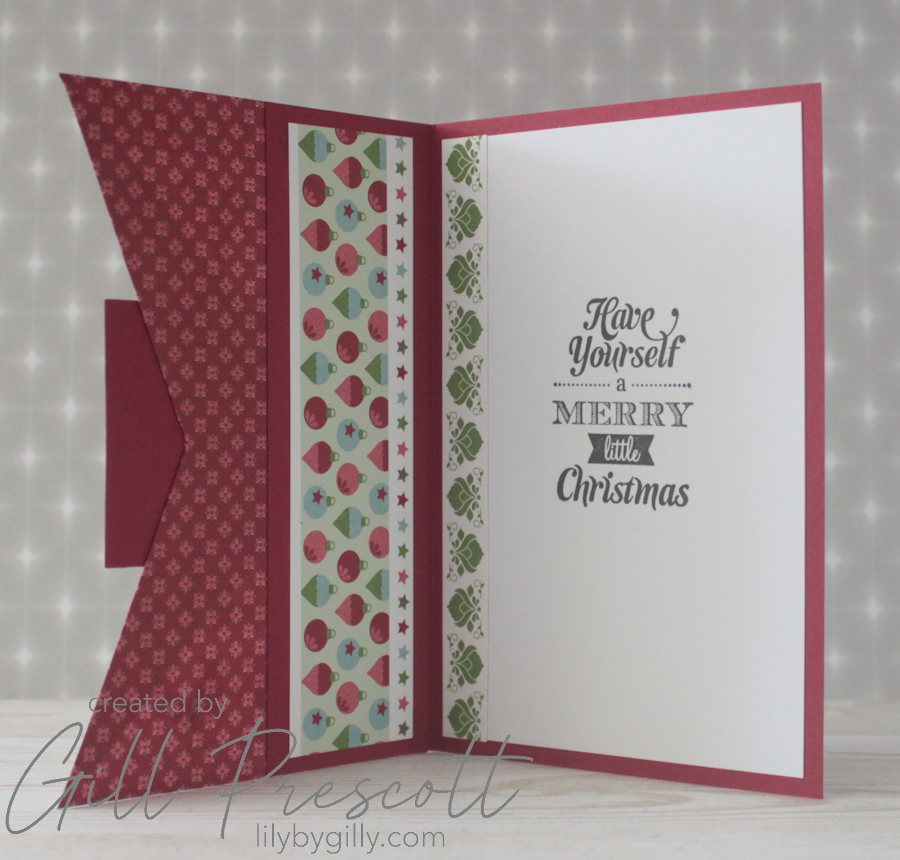
Step 4: Decorate the inside
Use dsp scraps to decorate the inside of the card, and add a stamped sentiment.
Final Thoughts
I absolutely loved this week’s sketch — it’s versatile, fun, and perfect for showcasing pretty DSP and layered die cuts, and for using up your paper scraps. Making two versions let me explore different looks, and I honestly can’t pick a favourite!

If you try out this sketch challenge, I’d love to see which colours and shapes you choose. Don’t forget to share your creations with us at 52 Christmas Card Throwdown — we’re always inspired by your beautiful work.
Happy crafting and festive fun!

You’re right – they’re both lovely!
oh la la Gill, quel charme, elles sont trop belles! biz
I’m thrilled with your cards and glad you liked my sketch so much. Your instructions are fantastic!
11i
11 is pronounced ELF in German and with the i at the end it is my name Elfi
These cards are fantastic!!! What a great and unique fun fold!!! I definitely want to try this out. Thank you so much for the creative inspiration!
surprised how dramatic this looks for something seemingly so simple… Love it