
Hello, lovely crafters!
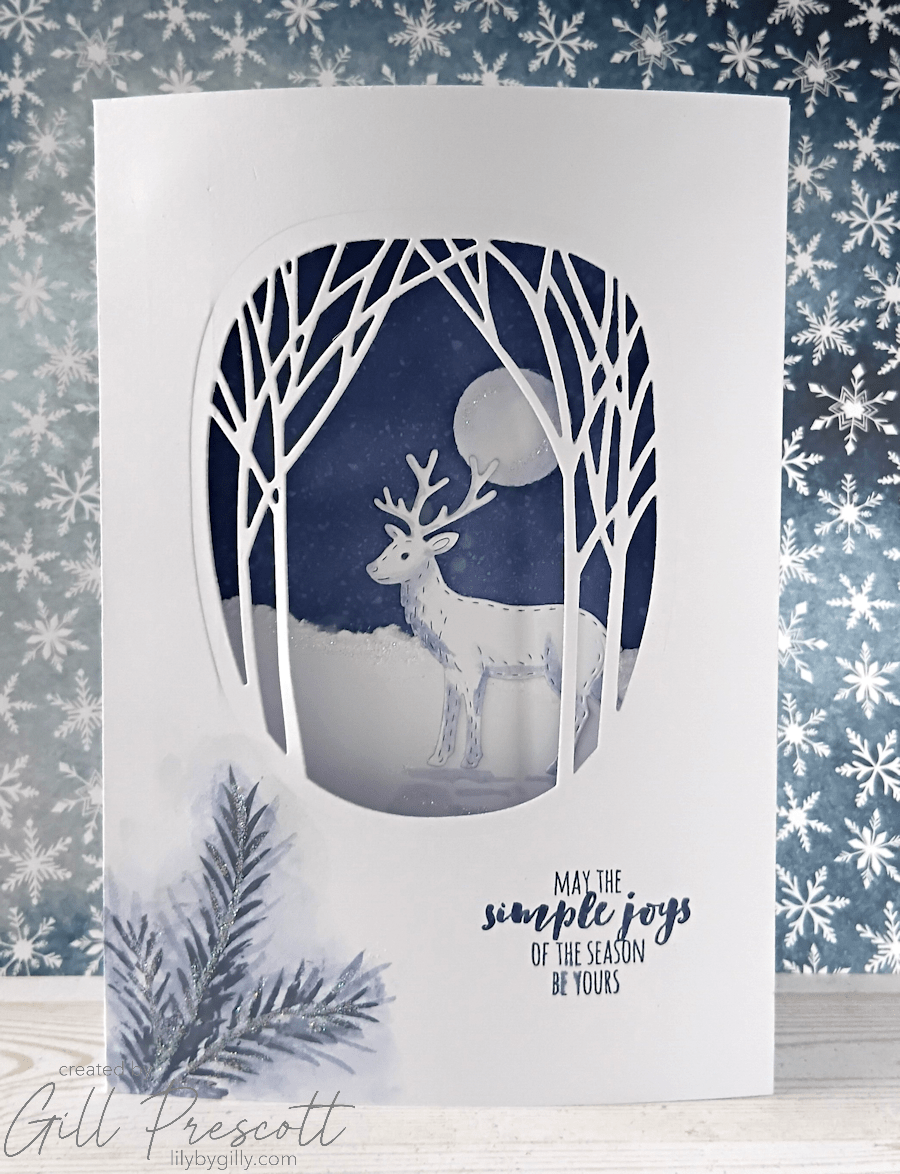
I’m hosting the challenges at 52 Christmas Card Throwdown during November. This week, I chose one of my absolute favourite themes… A Winter Scene! There’s something magical about snowy skies, crisp silhouettes, and serene landscapes, and I couldn’t resist creating a peaceful moonlit moment for my card.
Card Details
- Challenge theme: Winter Scene
- Card size: A5
- Main products: Distress Oxide inks, Festive Reindeer Collection Dies & Enchanting Woodland Scene Dies by Craft Addiction UK
- Techniques: Ink blending, masking, water effects, die cutting, scene building, stamping
Step 1: Creating the Night Sky
I began with a white A5 base card. To form the moon, I die cut a small circle from masking paper and positioned it where I thought the moon would be in the sky in my scene.
Using Chipped Sapphire Distress Oxide ink, I blended the ink two-thirds of the way down the card, gradually fading out. A few spritzes of water helped lift some of the ink, giving that magical snowy-speckled texture we all love for winter skies.
Once dry, I removed the moon mask and used the very light residue on my blending brush to gently tint the moon so it wasn’t stark white.
Step 2: Building the Snowy Ground
I tore the top edge of a piece of white cardstock, wide enough to cover the base card, to create a soft snowy hill. This was adhered along the bottom of the scene.
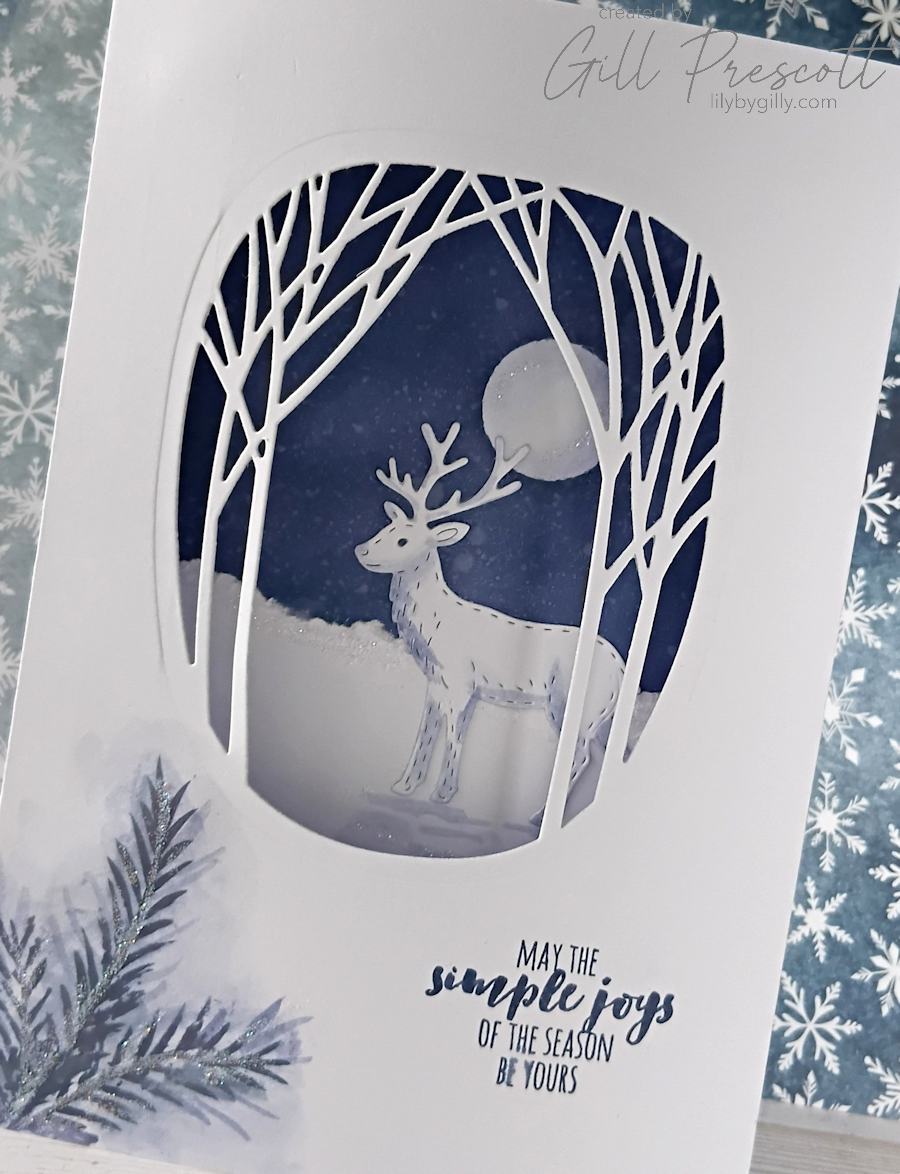
Next came the stag — I die cut him using the Festive Reindeer Collection Dies by Craft Addiction UK, and added shading by applying Chipped Sapphire ink with a water brush and plenty of water to soften the colour.
Once he was in place, I deepened the scene by adding gentle shadows beneath his feet to anchor him in the snow.
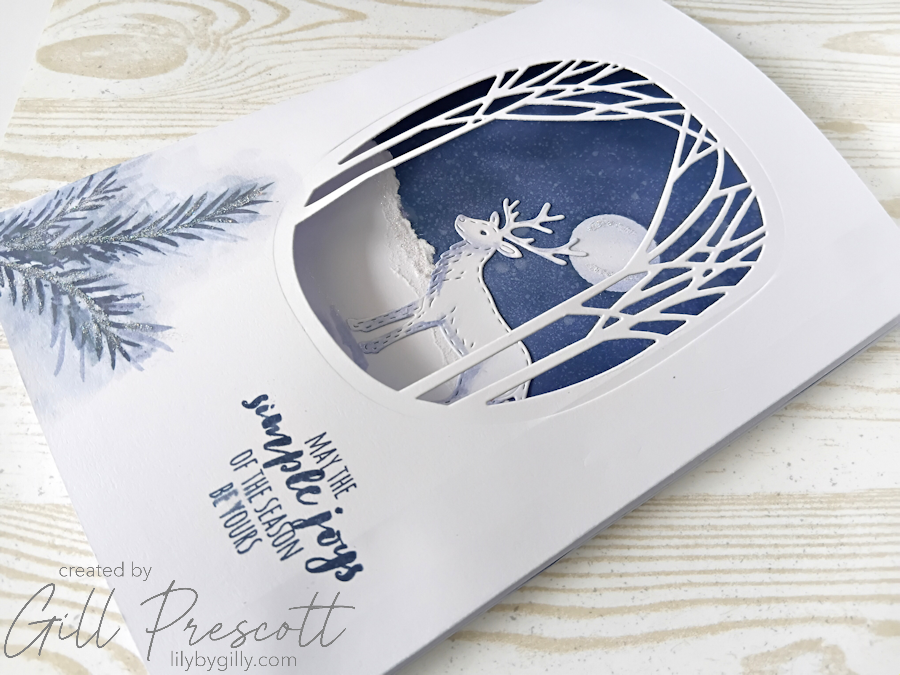
Step 3: Creating the Pop-Out Front Panel
To add some dimension, I cut another piece of white card 2″ wider than the base card and the same height. I scored at ½” and 1″ on both sides, creating a mountain-and-valley fold so the panel would pop up slightly once attached.
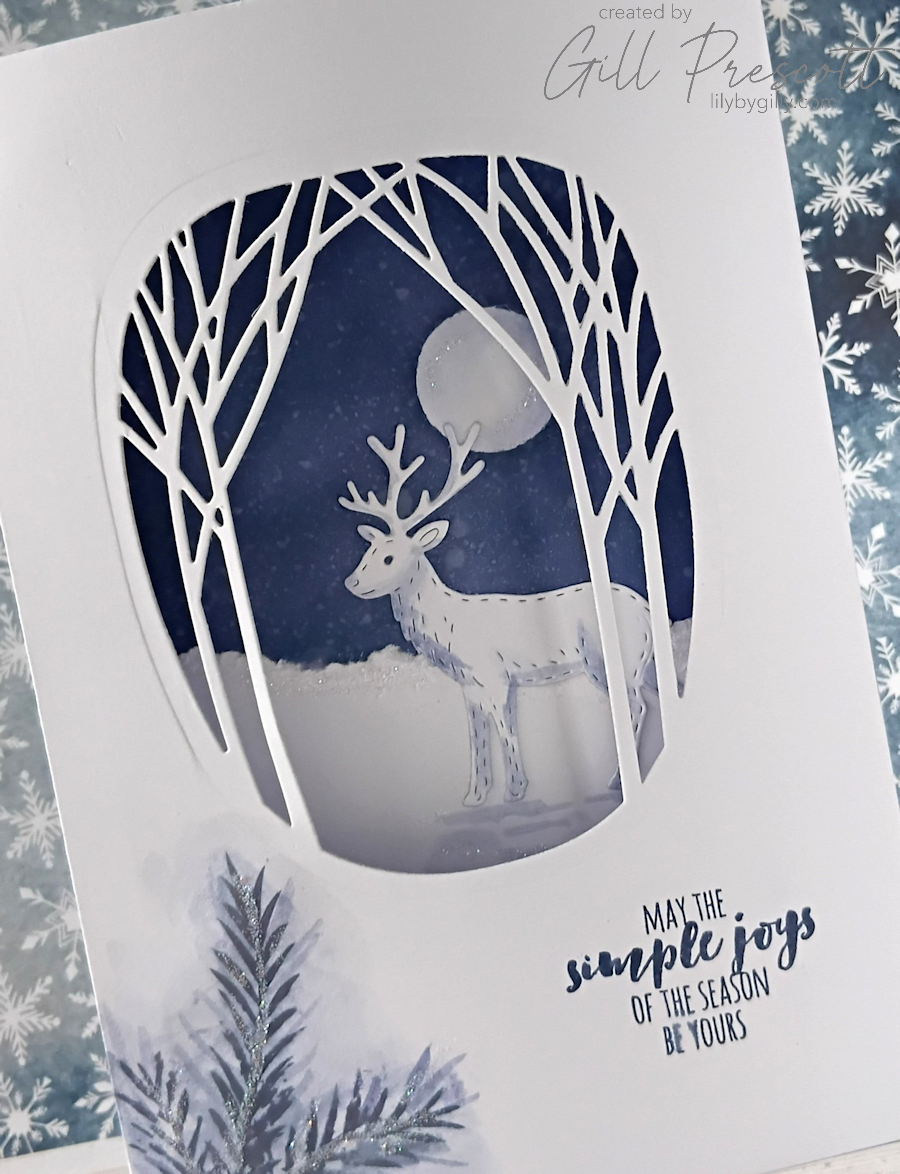
Using the Enchanting Woodland Scene die set by Craft Addiction UK, I cut a lovely aperture into the panel, framing the stag beautifully when layered over the background.
Step 4: Stamping & Sparkle
In the bottom-left corner of the front panel, I stamped a pine sprig (a retired Stampin’ Up favourite!) in Chipped Sapphire, then softened the edges with a paintbrush and a little water to give a soft watercoloured effect.
On the right-hand side, I stamped a sentiment in Night of Navy ink.
To finish the scene, I added Dazzling Diamonds glitter with a quickie glue pen to the moon, snowy ground, and pine sprig — just enough shimmer to catch the light without overpowering the soft winter feel.
I then adhered the pop-up panel to the base card using adhesive along the flaps on each side.

Final Thoughts
This week’s theme was an absolute joy to work with — I love how serene winter scenes can be, and adding the dimensional front panel really brings everything to life.
I can’t wait to see how you interpret this Winter Scene Challenge! Whether you go bold and dramatic or soft and subtle, I know you’ll create something magical. Don’t forget to link up your creations over at 52 Christmas Card Throwdown.
Happy crafting, and stay cosy!


That’s so beautiful and elegant – I love it!
Majestic
oh wow Gill! comme toujours tu relèves la niveau au cran supérieur, elle est magnifique, biz
So pretty
WOW WOW WOW absolutely stunning, Gill, I love your card, fantastic art.
Greetings from Germany
Anke