
It’s time for another festive make at this week’s 52 Christmas Card Throwdown challenge. The theme is numbers and/or letters, so I decided to let die-cut letters take centre stage for a clean, modern Christmas card with a touch of seasonal sparkle.
My starting point was a card design I spotted on Pinterest. I loved the simple layout and colour palette, but as always, I tweaked it and changed a few elements to make it my own.
Card Base & Background
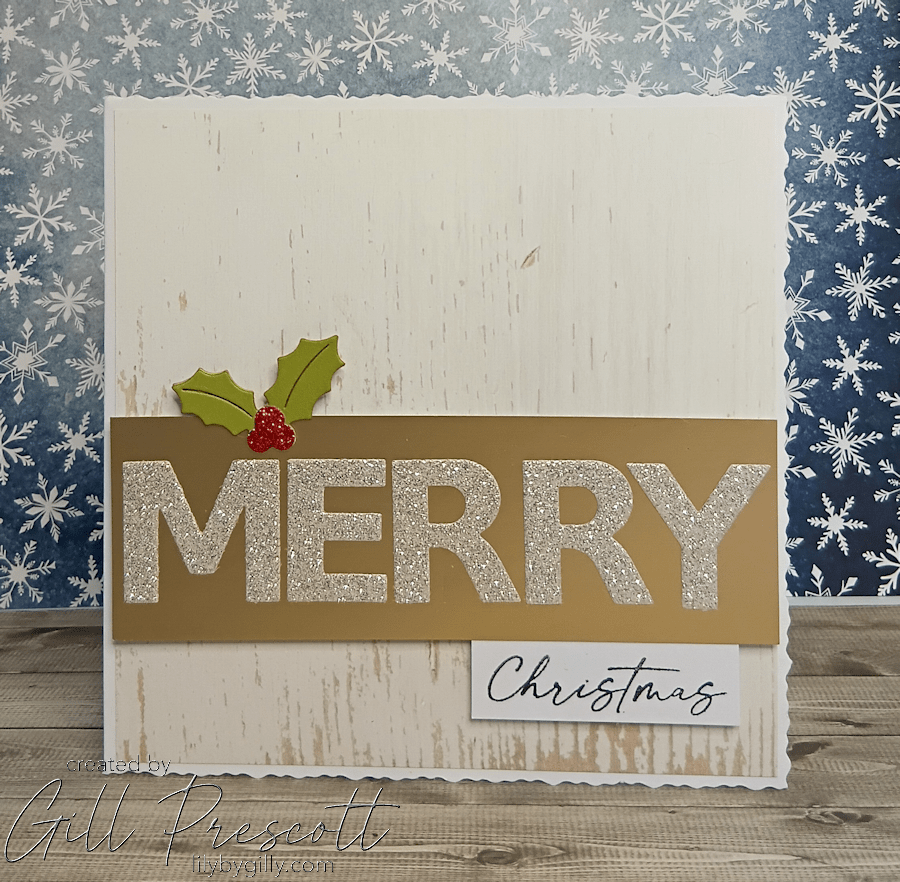
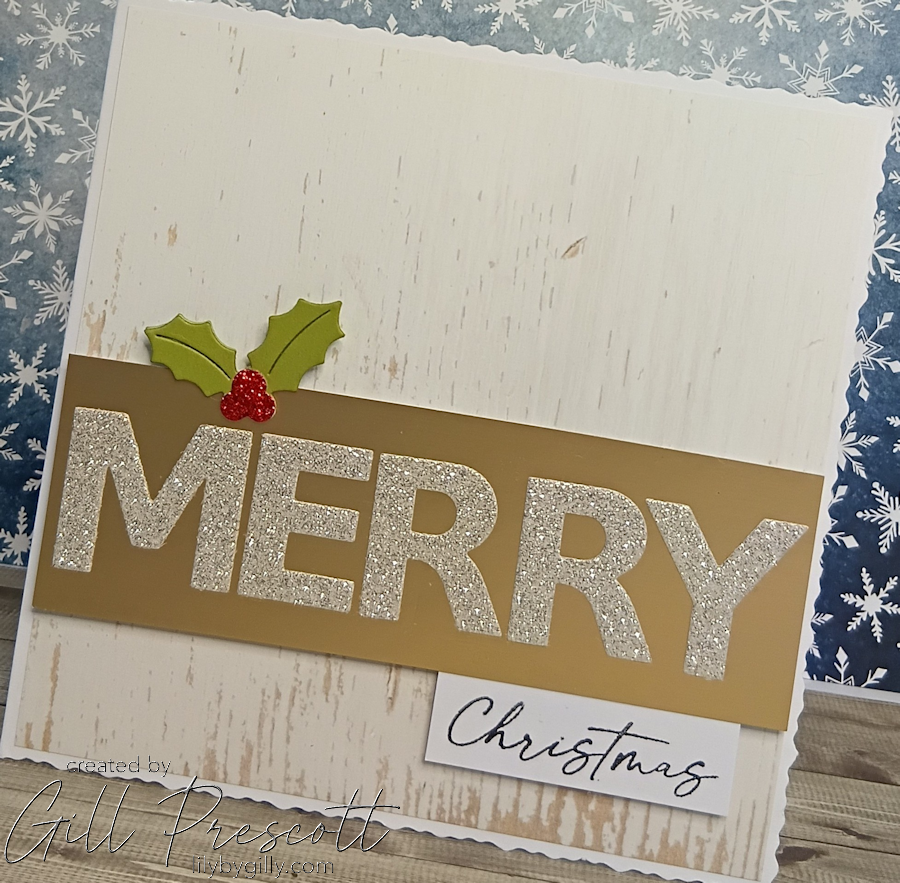
I began with a 6″ square, deckle-edged white base card, which immediately adds a bit of softness and texture. For the centre panel, I chose a beautiful woodgrain DSP from Stampin’ Up. The subtle texture of the woodgrain gives the card a warm, rustic feel while still keeping the overall look quite clean, also giving a masculine look to the card.
Gold Panel & Die-Cut Letters
For the focal point, I cut a 1 ¾” x 5 ¾” strip of brushed gold card by Spellbinders. This panel adds just the right amount of shine without overpowering the design.
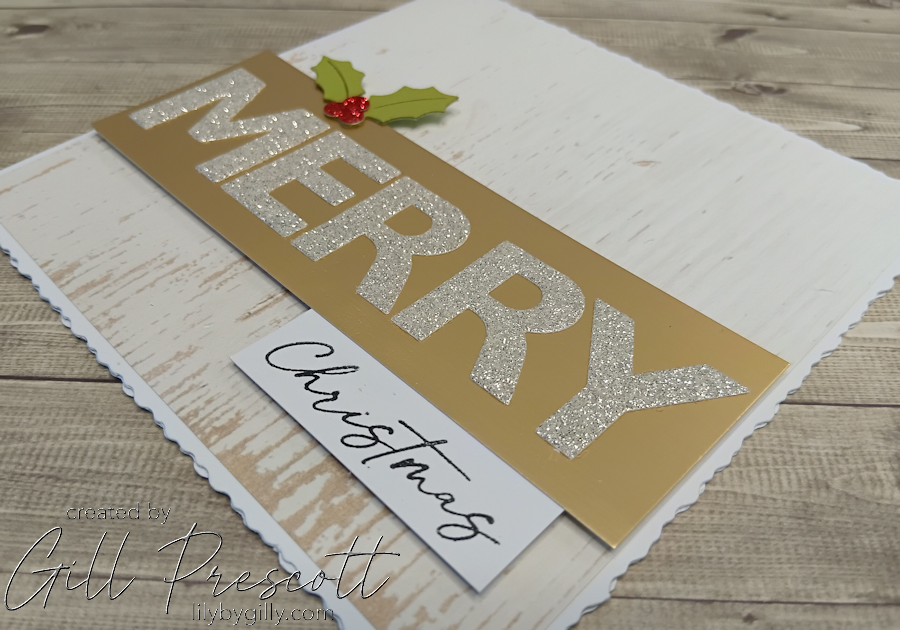
The main feature of the card is the word “merry”, cut using the bold alphabet letter dies from Craft Addiction UK, which are are such good value at £8.70 for the set. I die cut the letters from silver white glitter card, then adhered them to the gold panel.
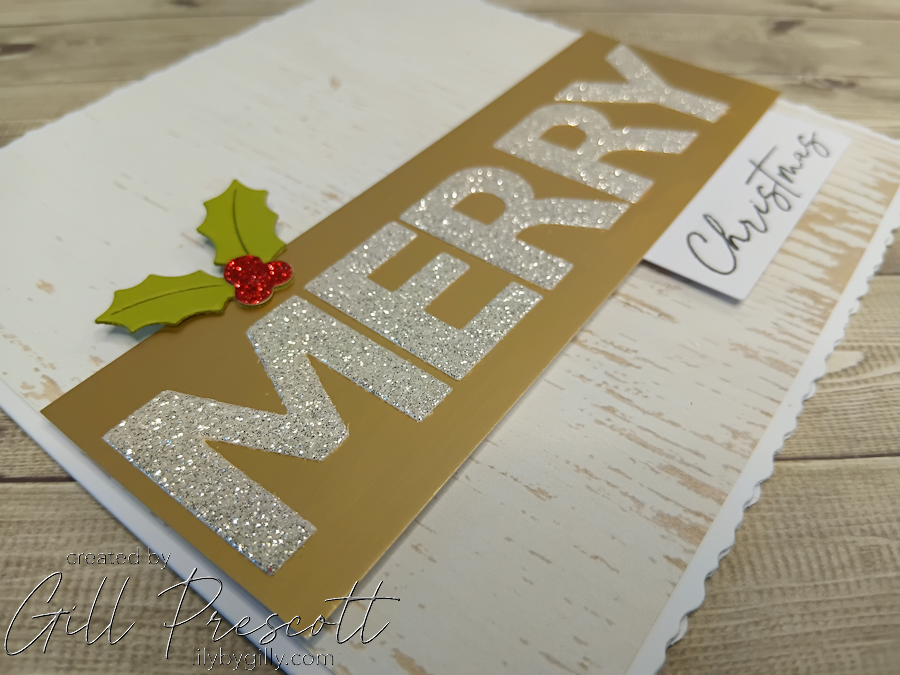
One extra step I took on this card made a huge difference to the finished look, and it’s a brilliant tip I picked up from Jennifer McGuire. To get the die-cut letters perfectly aligned, I used a centring ruler by Tim Holtz. This allowed me to space the letters of “merry” evenly and keep everything straight before sticking anything down.
Once I was happy with the placement, I laid Press’n Seal over the letters to pick them all up in one go. I then flipped them over, added glue to the backs, and used the Press’n Seal to lift and position the letters back onto the gold panel, perfectly centred. Only once I was completely happy did I press them down to adhere.
It’s such a simple technique, but it completely removes the stress of sticking individual letters one by one—and it gives a really professional finish. If you ever struggle with lining up sentiments made from individual letters, this is definitely a tip worth trying!
The glitter card catches the light beautifully and really pops against the brushed gold background.

Sentiment Details
To complete the greeting, I used the Decorative Trees stamp set by Stampin’ Up. I masked off the other words on one of the sentiment stamps so I could stamp just “Christmas” in black ink onto white card. This was then trimmed down to neatly frame the word and adhered to the bottom right of the gold panel.
Once in place, the full sentiment now reads “Merry Christmas”, tying the whole design together perfectly.
Festive Embellishment
For a small but impactful embellishment, I used the Festive Ornaments etched dies by Nichol Spohr from Spellbinders. I die cut a sprig of holly from a light green card and added berries cut from red glitter card. This was adhered near the top left of the gold panel, adding a festive touch without cluttering the clean layout.
Final Assembly
The gold panel was popped up with foam adhesive and adhered across the width of the card towards the bottom. This extra dimension really helps the panel stand out against the woodgrain background and gives the card a polished, finished look, but is still relatively flat for posting.
Final Thoughts
I really love how this card turned out. The letters-as-the-main-feature approach fits the challenge theme perfectly, and the mix of woodgrain, gold, and glitter keeps the design festive yet restrained. It’s a great reminder that simple designs, when paired with the right textures and finishes, can be just as impactful as more detailed cards.
If you’re looking for inspiration for this week’s 52 Christmas Card Throwdown, I’d definitely recommend playing with letters or numbers as your focal point – they’re versatile, modern, and perfect for clean Christmas designs. We’d love you to share your makes with us – we enjoy seeing how you interpret our challenges.


That’s so classy Gill! Perfect alignment of the letters (great tip!) and that little holly sprig is a fab finishing touch
oh elle est si chic et élégante Gill, biz
Ich mag alles an deiner Karte! Den Hintergrund, die Buchstaben, den Stempel – die Karte ist absolut schön geworden. Liebe Grüße
ELFi