
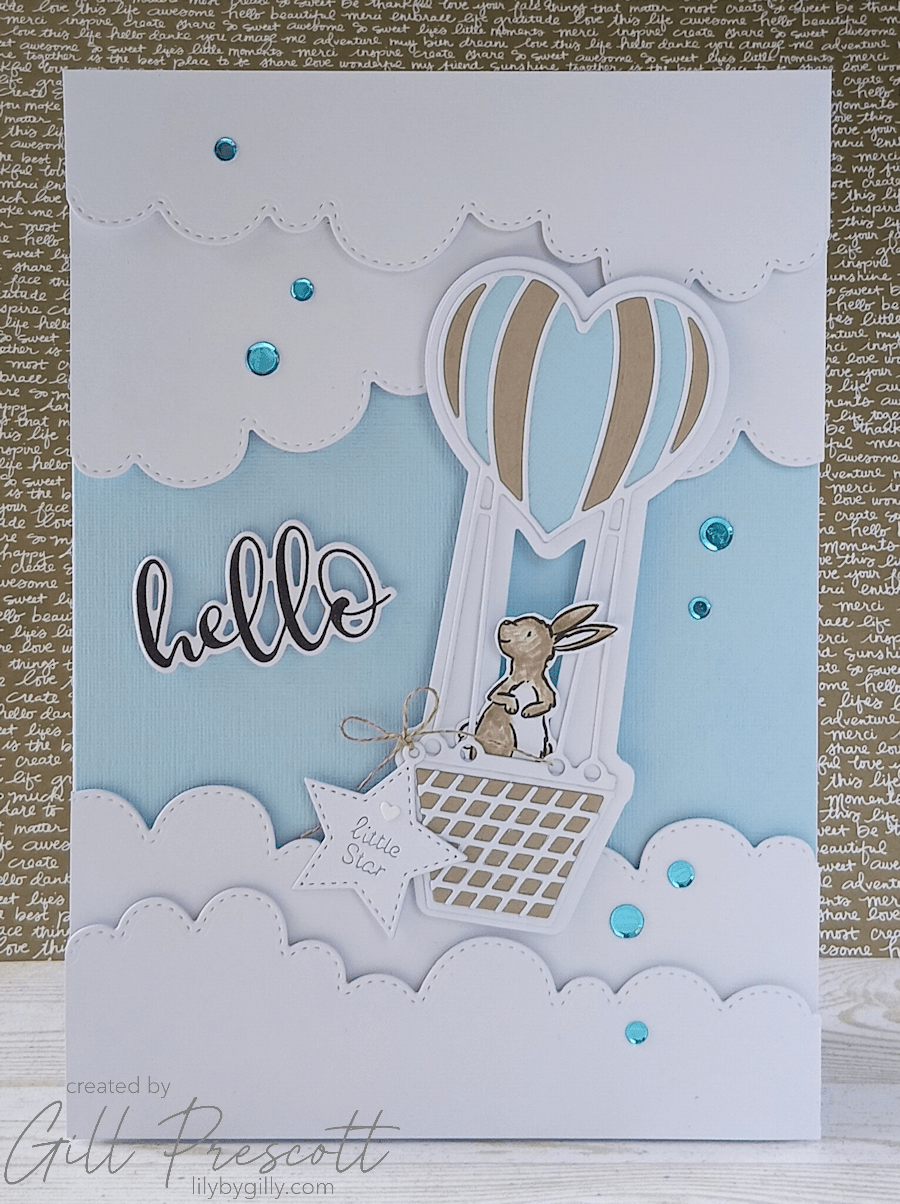
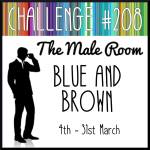
The current colour challenge over at The Male Room is a lovely combination of blue and brown that immediately made me think of baby cards. With Bashful Blue and Crumb Cake as the palette, I decided to create a gentle sky scene featuring a hot air balloon and the sweetest little passenger. The finished card feels soft, playful and perfect for welcoming a new baby boy — and it was such fun to put together.
What You’ll Need
- Cardstock: White, Bashful Blue and Crumb Cake
- Dies:
- Love is in the Air die set (Craft Addiction UK)
- Christmas Mini Tags dies (Craft Addiction UK)
- Stitched Hills and Clouds dies (Creative Expressions)
- Stamps:
- Storybook Animals by Beyond Stamping
- Spellbinders Stamp & Die of the Month – November 2023 (sentiment)
- Ink: Versafine Clair Nocturne pigment ink, Crumb Cake ink
- Embellishments: Spellbinders sequins in Lagoon
- Other: Linen thread, foam adhesive, liquid glue
Step 1: Create the Card Base
Start with a full A4 sheet of white cardstock, scored and folded in half to create an A5 card base.
Cut a panel of Bashful Blue cardstock and adhere it flat to the front of the card. This will form the soft sky background for the scene.
Step 2: Build the Cloud Layers
Using the Stitched Hills and Clouds dies by Creative Expressions, die cut several cloud borders from white cardstock in slightly different shapes and sizes.
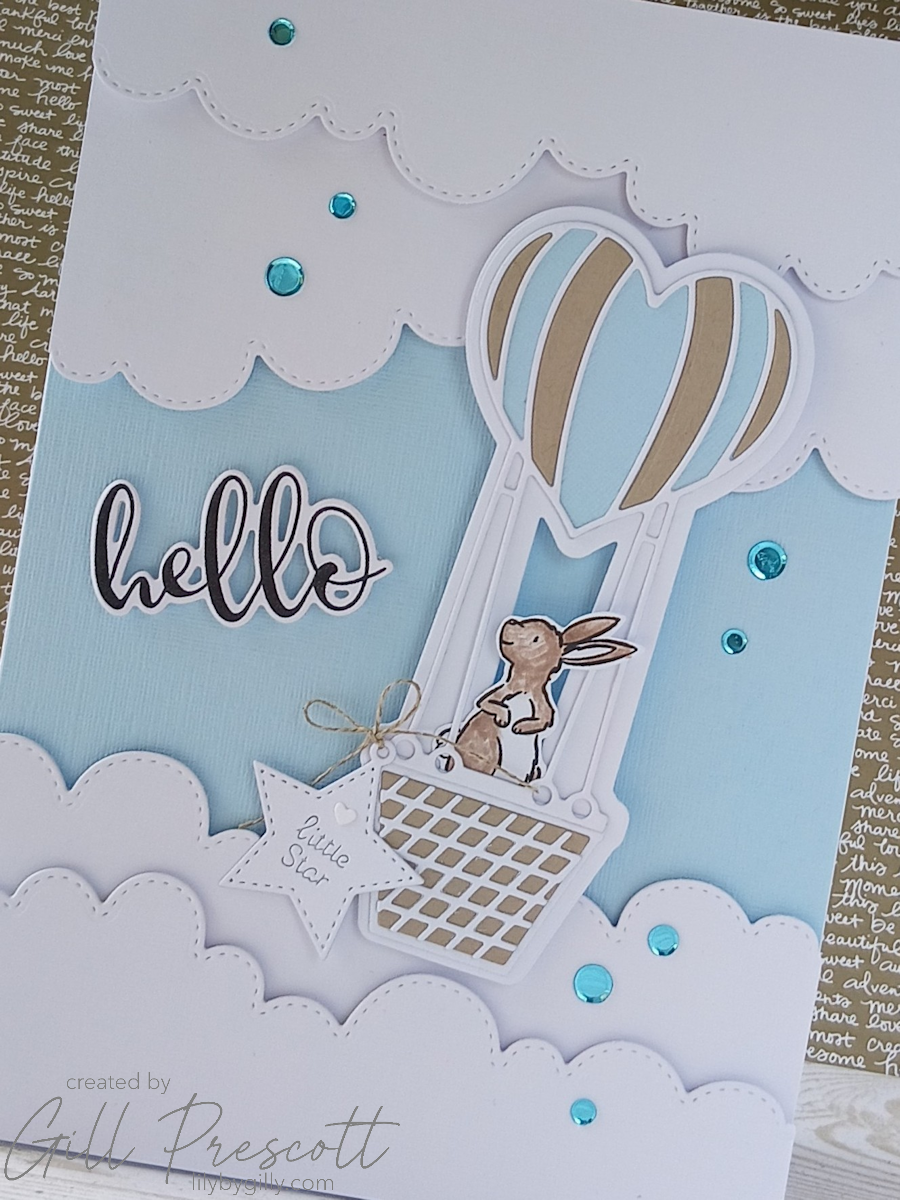
Arrange them across the top and bottom of the card, creating two layers of fluffy clouds. Adhere them using foam adhesive to give the card some lovely depth and dimension.
Already it starts to feel like a dreamy little sky scene.
Step 3: Create the Hot Air Balloon
Next, die cut the hot air balloon pieces.
- The balloon was cut using white, Bashful Blue and Crumb Cake cardstock
Once assembled, the combination of soft blue and warm neutral tones works beautifully with the challenge colours.
Step 4: Add the Baby Passenger
To give the balloon a little character, I stamped a rabbit from the Storybook Animals stamp set by Beyond Stamping onto white cardstock using Versafine Clair Nocturne ink.
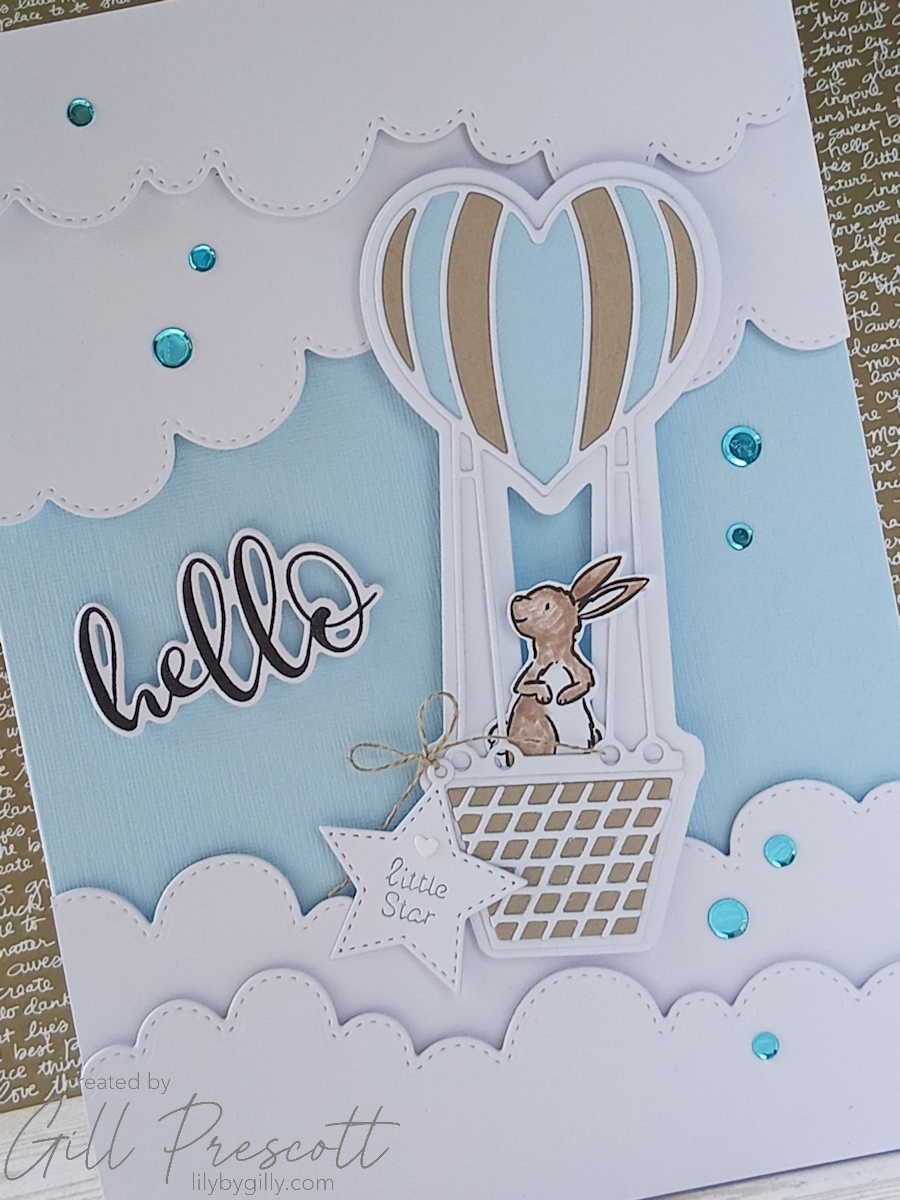
I lightly coloured the rabbit using Crumb Cake ink, then fussy cut him out. The rabbit was tucked into the balloon basket before the balloon was adhered to the card, floating gently above the clouds.
It’s such a sweet little detail and perfect for a baby-themed card.
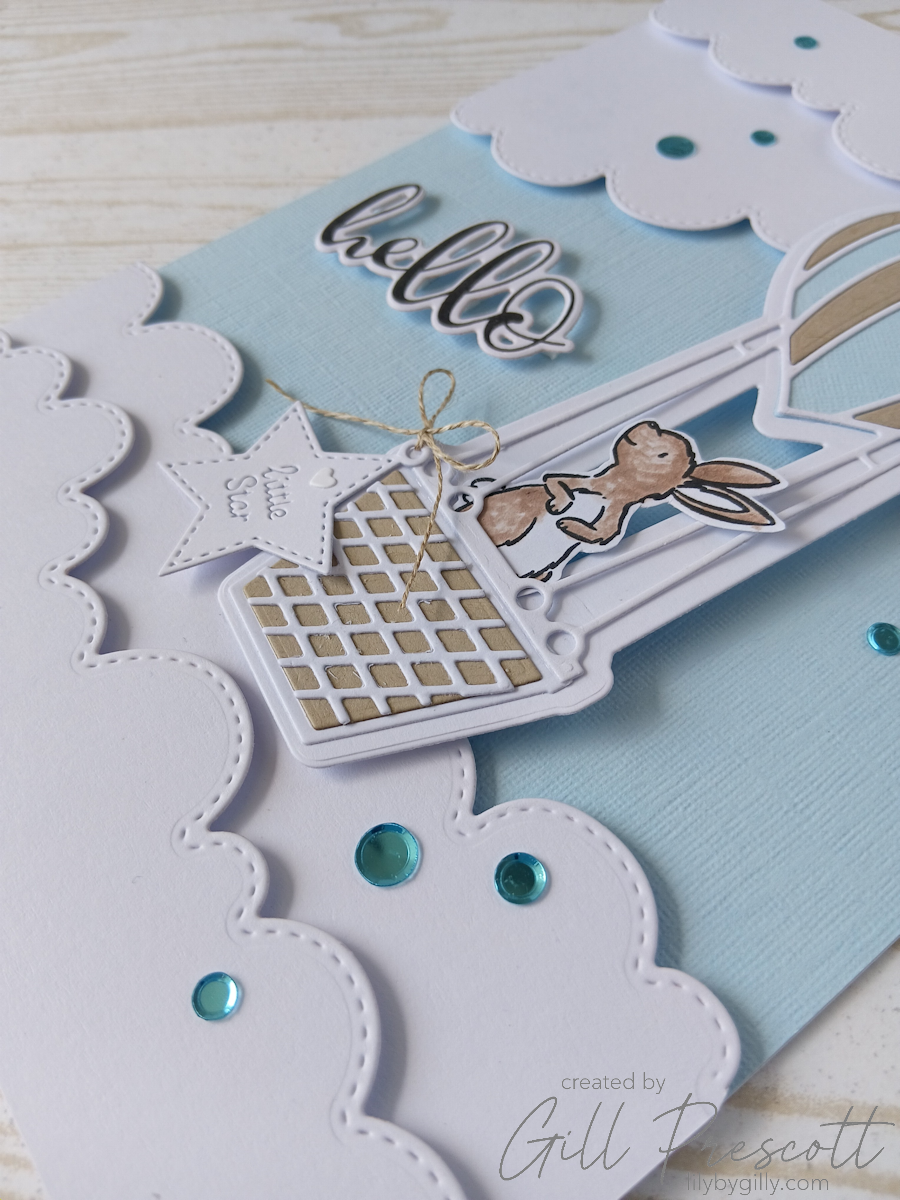
Step 5: Create the Sentiment and Tag
For the sentiment, I stamped the greeting from the Spellbinders Stamp & Die of the Month (November 2023) in black ink onto white cardstock and die cut it using the coordinating die. This was then popped up on foam adhesive for a bit of extra dimension.
To add another cute detail, I used the Christmas Mini Tags dies by Craft Addiction UK to cut a tiny star tag from white cardstock, embossed with the words “little star.”
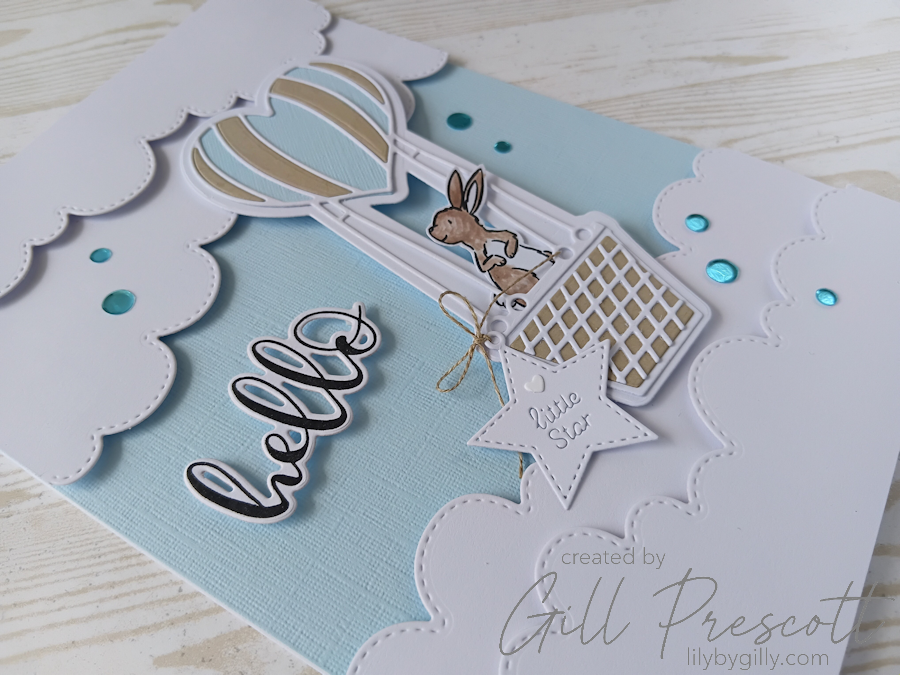
I tied a small bow using linen thread and attached the tag to the edge of the balloon basket. To finish it off, I added a tiny die-cut heart to the star — a small touch that feels just right for a baby card.
Step 6: Add a Little Sparkle
Finally, I added a sprinkling of Spellbinders sequins in Lagoon across the sky. These add just a hint of sparkle while still keeping within the soft colour palette.
Final Thoughts
I love how gentle and dreamy this card turned out. The layered clouds add depth, the balloon creates movement, and that tiny rabbit passenger makes the whole scene feel extra special. The soft white, Bashful Blue and Crumb Cake palette works beautifully for a baby boy card while still keeping everything clean and fresh.
If you enjoy working with colour challenges, why not give this one a go? Head over to The Male Room and see how the design team interpreted the colours — then have a play and create your own take. Colour challenges are such a fun way to stretch your creativity.
Happy crafting!


such a sweet card! Great use of the colors. Thanks for sharing at TMR
Hello…love it.
What a beautiful take on the colour mix at The Male Room Challege. I’m sure the baby and parents will treasure it. It’s a joyful card. I love it.
That’s absolutely adorable, Gill! Such a beautiful new baby card
Beautiful masculine blue and brown card. Thanks for sharing at The Male Room