
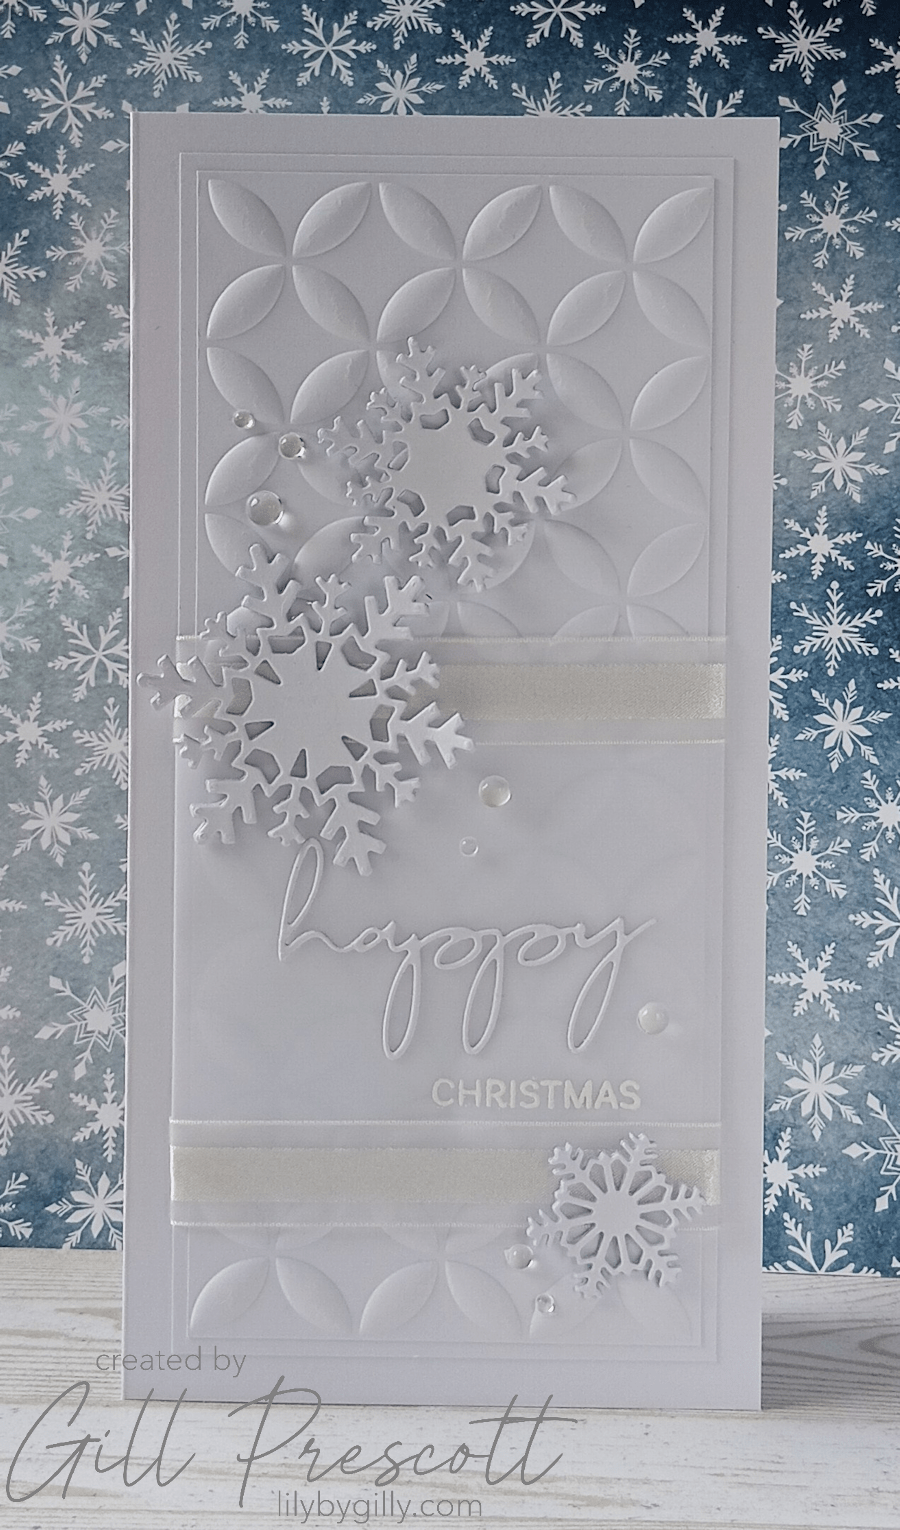
This week’s colour challenge over at 52 Christmas Card Throwdown is a real test of creativity — all white! No sneaky extras, no metallics, no soft neutrals… just white. It might sound simple, but it definitely pushes you to think about texture, layers and dimension to keep things interesting.
I decided to stick with the slimline format again (I’m clearly on a bit of a roll with these!) and focus on building up different elements to create a soft, elegant design.
Here’s how it came together.
What You’ll Need
- Cardstock: White, plus white vellum
- Dies:
- “Happy” word die Spellbinders
- Snowflake dies (Tim Holtz)
- Embossing Folder: Spellbinders Circle Illusion 3D embossing folder
- Stamp: Decorative Trees by Stampin Up
- Ink & Powder: Versamark ink, white embossing powder
- Embellishments: Clear half-back pearls
- Other: White ribbon, foam adhesive, tape, liquid glue
Step 1: Create the Slimline Base
Start by creating your DL slimline card base from white cardstock.
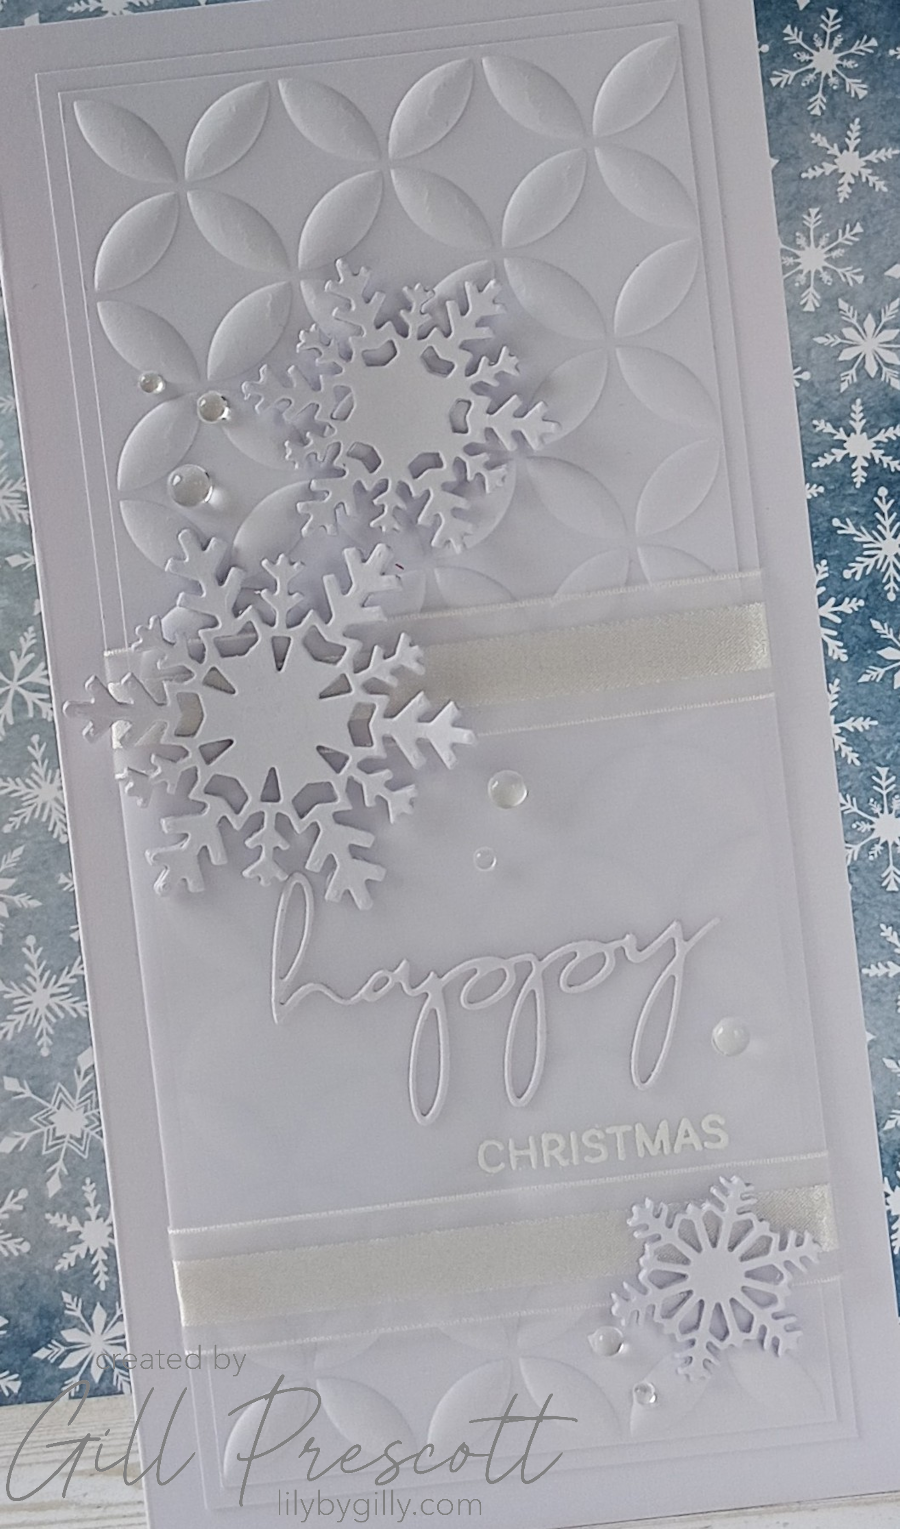
Cut a slightly smaller white panel for the front and emboss it using the Spellbinders Circle Illusion 3D embossing folder. To add an extra layer (and a subtle frame), adhere this embossed piece onto a slightly larger white panel.
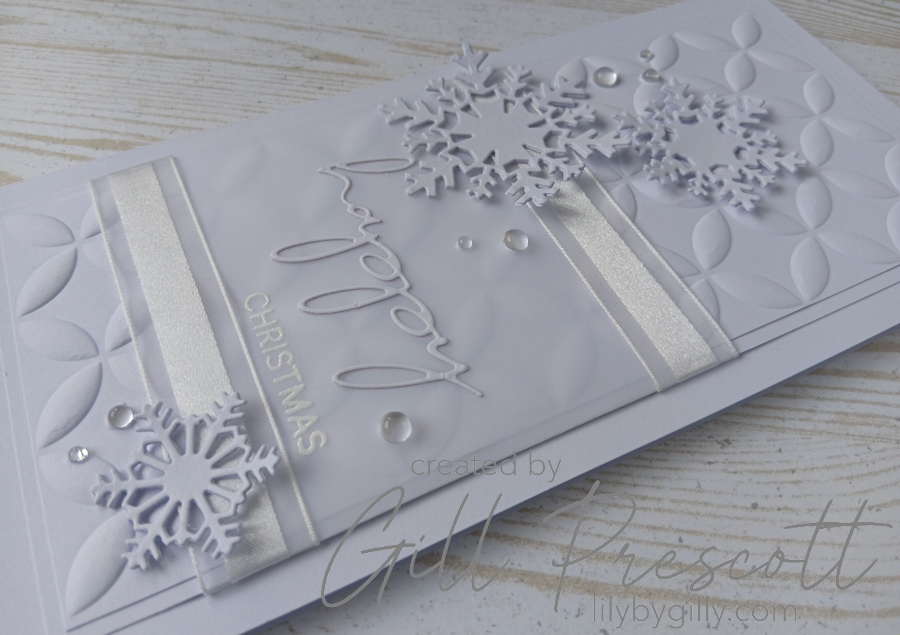
Already, you’ve got a lovely foundation full of texture.
Step 2: Add the Vellum Panel
Cut a piece of white vellum approximately 3 inches high, making it slightly wider than your card panel.
Using Versamark ink, stamp the word “Christmas” towards the bottom right corner of the vellum, then heat emboss with white embossing powder. It gives a beautiful soft, slightly glossy finish that shows up just enough against the vellum.
Wrap the vellum across the panel and secure it at the back with tape so no adhesive shows through.
Step 3: Add Ribbon Detail
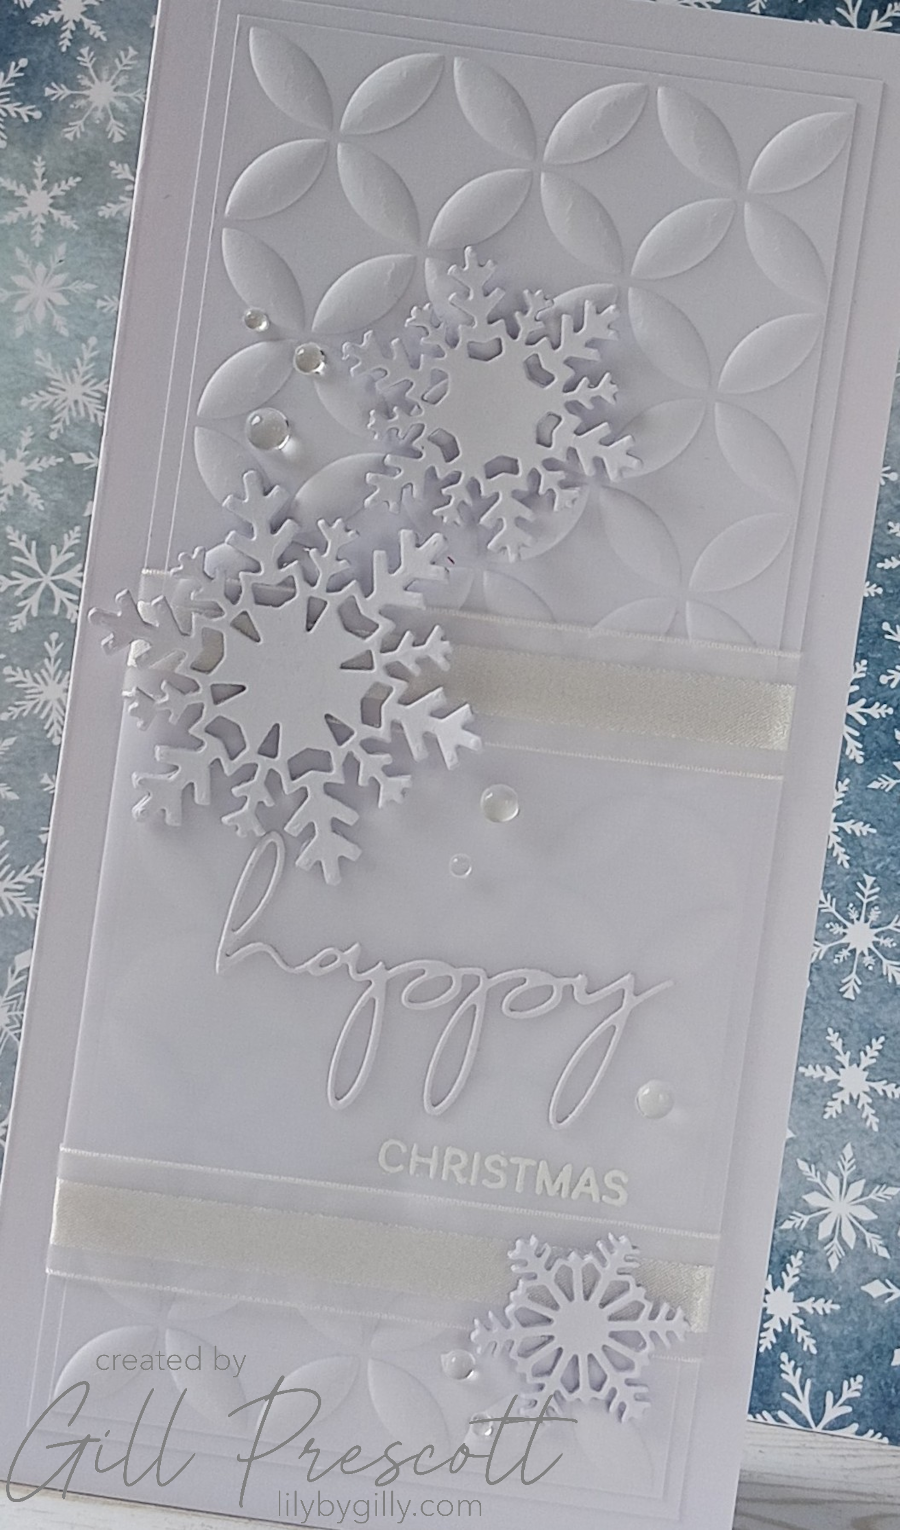
To frame the vellum panel, adhere white ribbon across the card — one along the top edge of the vellum and one along the bottom.
This adds another layer of texture and helps define the central section of the design.
Step 4: Build the Sentiment
Die cut the word “happy” from white cardstock and adhere it to the centre of the vellum panel, just above the embossed “Christmas.”
The combination of die cut and heat embossing adds subtle variation in texture, which works really well in an all-white design.
Step 5: Create and Add Snowflakes
Using the Tim Holtz snowflake dies, cut three different sizes of snowflakes, making two of each size.
Layer each pair together to give them a bit more strength and dimension, then arrange them across the card. This helps break up the space and adds a delicate, wintery feel.
Step 6: Finishing Touches
To finish, add a sprinkling of clear half-back pearls across the card in a loose, random pattern.
They catch the light beautifully and add just a hint of sparkle without introducing any colour.
Final Thoughts
I’ll admit, an all-white challenge felt a little daunting at first — but it turned out to be such a rewarding one. It really makes you think about how to use texture, layers and dimension instead of relying on colour.
The result is soft, elegant and beautifully understated — a card that feels almost frosty and wintery, like fresh snow.
If you’ve never tried an all-white design before, I’d definitely recommend giving it a go. Head over to 52 Christmas Card Throwdown and join in this week’s challenge — it’s a brilliant way to stretch your creativity and try something a little different.
Happy crafting!

