
Today at 52 Christmas Card Throwdown, the colour challenge is to use shades of brown on our cards. Making handmade Christmas cards is a wonderful way to add a personal touch to your holiday greetings. Today, I’ll be sharing how to create two beautiful Christmas cards, both using earthy tones of brown, and featuring elements from the Spellbinders Joyful Christmas card kit. One design keeps things simple yet stylish, while the other steps things up with extra embellishments, texture, and dimension. Let’s dive into the process of crafting these warm, rustic-themed cards.
Card 1: Subtle Elegance with the Spellbinders Joyful Christmas Card Kit
For the first card, we’ll be keeping things straightforward by using only the materials included in the Spellbinders Joyful Christmas card kit. Here’s how to put it together:
Materials:
- Papers from the Spellbinders Joyful Christmas card kit
- Die cuts and ephemera from the kit’s ephemera pack
- Puffy sticker sentiment from the kit
- Stacked deckle thinlits dies by Tim Holtz, Sizzix
- Adhesive (double-sided tape or glue), foam tape
Steps:
- Select Your Base: Begin by choosing your base card – it could be a brown or kraft card base to keep with the neutral, earthy tones, or plain white from the kit.
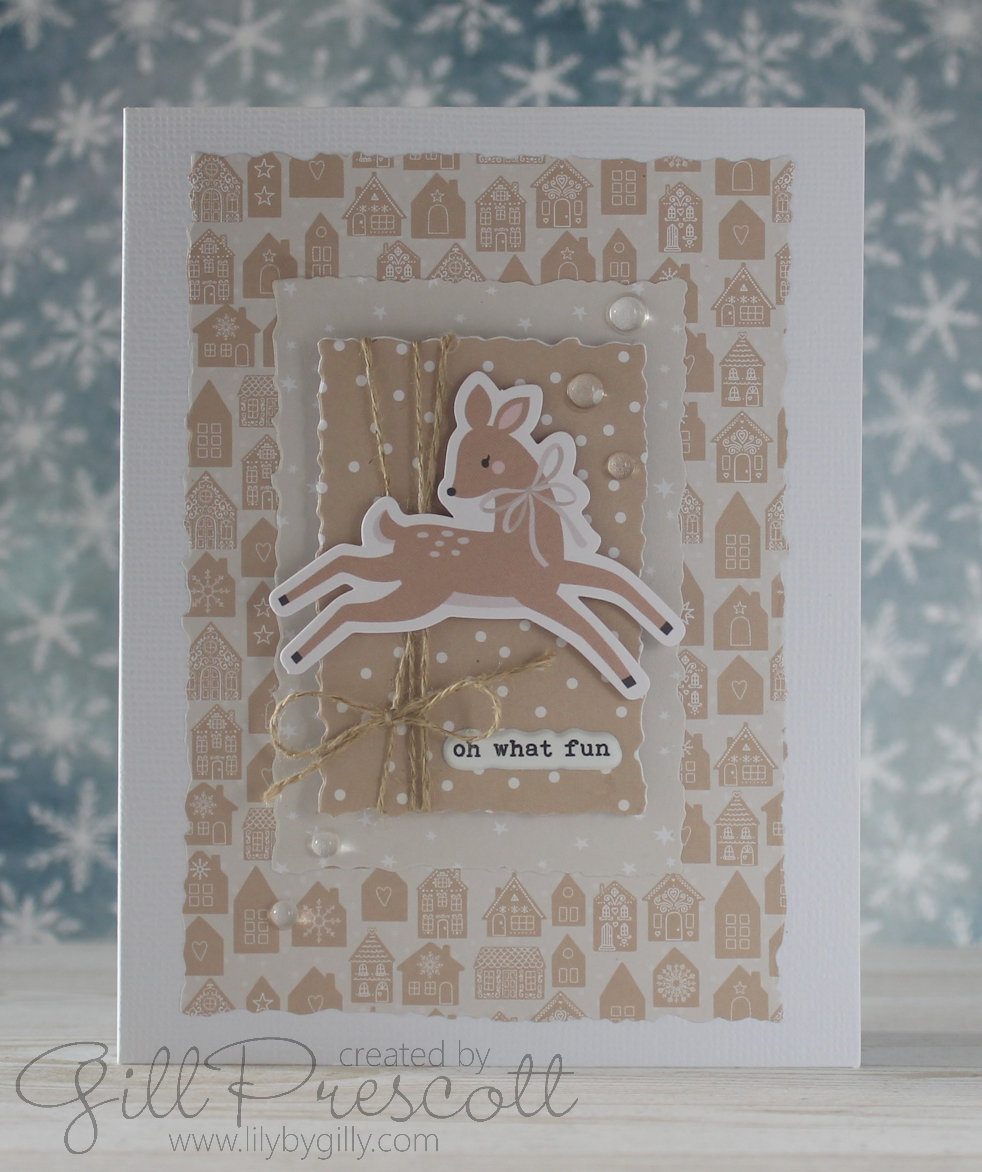
- Layer Your Background: Cut co-ordinating patterned paper from the kit using the stacked deckle dies and adhere these to the card front, leaving a small border for a clean, framed look. Opt for a paper in warm browns, beige, or even a soft gold to add a subtle shine.

- Add natural twine: Wrap a length of natural twine around the smallest stacked deckle die and tie in a bow. This adds texture and dimension to your card.
- Die Cut Focal Point: From the ephemera pack, select a die-cut piece that will serve as the focal point of your card. I chose a lovely reindeer, which contrasts beautifully against the brown backdrop.
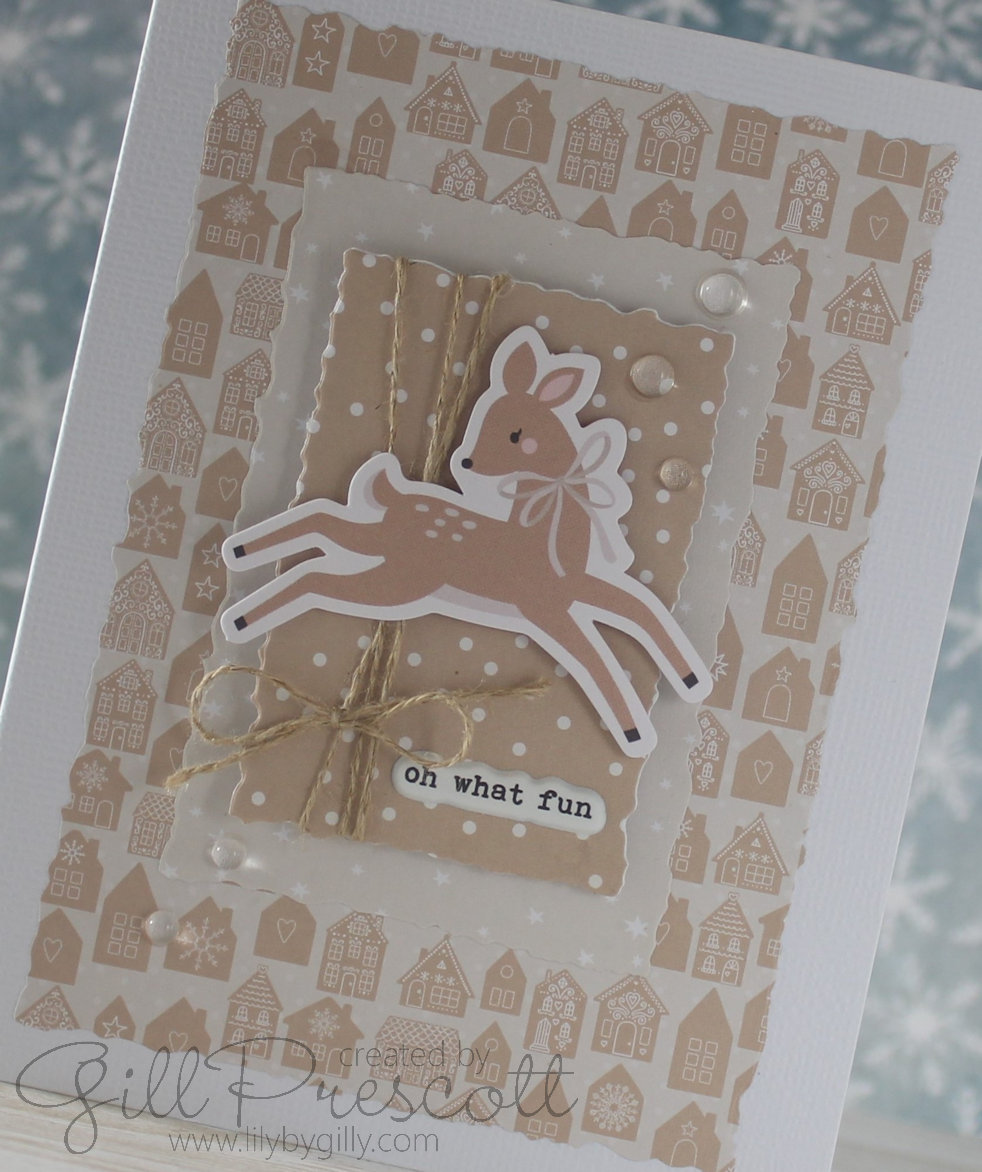
- Sentiment: Next, choose a puffy sticker sentiment from the kit. The puffiness adds a bit of dimension, yet maintains a clean and simple look. Place it at the bottom or towards the top of your focal image for balance.
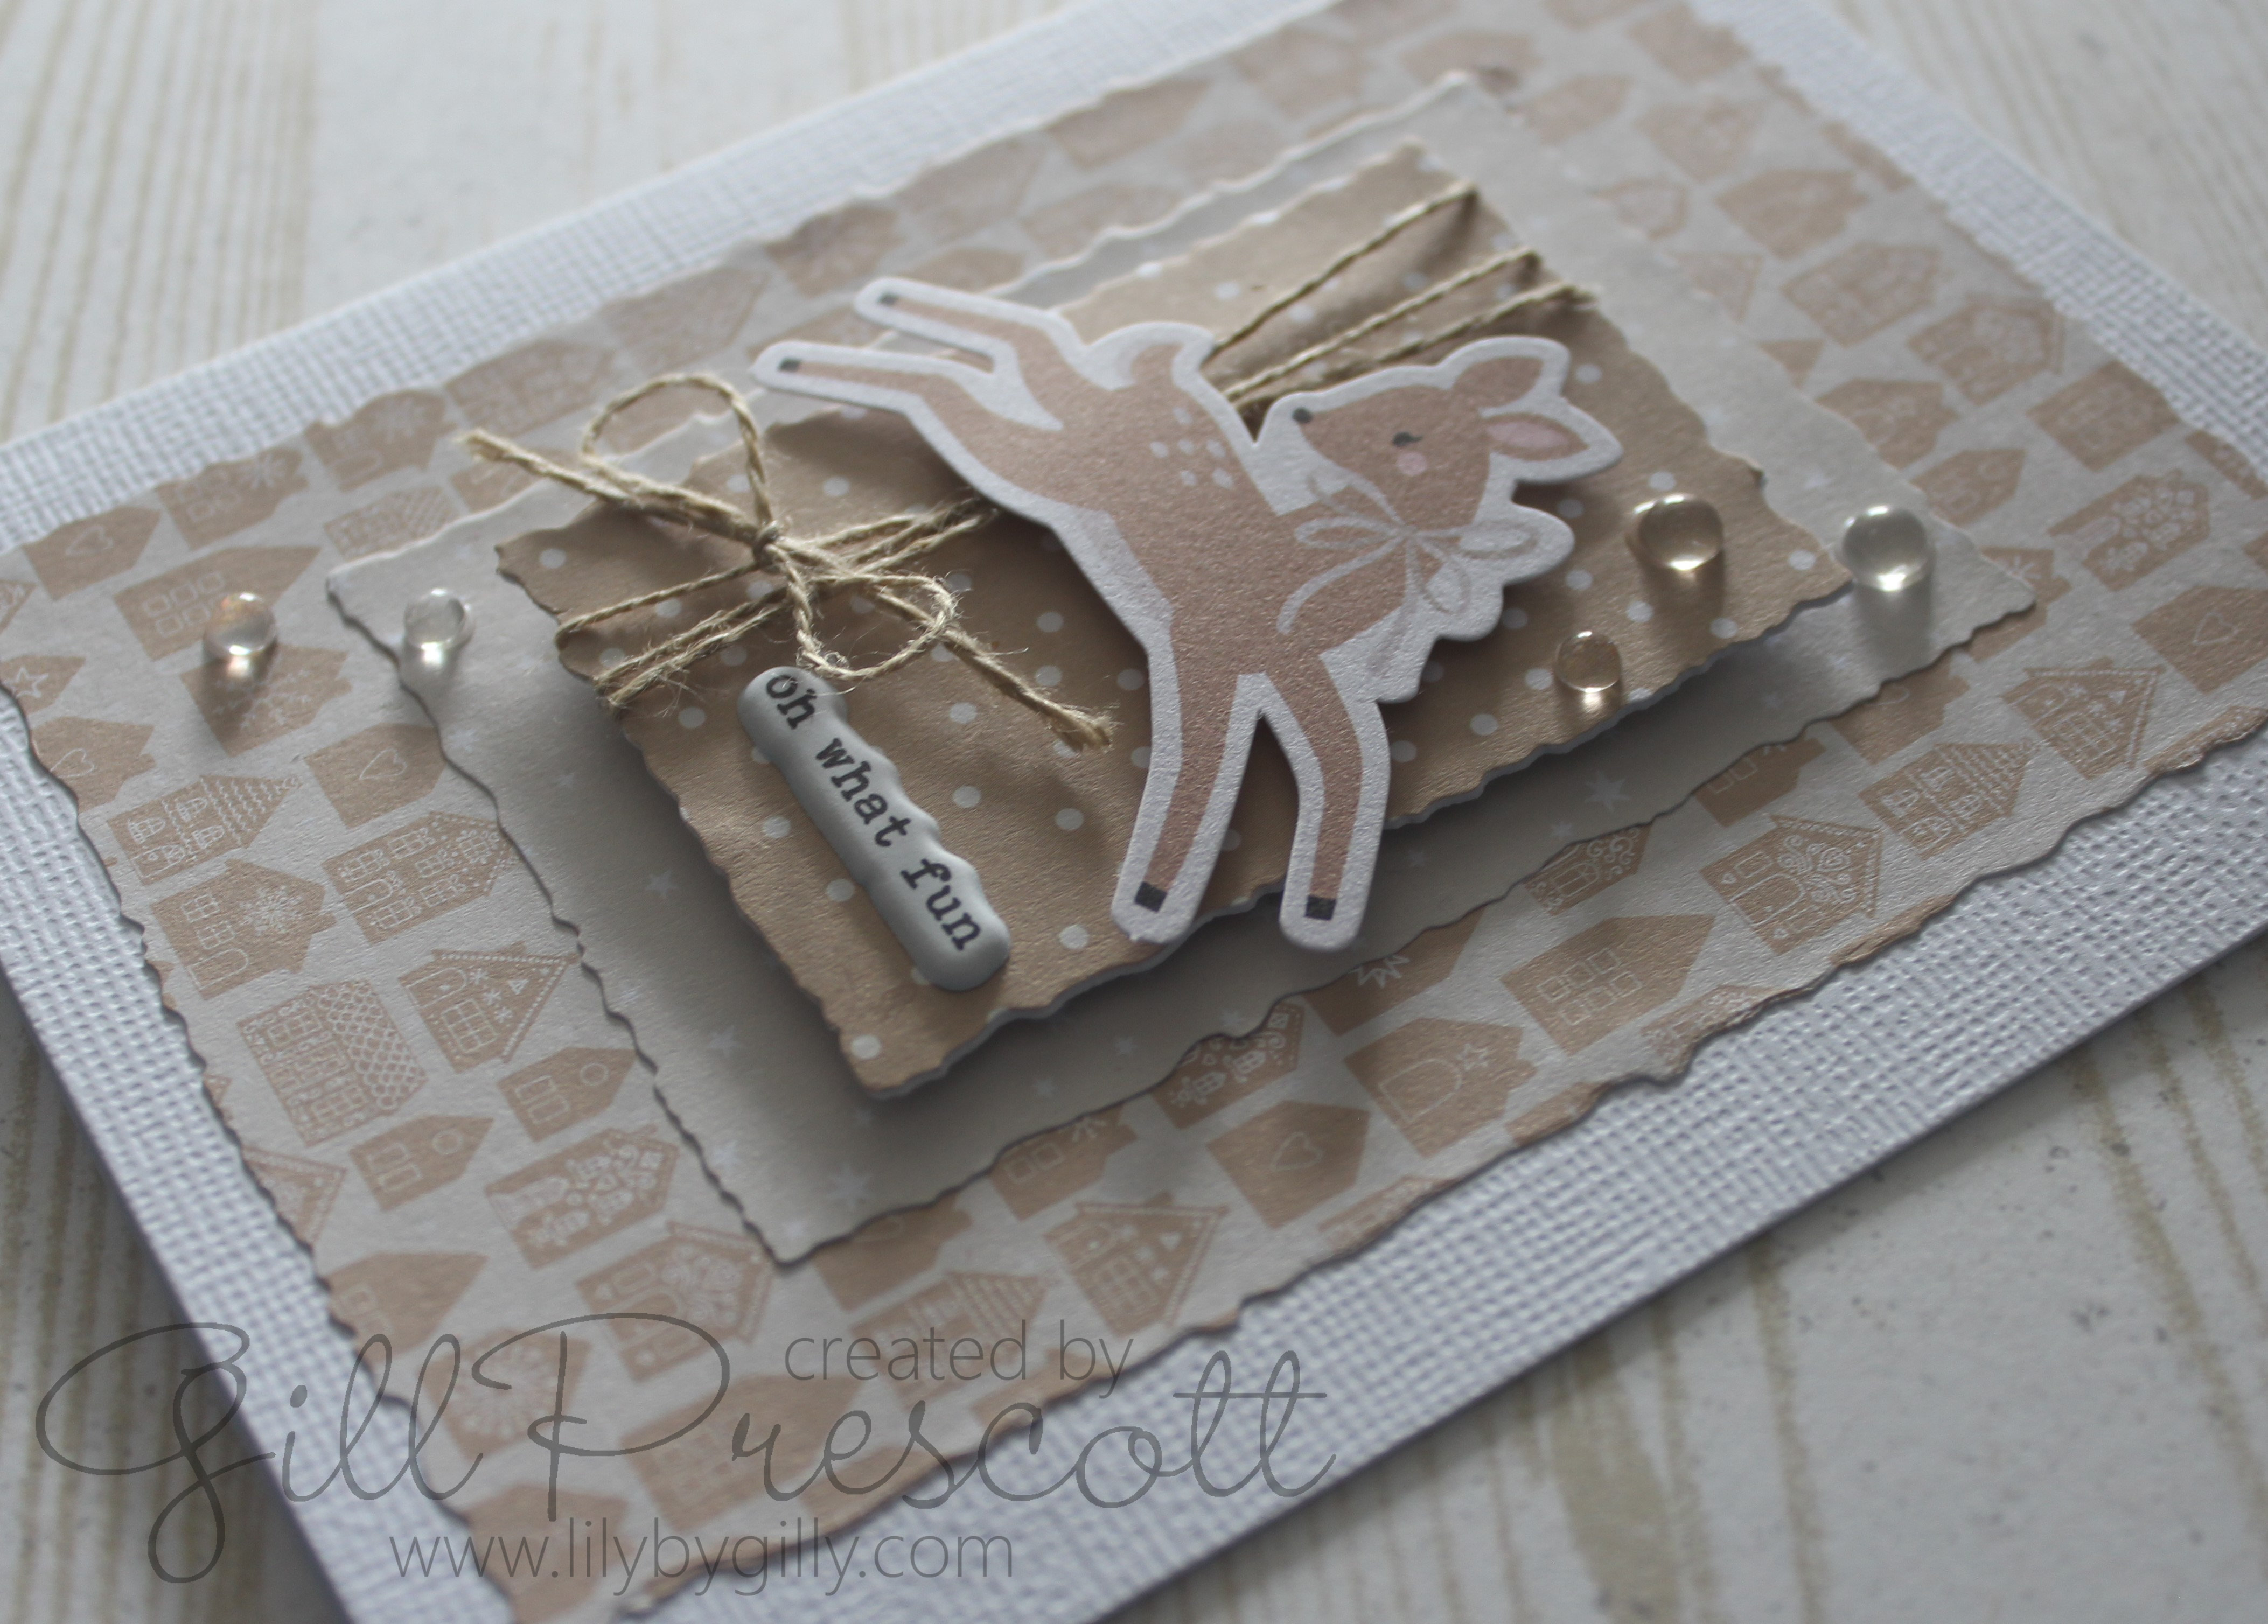
- Finishing Touches: Arrange a few clear half-backed pearls here and there. Stick them down with glue – make sure you choose one that dries clear.
This card is ideal if you’re after a quick, fuss-free Christmas card that still looks refined and elegant in shades of brown. The combination of warm tones and delicate die cuts gives it a timeless appeal.
Card 2: Stepping It Up with Embellishments and Texture
For the second card, we’re taking things up a notch by introducing a range of textures and extra elements to give the card added interest and dimension. This design still stays true to the warm brown palette, but with a more handcrafted feel.
Materials:
- Watercolour paper
- Tim Holtz Frayed Burlap Distress Ink
- Spellbinders Puff Dotty 3D embossing folder
- Large eyelet and natural twine
- Natural ribbon from Stampin’ Up
- Puffy sticker sentiment from the kit
- Die cuts from the ephemera pack
- Clear half-back pearls
Steps:
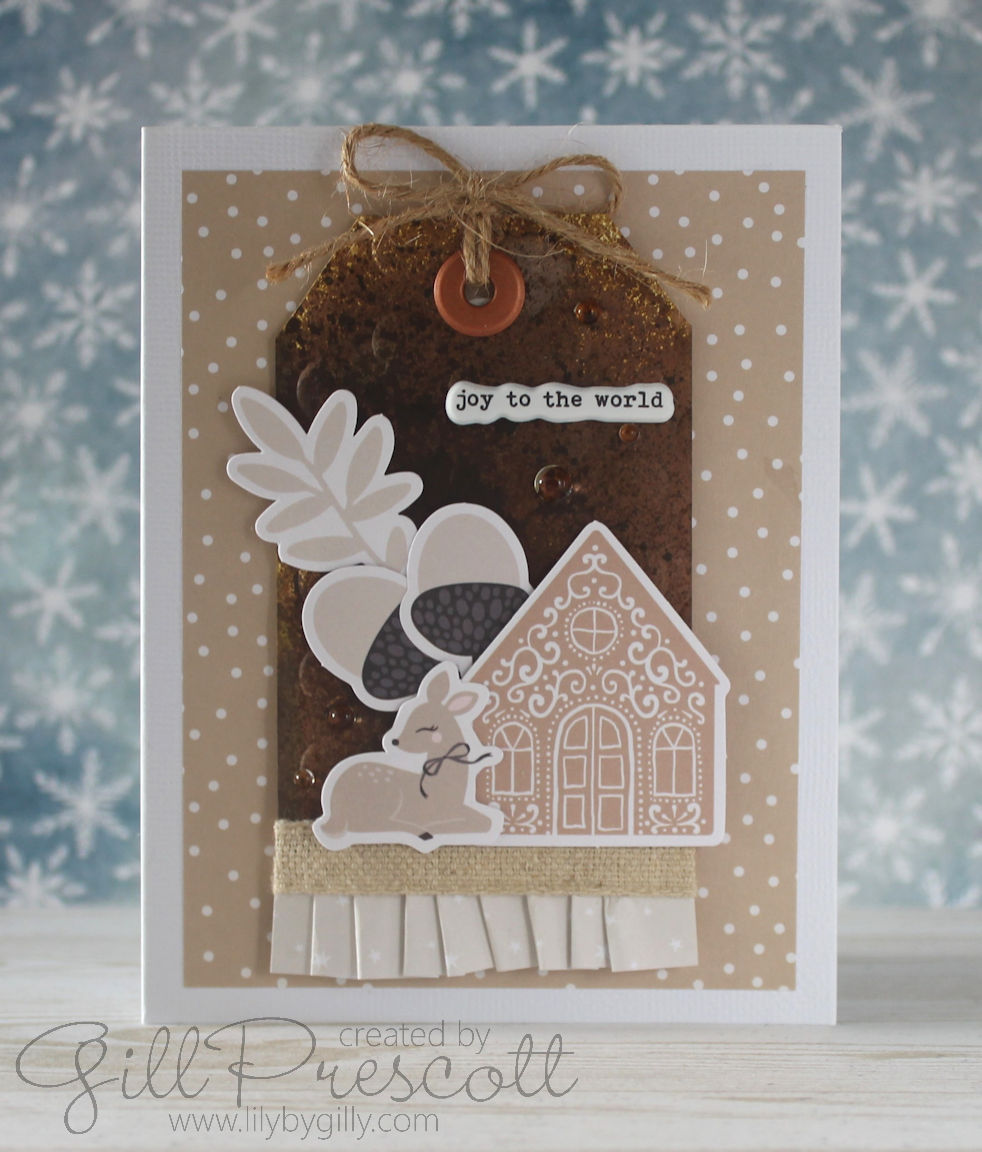
- Creating the Tag: Start by cutting a tag shape out of watercolour paper. You can freehand this or use a die if you have one. Lightly spritz the tag with water and then apply Tim Holtz Frayed Burlap Distress Ink by spraying or dabbing. Let the ink blend organically for a distressed, vintage feel. Allow it to dry thoroughly or use a heat tool to speed up the process.

- Embossing for Texture: Once dry, place the tag inside the Spellbinders Puff Dotty 3D embossing folder and run it through your die-cutting machine. The result will be a beautifully textured surface with raised dotty details, which gives your tag a tactile, handmade quality.
- Adding the Eyelet and Twine: Punch a hole at the top of the tag and set a large eyelet. Thread natural twine through the eyelet and tie it in a bow or knot. This adds a rustic charm and complements the natural tones of the card.
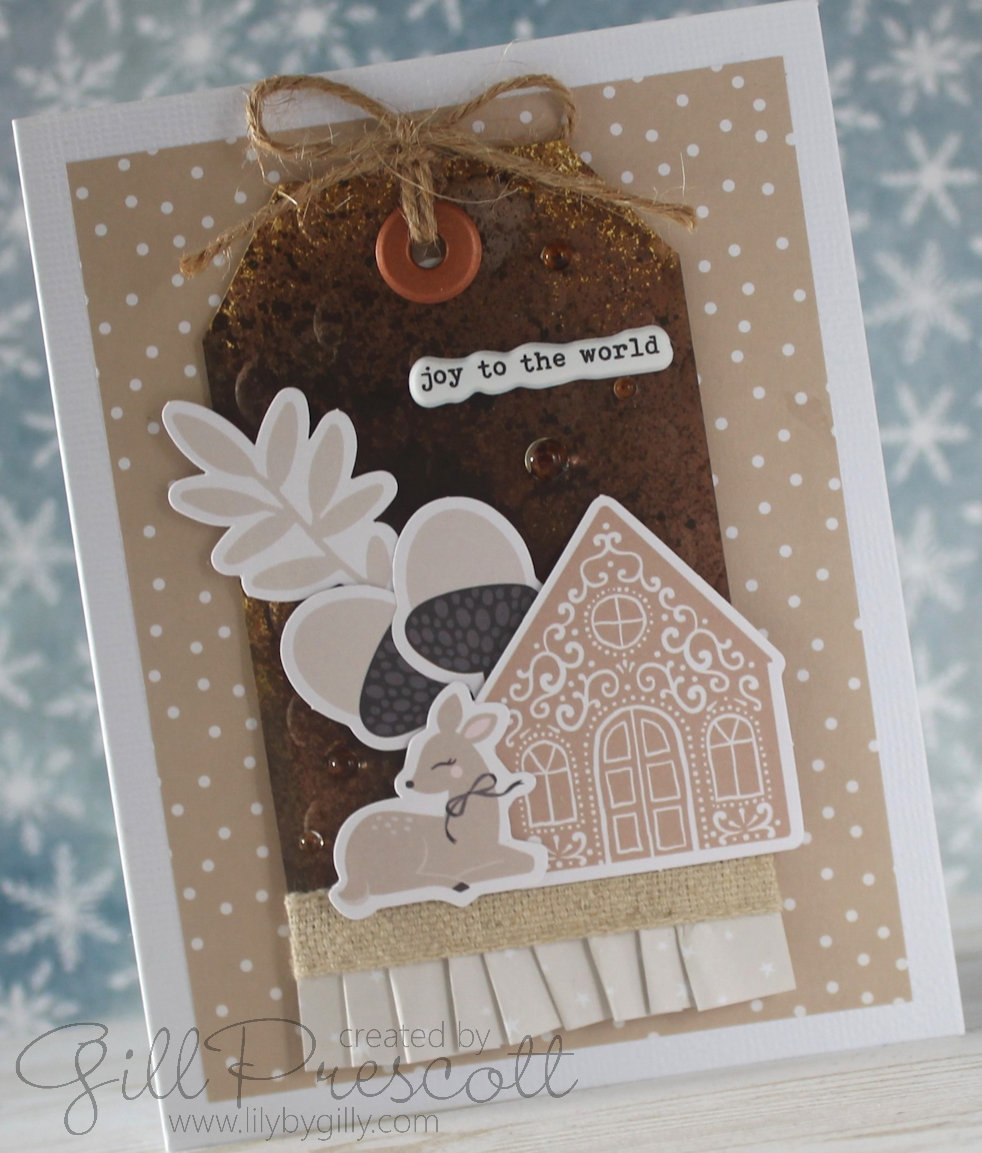
- Layering with Ribbon: Next, take a strip of patterned paper and create a small paper ribbon ruffle. To do this, pleat the paper and secure it with double-sided tape or tape runner. Next, glue the paper ribbon along the edge of the tag and add a length of natural ribbon from Stampin’ Up above. The softness of the ribbon contrasts beautifully with the embossed paper and gives the card a cosy, layered look.
- Card Assembly: Now, adhere your tag onto a card base, which could be the same as the first card to keep consistency in the theme. Add some die cuts from the ephemera pack, such as sprigs of greenery or festive elements, arranging them around the tag for a decorative touch.
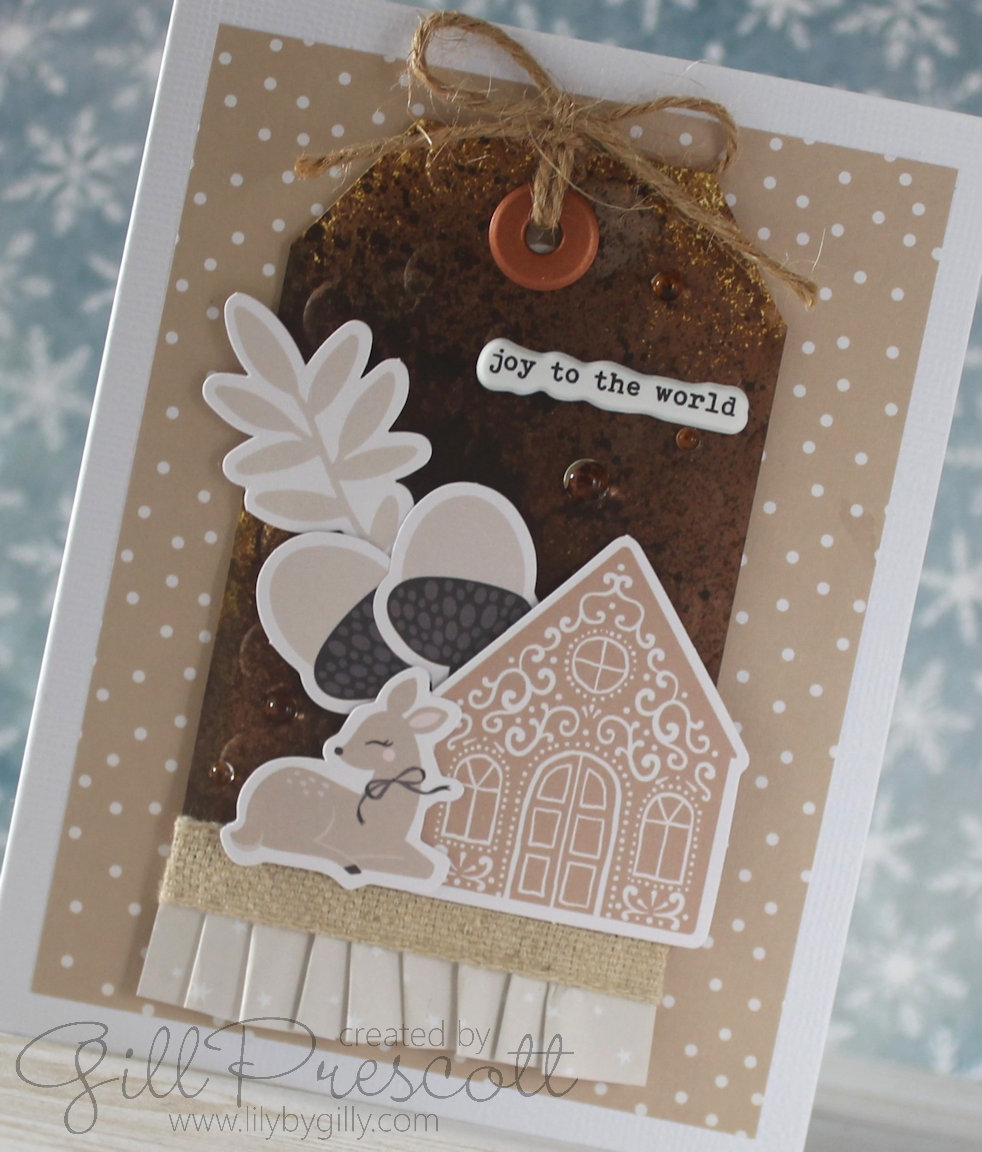
- Sentiment: As before, choose a puffy sticker sentiment to add dimension. Place it over or under the tag for a polished look.

- Finishing Touches with Pearls: For that final bit of festive sparkle, sprinkle a few clear half-back pearls across the card. Place them in clusters or along the ribbon ruffle to add some extra dimension and elegance.
The Result
With these two cards, you’ve got two beautiful ways to use brown as a non-traditional yet stylish Christmas colour. The first card offers a simpler, more classic look, while the second card is perfect for those who love to experiment with textures and embellishments. Whether you’re sending these to friends, family, or as a gift accompaniment, they’re sure to stand out with their warm, handmade charm.
Give these designs a try and let your creativity take over! Whether you stick to the basics or go for a more elaborate look, your recipients are sure to appreciate the personal touch. Don’t forget to share your card at 52 Christmas Card Throwdown and tag me on social media – I’d love to see what you create!

I would not have thought browns would work in isolation without the traditional reds and greens, but these two definitely do… Wonderful.
What a beautiful cards in shades of brown. I’m glad I pushed you out of your comfort zone, because you did a wonderful job.
You can find the house dies here: https://www.najlepsi-par.si/izdelek/hisica-rezalne-sablone/
You can make a beautiful box with this dies, but I only designed houses myself.
I wish you a relaxed weekend, Majda
elles sont splendides Gill, quelle jolie ambiance, biz