

It’s time to add a little sparkle to your Christmas crafts! For this week’s Christmas card challenge at 52 Christmas Card Throwdown, I went with a design that combines a frosty sparkle with a touch of classic Christmas cheer. Here’s how to recreate this cute snowman card – perfect to send to loved ones or hang on the tree as a decoration.
Card Concept and Theme
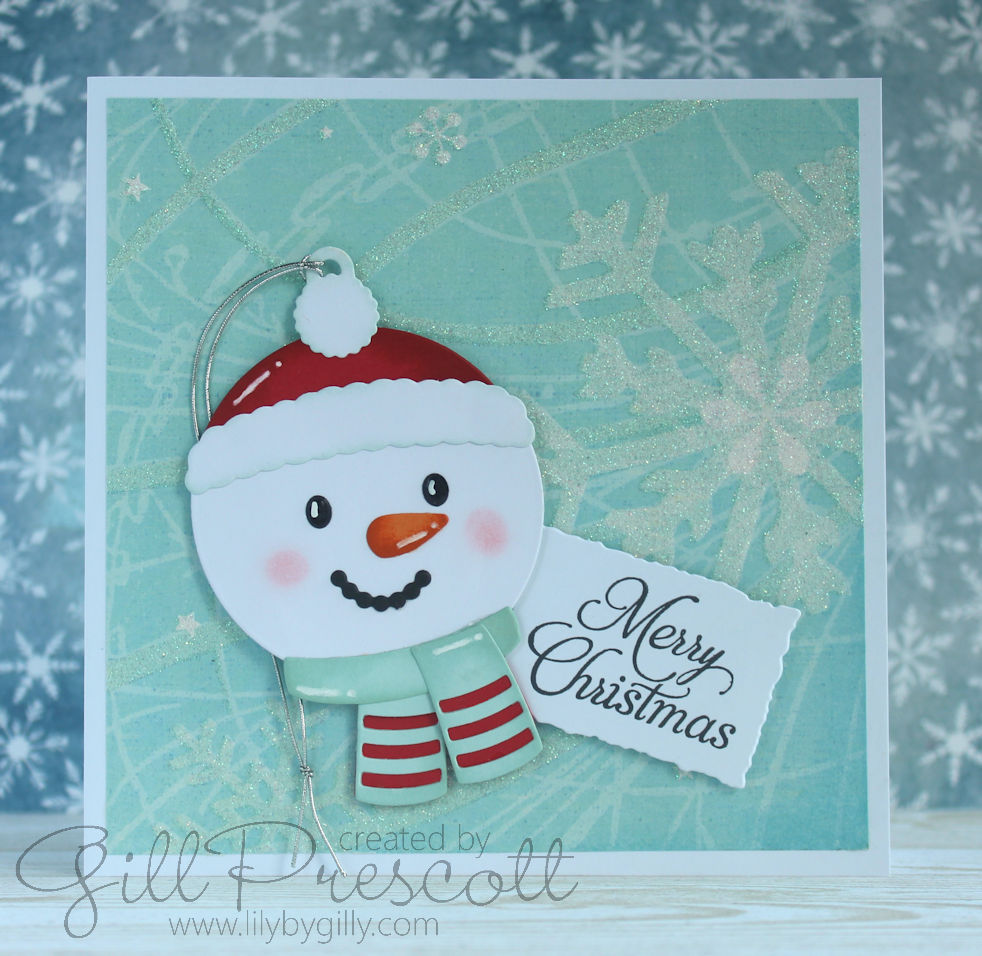
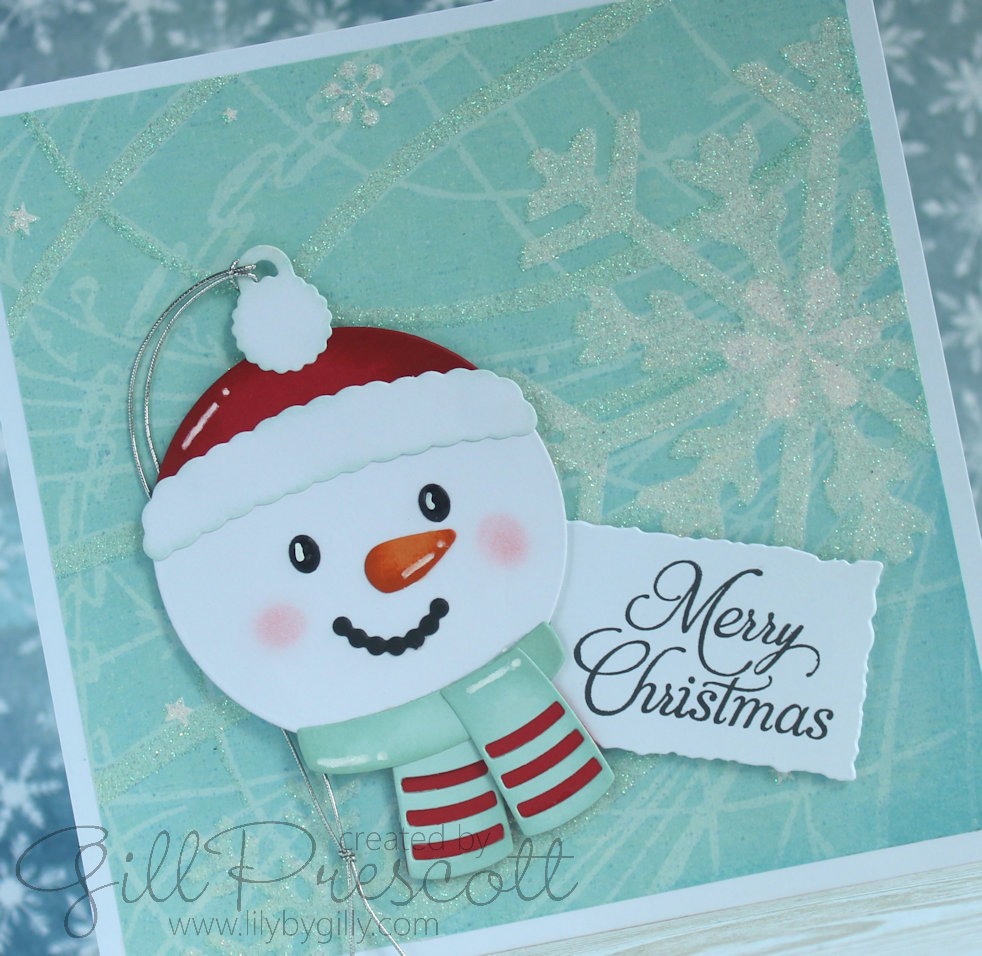
The theme for this card is all about “sparkle.” Think of frosty, shimmering snowflakes on a crisp winter’s morning, all encapsulated in a single card. With a pale blue, sparkly snowflake background and a cheerful snowman as the focal point, this design captures the essence of a sparkling winter wonderland.
Materials Needed
Here’s what you’ll need to create this festive card:
- Card Base: 6″ square white card
- Designer Series Paper (DSP): I used a pale blue with a sparkly snowflake pattern
- Cardstock (by Stampin Up): real red, soft sky, white, basic black and pumpkin pie
- Dies and Tools: Spellbinders Santa’s Festive Circle Crew die set and Tim Holtz Stacked Deckle Dies
- Inks: real red, soft sky, pink pirouette (for the rosy cheeks) and black (for the sentiment)
- Sentiment Stamp: Winter Garden stamp set by Spellbinders
- White Gel Pen: For highlights
- Silver Cord: For the ornament hanging loop
Step 1: Prepare the Card Base and Background
Start with a crisp, white, square card base. Cut a piece of pale blue DSP with a sparkly snowflake pattern slightly smaller than the card front. This snowy, sparkly backdrop will set the stage for your snowman and give your card that magical “winter sparkle” look.
Step 2: Die-Cut the Snowman
Using the Spellbinders Santa’s Festive Circle Crew die set, cut out all the pieces for the snowman. Use the following cardstock colours for each part:
- Real Red for the hat and scarf stripes
- Soft Sky for the scarf
- White for the snowman and hat trim
- Basic Black for the eyes and mouth
- Pumpkin Pie for the nose

Step 3: Ink Blending for Dimension
Ink blend the die cuts with co-ordinating colours to add some depth:
- Add a touch of Real Red to the edges of the hat for extra warmth.
- Use Soft Sky on the scarf, blending around the edges for a shadowed effect, and a touch around the white elements of the hat to make the white look whiter.
- For the cheeks, blend a hint of Pink Pirouette to give the snowman a cute, frosty blush.
Blending inks onto the cardstock adds depth, creating soft shadows and highlights that bring your snowman to life.
Step 4: Assemble the Snowman
Layer and adhere the pieces to form your snowman. Add his scarf, hat, mouth, eyes, and nose, arranging them carefully. Use a dab of adhesive to keep everything secure.
Step 5: Stamp and Die-Cut the Sentiment
On a small piece of white cardstock, stamp your festive sentiment from the Winter Garden stamp set by Spellbinders in black ink. Once stamped, die-cut it using the Tim Holtz Stacked Deckle Dies. The deckle edges add a lovely, rustic touch, contrasting nicely with the soft snowflake pattern in the background.
Step 6: Add Finishing Touches
Use a white gel pen to add highlights to the snowman’s hat, scarf, nose and eyes. These little details help capture the light, giving the snowman a whimsical, frosty sparkle. Tie a length of silver cord at the top of the snowman ornament. This cord not only adds extra shimmer but allows the recipient to hang the snowman on their tree if they choose.

Step 7: Assemble the Card
Finally, adhere the background DSP onto the card base, then attach the snowman and sentiment using foam adhesive. Make sure to position the sentiment so it’s easily readable, yet doesn’t distract from the snowman.
A Sparkling, Festive Finishing Touch
This card isn’t just a beautiful piece of holiday art; it’s also a small, handmade keepsake. With the silver cord, the snowman can double as a charming ornament, adding a personalised touch to a Christmas tree. This simple yet festive design celebrates the season with a touch of sparkle and plenty of cheer!
Enjoy crafting this magical Christmas card that will surely bring sparkle to anyone’s holiday!
Don’t forget to share your card at 52 Christmas Card Throwdown and tag me on social media – I’d love to see what you create!

Such a happy snowman. Love the sparkle.
He’s such a cheerful chap I can’t help but smile.
oh wow Gill, elle est superbe comme a chaque fois, biz
Čudovita bleščeča voščilnica :-))