
Welcome to my blog and a Happy New Year to you.
If you’re looking for inspiration for your festive crafting, this week’s sketch challenge on 52 Christmas Card Throwdown is the perfect place to start! In this tutorial, I’ll guide you through creating a charming Christmas card featuring a mix of colours, festive die cuts, and adorable stamped images. Let’s get crafting!
Materials You’ll Need:
- Cardstock: Granny Apple Green (base), Gold Glitter, Basic White, all Stampin Up
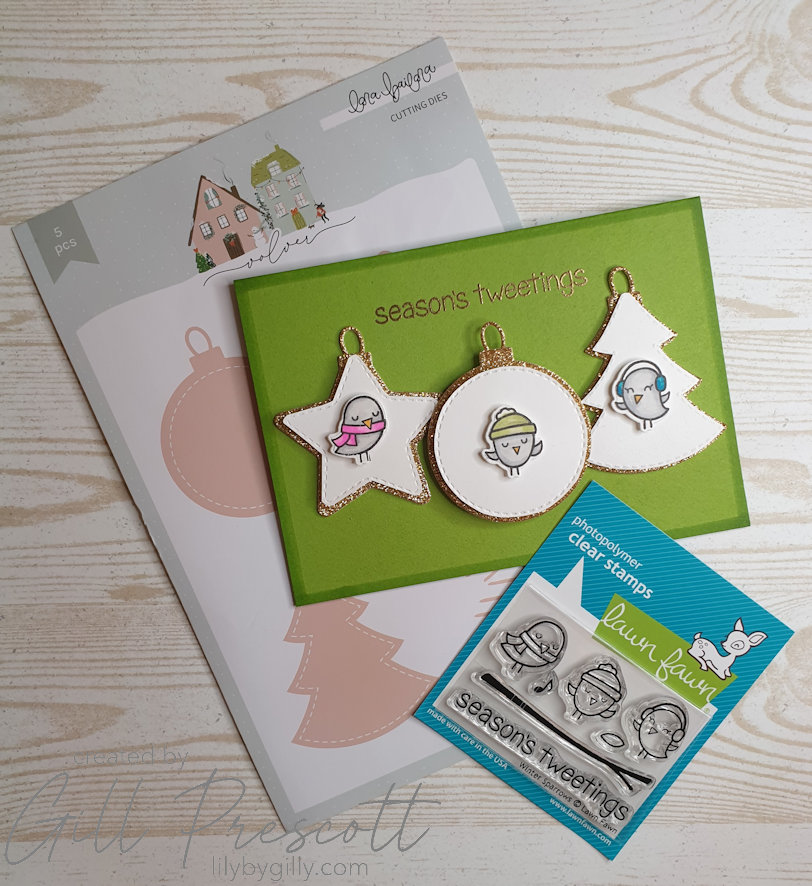
- Dies: Lora Bailora die set (star, bauble, tree shapes)
- Stamps: Lawn Fawn Winter Sparrows
- Alcohol Markers: Shades of pink, green, blue, grey, and orange
- Ink: Versamark Ink, Memento black
- Embossing Powder: Gold
- Tools: Heat tool, matching Lawn Fawn sparrow dies, alcohol markers, adhesive foam pads
- Finishing Touch: Dark Green Alcohol Marker (chisel end)
Step 1: Prepare Your Card Base
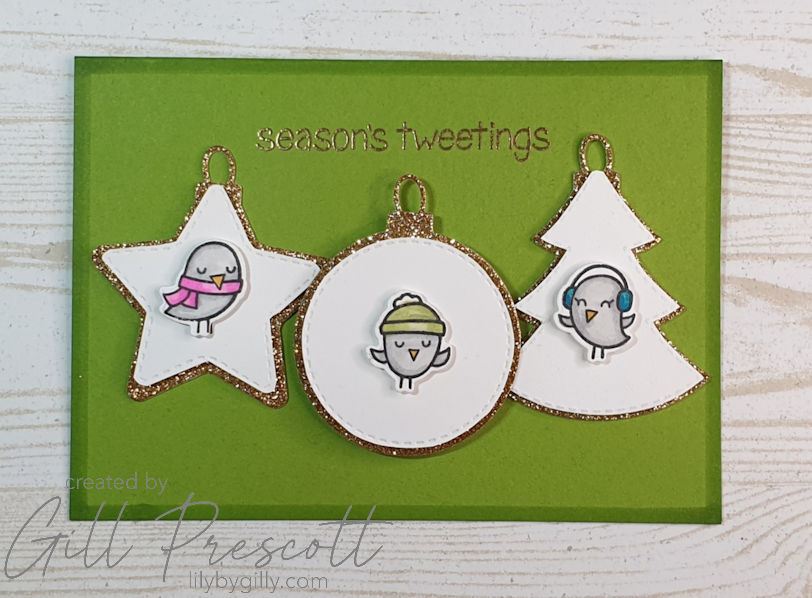
Start with a Granny Apple Green cardstock base folded into a standard card size. This vibrant green sets a festive foundation for your design.
Step 2: Die Cutting the Shapes
Using Gold Glitter cardstock and Basic White cardstock, die cut a star, bauble, and tree using the Lora Bailora die set. These classic shapes will serve as your focal points and provide an elegant, glittering contrast against the green background. Fussy cut around the white die cuts, leaving the stitched details visible. Adhere these to the gold glitter die cuts using foam adhesive.

Step 3: Stamp and Colour the Sparrows
Take the Winter Sparrows stamp set by Lawn Fawn and stamp the adorable bird images onto white cardstock using black memento ink. Use alcohol markers in shades of pink, green, blue, grey, and orange to bring these charming sparrows to life. Once coloured, use the matching Lawn Fawn dies to cut them out.
Step 4: Add the Sentiment
Use the punny sentiment from the same Lawn Fawn stamp set and stamp it directly onto the card base using Versamark Ink, then sprinkle it with gold embossing powder. Heat set it with a heat tool to reveal a shiny, festive sentiment.

Step 5: Assemble the Focal Points
Adhere your die-cut star, bauble, and tree onto the card base, following this week’s sketch. Then, using foam adhesive pads, pop up the sparrows on each shape to add dimension and make them stand out.
Step 6: Add a Finishing Touch
Using the chisel end of a dark green alcohol marker, draw a fine border around the edge of the card. This small detail adds a polished finish and frames your artwork beautifully.

Final Thoughts
And there you have it — a festive Christmas card that’s bursting with colour, sparkle, and charm! This project captures the spirit of the season and showcases how die cuts, stamping, and colouring can come together in harmony.
Don’t forget to share your creation in the 52 Christmas Card Throwdown challenge. Happy crafting, and may your week be filled with creativity and joy!

Čudovita praznična voščilnica :-)) Všeč mi je, kako si se lotila moje skice!
Gill, želim ti srečno, zdravo, veselo in ustvarjalno leto 2025!
Beautiful holiday card :-)) I love how you handled my sketch!
Gill, I wish you a happy, healthy, joyful and creative 2025!
Thank you – I’m glad you like it. Best wishes for 2025 to you too.
Loving the tree decorations, they’re so cute. xxx
oh la la c’est tellement mignon Gill, belle et heureuse année 2025, biz