
This week’s sketch challenge over at 52 Christmas Card Throwdown was the perfect excuse to make another slimline card — especially as I still had all my supplies out from last week! I loved how that previous design turned out, so I kept the same base and used the sketch as a guide to create something a little different, bringing in soft patterned paper, a touch of gold, and a few lovely details from my ever-growing “bits and pieces” pile.
Here’s how it all came together.
What You’ll Need
- Cardstock: White, Gold Mirror
- Designer Paper: Rosie’s Studio Peppermint Twist 6×6″ (Spellbinders)
- Dies:
- Banners Framelits (Stampin’ Up)
- Pretty Pines Thinlits (Stampin’ Up – bows)
- Embossing Folder: Spellbinders Circle Illusion 3D embossing folder
- Stamps: Decorative Trees (Stampin’ Up)
- Ink: Black ink
- Embellishments: Gold satin flat sequins, tiny die-cut hearts
- Adhesives: Foam adhesive, liquid glue
Step 1: Create the Slimline Base
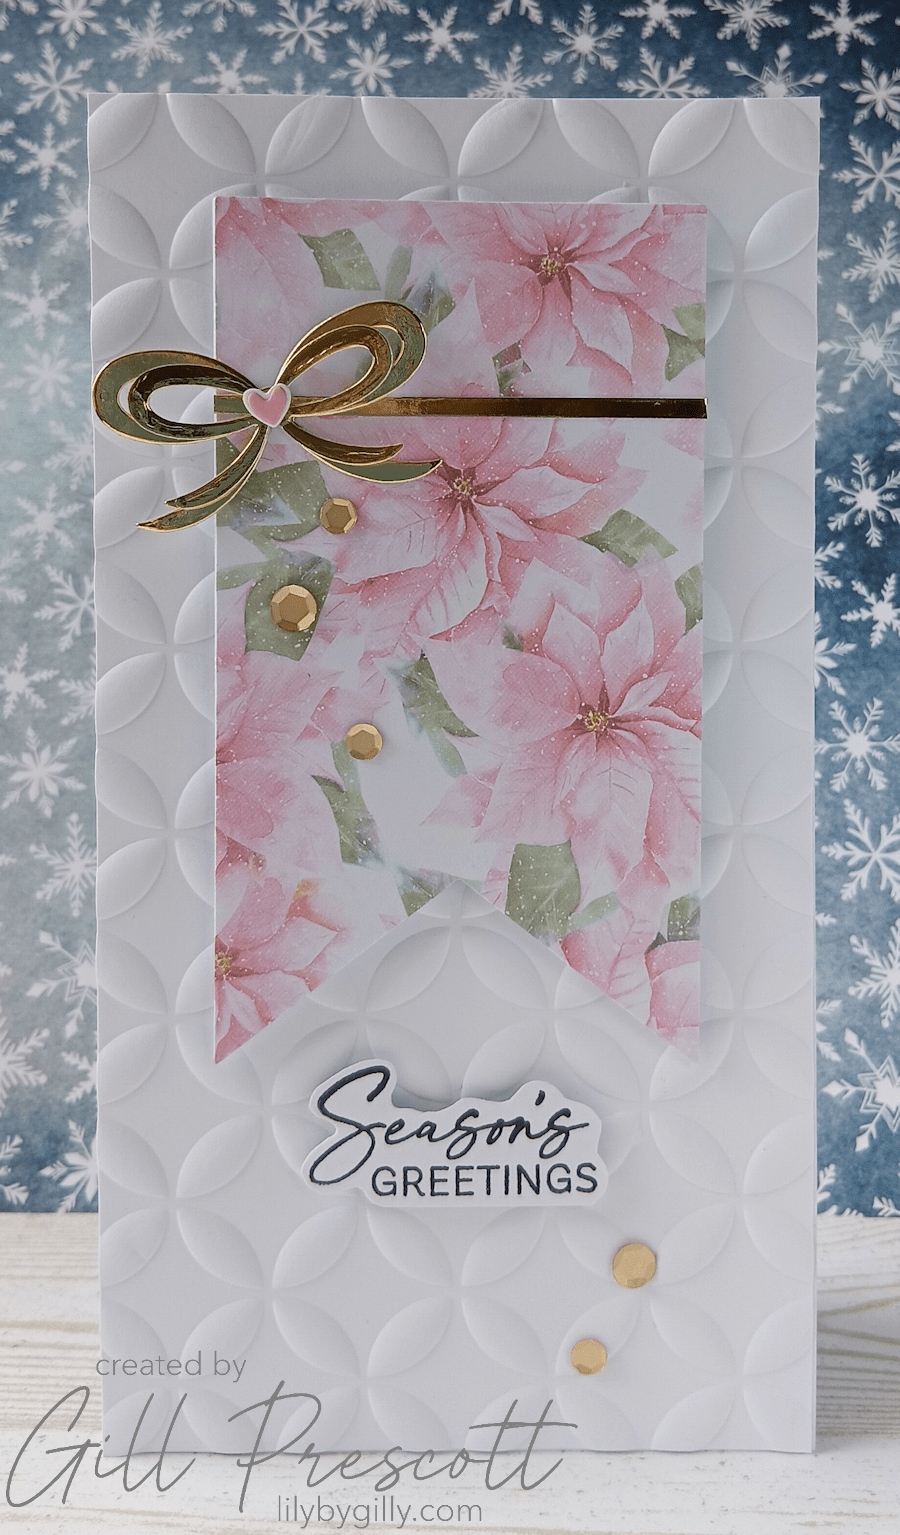
I made the DL slimline base in exactly the same way as before — cutting an A4 sheet of white cardstock to 8¼” square, scoring at 4⅛”, and folding in half.
For the front panel, I cut another piece of white cardstock to the same size as the card front and embossed it using the Spellbinders Circle Illusion 3D embossing folder. This adds a gorgeous textured background while still keeping everything clean and bright.
Step 2: Create the Banner Element
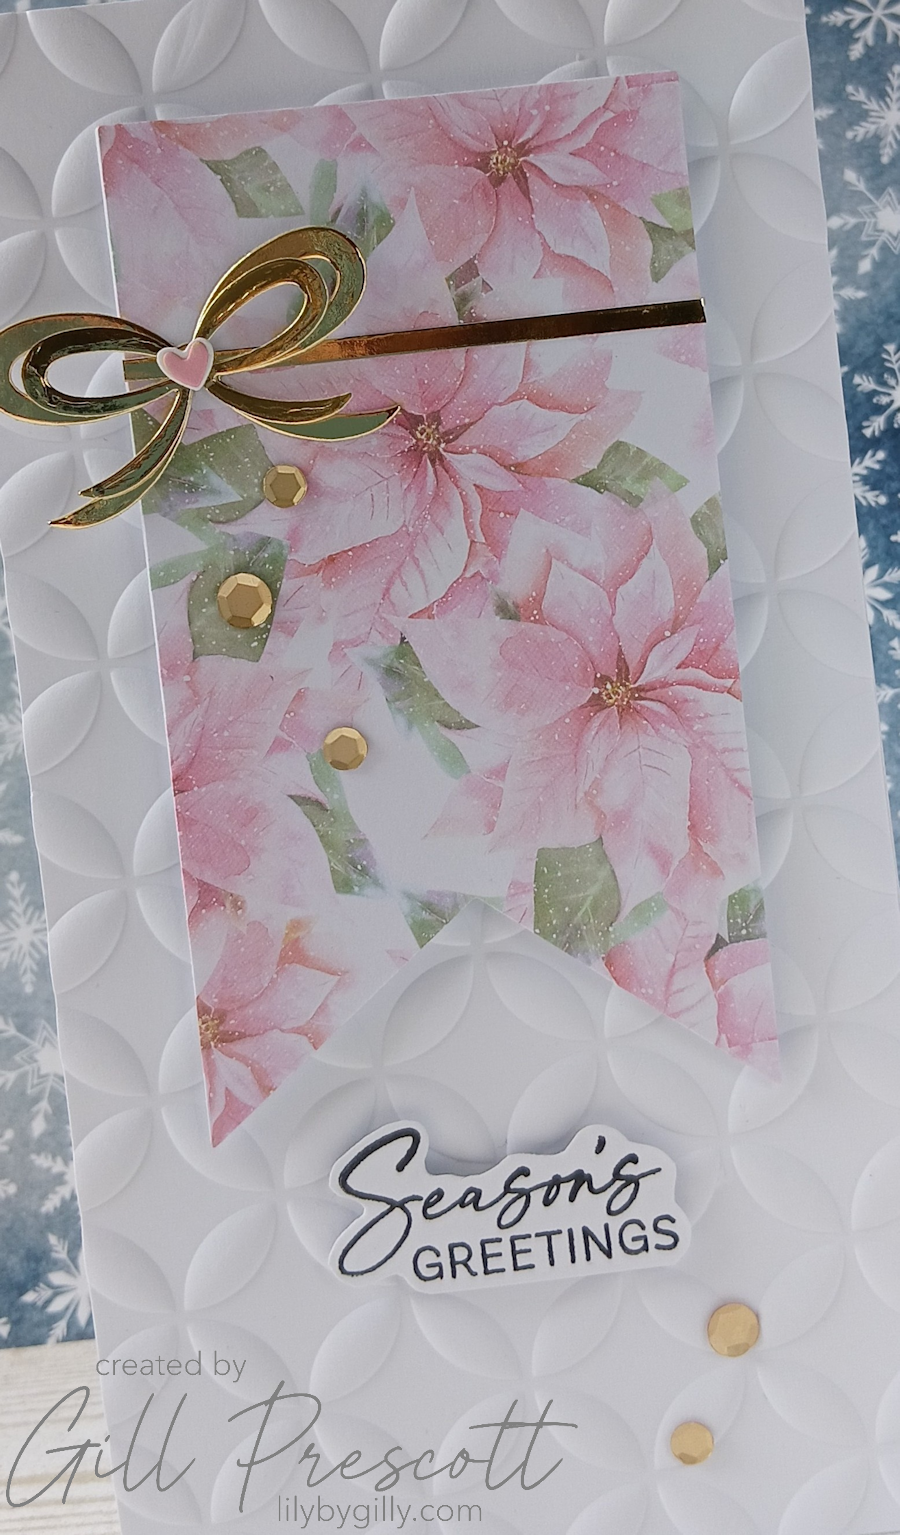
To follow the sketch, I used the Banners Framelits by Stampin’ Up to die cut a banner shape from the Rosie’s Studio Peppermint Twist Designer Paper.
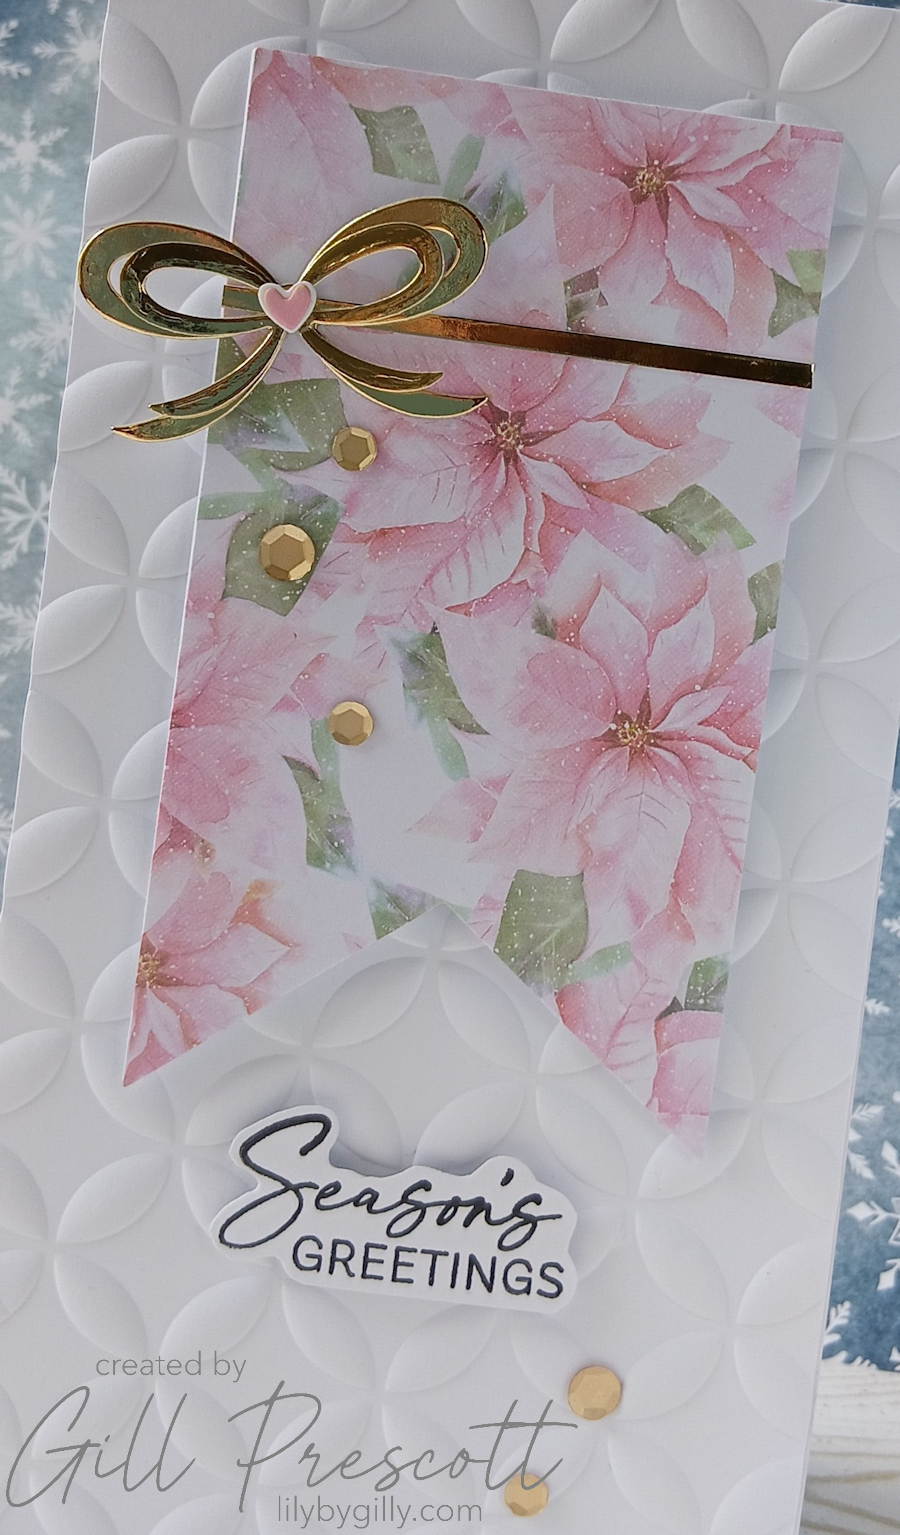
This time I chose the poinsettia pattern — I absolutely love the soft pastel pinks and greens. It feels festive, but in a slightly more delicate and modern way.
To give the paper a bit more structure (especially as I wanted to pop it up), I die cut the same banner shape from white cardstock and adhered the DSP on top.
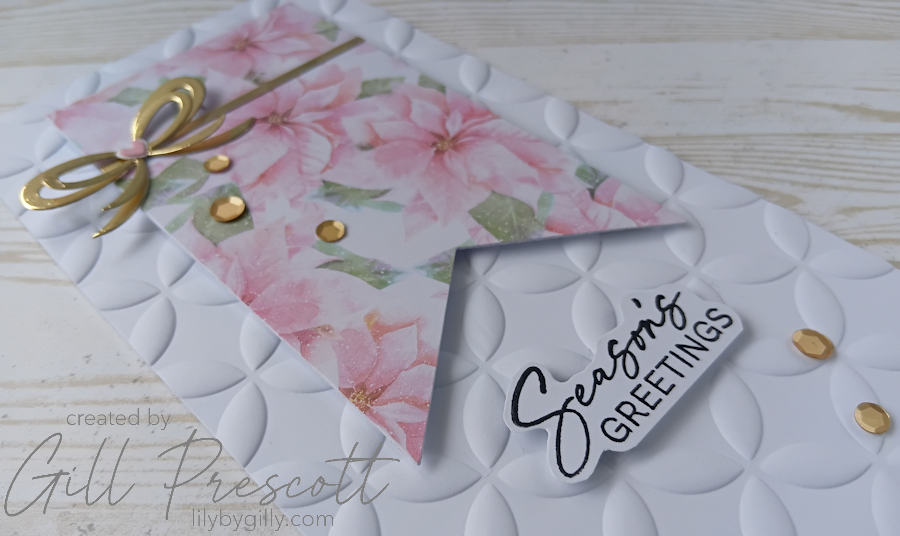
The whole banner was then attached to the card using foam adhesive for dimension.
Step 3: Add the Gold Details
For a bit of contrast and sparkle, I cut a narrow strip of gold mirror cardstock the same width as the banner and adhered it across the front.
Using the Pretty Pines Thinlits, I die cut two bows in different sizes from the same gold mirror card and layered them on top of each other, slightly to the left of the gold strip.
It adds just the right amount of shine without overpowering those lovely soft patterns.
Step 4: Add the Sentiment
The sentiment is from the Decorative Trees stamp set by Stampin’ Up, stamped in black ink onto white cardstock.
I fussy cut it out and adhered it just below the banner using foam tape, keeping in line with the sketch layout.
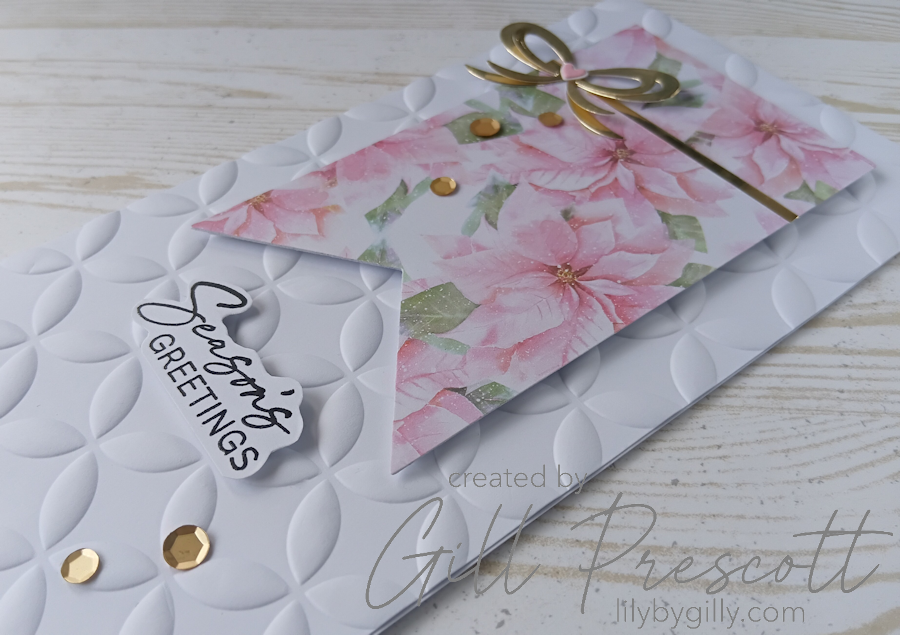
Step 5: Finishing Touches
I added a sprinkling of gold satin flat sequins across the card using liquid glue — just enough to catch the light without going over the top.
And because my box of scraps and leftover bits was still sitting on my desk (and calling to me!), I found a couple of tiny die-cut hearts and added them to the centre of the bow.
Such a small detail, but it ties everything together so nicely.

Final Thoughts
I really enjoyed creating this card — it’s a great example of how you can take the same base design and get a completely different look just by changing the focal elements.
The combination of the textured white background, soft patterned paper and touches of gold feels elegant but still festive, and the slimline shape gives everything room to breathe.
If you enjoyed last week’s slimline card, this is a lovely way to build on it — and the 52 Christmas Card Throwdown sketch makes the design process so easy.
Why not have a go yourself and see where the sketch takes you? And if you’ve got a box of scraps nearby… definitely have a rummage — you might just find the perfect finishing touch hiding in there!
Happy crafting!

