

Materials Used:
- Stampin’ Up Pretty Pines Thinlits
- Country Wreaths Dies (the bow)
- Christmas Nesting Frames
- More Merry Messages Stamp Set (for sentiment)
- Distress Inks: Mowed Lawn, Weathered Wood, Tattered Rose, Vintage Photo
- So Saffron Ink (for bow)
- Stampendous Multi Crystal Glitter Mix
- Wink of Stella Glitter Brush
- White cardstock for base
- Brushed Gold cardstock for oval
- Foam adhesive for dimension
Step-by-Step Guide to Creating This Christmas Card
1. Prepare Your Card Base
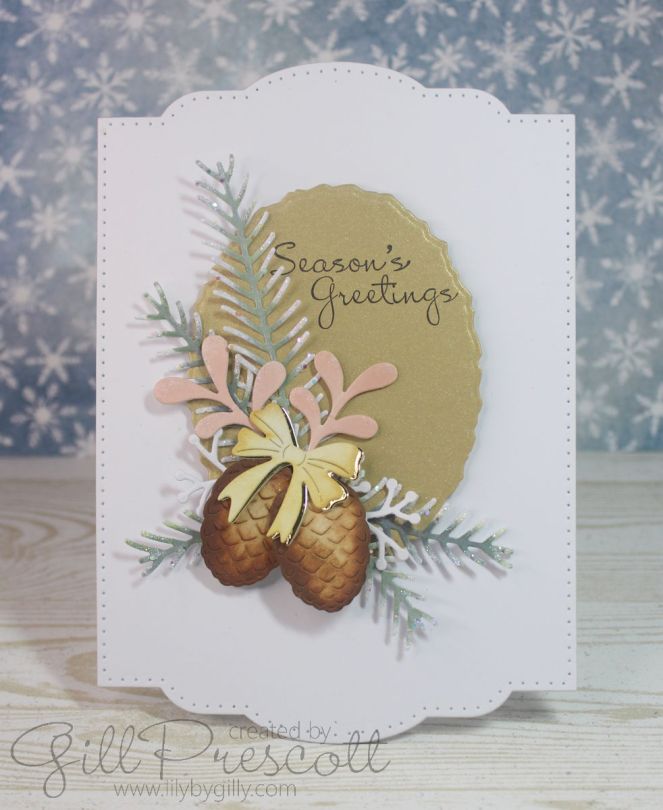
Start by die cutting 2 pieces of white cardstock using the largest Christmas Nesting Frames dies. Score 1/4″ down the longest side of one of the die cuts, add adhesive and adhere the 2 pieces together – this forms your shaped base card. I chose a white background because it contrasts beautifully with the colourful inks and embellishments, giving the design a clean yet festive feel.
2. Die-Cutting the Pine Sprigs and Bow
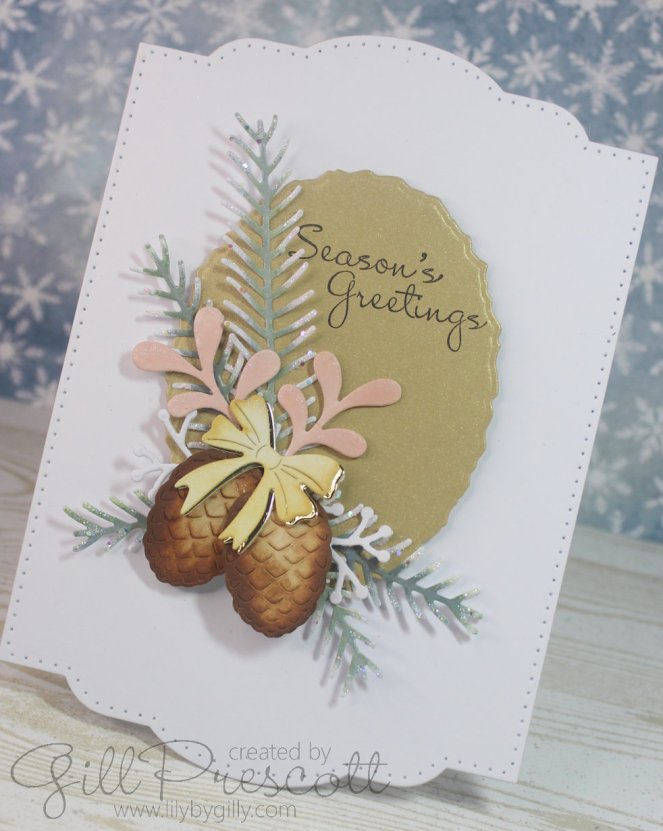
Using the Pretty Pines Thinlits, I cut out multiple pine sprigs in various sizes, together with smaller sprigs, leaves and pine cones from white cardstock. For the bow, I used the Country Wreaths Dies, layering 2 bows to add dimension.
3. Inking the Pine Sprigs and Bow
This is where the Distress Inks come into play. I blended Weathered Wood and Mowed Lawn onto the pine sprigs to create cool, frosty undertones, as if they were kissed by a winter’s morning chill. I used Vintage Photo for the pine cones to add a subtle rustic, worn touch, perfect for a cozy Christmas vibe.
4. Adding Subtle Pink Accents
To incorporate a hint of softness and warmth, I gently sponged Tattered Rose onto some of the smaller die-cut elements, such as the small branches. This unexpected touch of pink adds a romantic, vintage feel to the card without overwhelming the festive greens and browns.
5. Creating the Bow
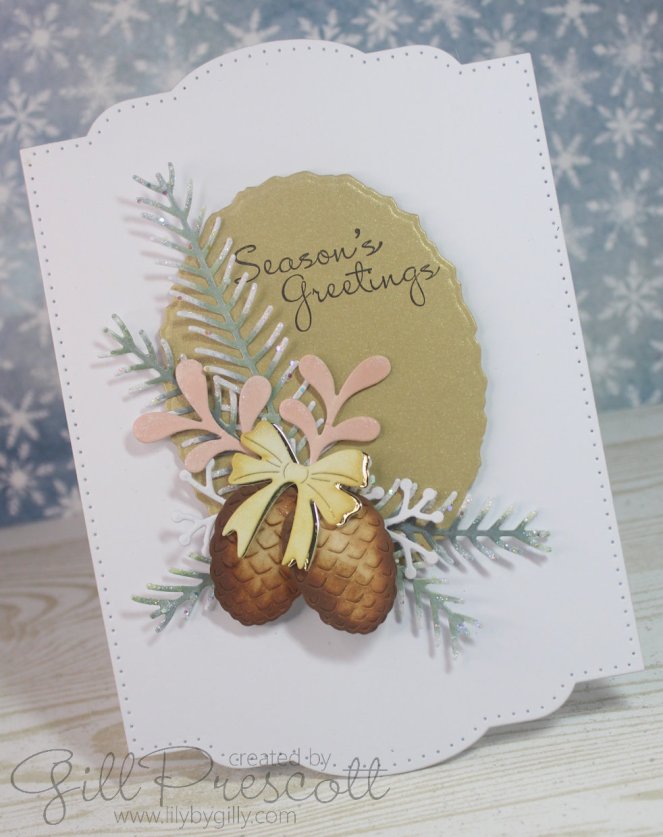
The focal point of the card is the charming bow, created using the Country Wreaths Dies. To colour the bow, I used So Saffron ink, which gives a beautiful, soft golden hue. This understated yellow blends well with the overall design and adds a cheerful highlight to the arrangement. I layered this onto a piece cut from gold mirri card to add depth and shine.
6. Die-cutting the Deckled Edge Classic Oval
Use a large Spellbinders Nestabilities Deckled Edge Classic Ovals die, die cut the centre layer from brushed gold cardstock.
7. Add a Sentiment
For the sentiment, I used the More Merry Messages stamp set to add a heartfelt greeting in black ink. I opted for “Season’s Greetings” in a classic script font, stamped in the space at the top right of the oval using a stamp positioner for perfect placement. I used the Tim Holtz Stamp Platform. The simple sentiment lets the intricate die-cut work take center stage while still delivering warm holiday wishes.
8. Assembling the Card
Once all your die-cut elements are coloured, it’s time to assemble. Start by positioning the deckled edge oval in the center of your card base using foam adhesive. Layer the pine sprigs, leaves and pine cones, adhering them with liquid glue. Add the bow with foam adhesive to give the card a lovely three-dimensional effect.

9. Adding Sparkle with Glitter and Wink of Stella
Christmas cards always look extra special with a touch of shimmer! I sprinkled Stampendous Multi Crystal Glitter Mix across the pine sprigs for a dazzling, frosted effect. These multi-sized glitter crystals catch the light beautifully, giving the card a magical sparkle. For more subtle shimmer, I added highlights to the leaves, berries and bow using the Wink of Stella Glitter Brush—just enough to give them a frosty glow.
Final Touches:
Once the elements are assembled and the glitter is set, take a moment to review the card. I added a few final sprigs here and there to fill in any gaps and ensured all elements were secure. The result? A beautifully layered, textured, and glittering card that perfectly captures the rustic charm of the holiday season.
Why I Love This Design
What makes this card so special is the blend of traditional Christmas greenery with soft, unexpected hues like the Tattered Rose and So Saffron. The Distress Inks really bring the die-cut pieces to life, creating a natural, weathered effect that feels cozy and inviting. The subtle sparkle from the Stampendous Multi Crystal Glitter Mix and Wink of Stella adds just the right amount of holiday magic without overwhelming the design.
Tips for Success:
- Use foam adhesive to give your layers dimension. This elevates the look of your card and makes the elements appear more lifelike.
- Blend lightly with Distress Inks—you can always add more, but it’s harder to take it away!
- If you want a more rustic look, try lightly distressing the edges of the card base with Vintage Photo ink.
This card combines timeless Christmas motifs with soft colours and modern sparkle, making it a standout in any holiday card collection. Whether you’re giving it to a loved one or keeping it for inspiration, it’s sure to spread Christmas cheer!
Have you tried using the Pretty Pines Thinlits and Country Wreath Dies in your Christmas crafts? Let me know how you’ve incorporated these beautiful elements into your holiday projects!
Don’t forget to share your creations! Share your card at 52 Christmas Card Throwdown and tag me on social media with your festive cards—I’d love to see what you create!

oh mais ce qu’elle est jolie Gill, une merveille, biz
What a wonderful elegant design. All of your elements on your card shine. What a wonderful way to use the theme challenge.