
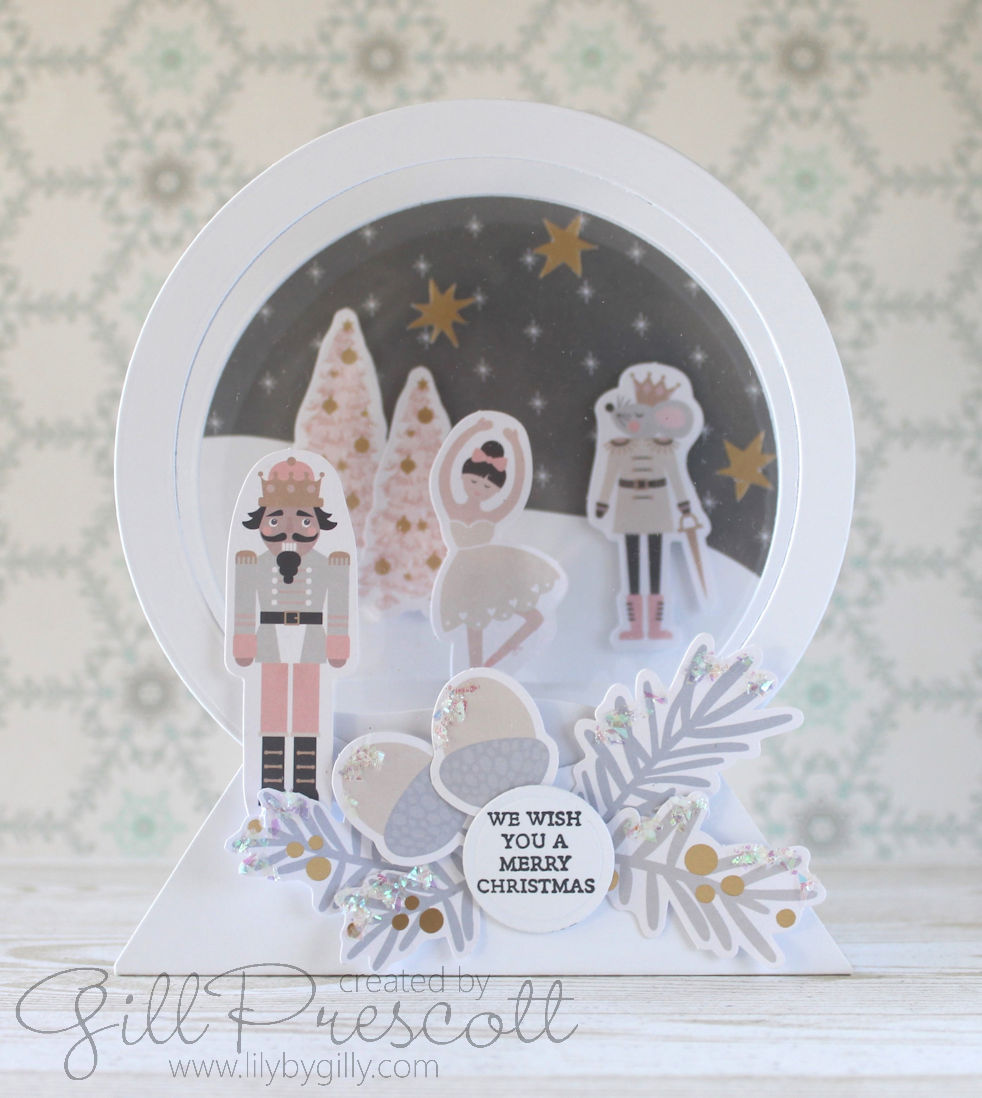
There’s nothing more delightful than spending some time crafting your own Christmas cards. For this week’s challenge at 52 Christmas Card Throwdown, I followed an easy and fun tutorial by Sarah Trebilcock to make this fun 3D snowglobe card with a Nutcracker theme that only requires a few basic tools—circle dies, a scoreboard, and scissors. Even with such minimal tools, the results are stunning! To give my card a little extra sparkle, I added embellishments from the Spellbinders Joyful Christmas card kit and, of course, a touch of glitter for that festive magic. Amazingly, this dimensional card folds flat for posting!
Here’s a step-by-step guide to how I created my Christmas card, inspired by Sarah’s tutorial.
Materials Needed:
- Circle Dies (2 sizes)
- Scoreboard
- Scissors
- Spellbinders Joyful Christmas Card Kit (for embellishments)
- Glitter (for sparkle)
- White 300 gsm cardstock (5″ x 11″)
- Acetate
- Foam adhesive (for dimension)
- Glue and/or scor-tape for adhering card and elements
Step-by-Step Process
1. Die-Cutting the Circles
The first step of this card is cutting out circles, which will form the foundation of the design. Using circle dies in two sizes, I cut out one solid circle from both white cardstock and coloured dsp for the back panel using the largest die (mine was 4 7/8″). Next, I used the same size circle die and a 4 1/8″ circle die to create 2 circle frames in white cardstock. Sarah’s tutorial suggests 5″ circles are perfect to create a simple yet elegant design – as I didn’t have that size, I used what I had. I also cut a piece of acetate using the larger circle die.
2. Using the Scoreboard to Create The Base
Next, I used the scoreboard to score the 5″ x 11″ piece of cardstock for the base. I adjusted my cardstock to the same width as the larger circle die, so cut it to 4 7/8″ x 11″. This helps when you are lining up the circle die cuts with the base piece later. I followed Sarah’s tutorial for the scoring and cutting, and added tape adhesive to the base to adhere together.
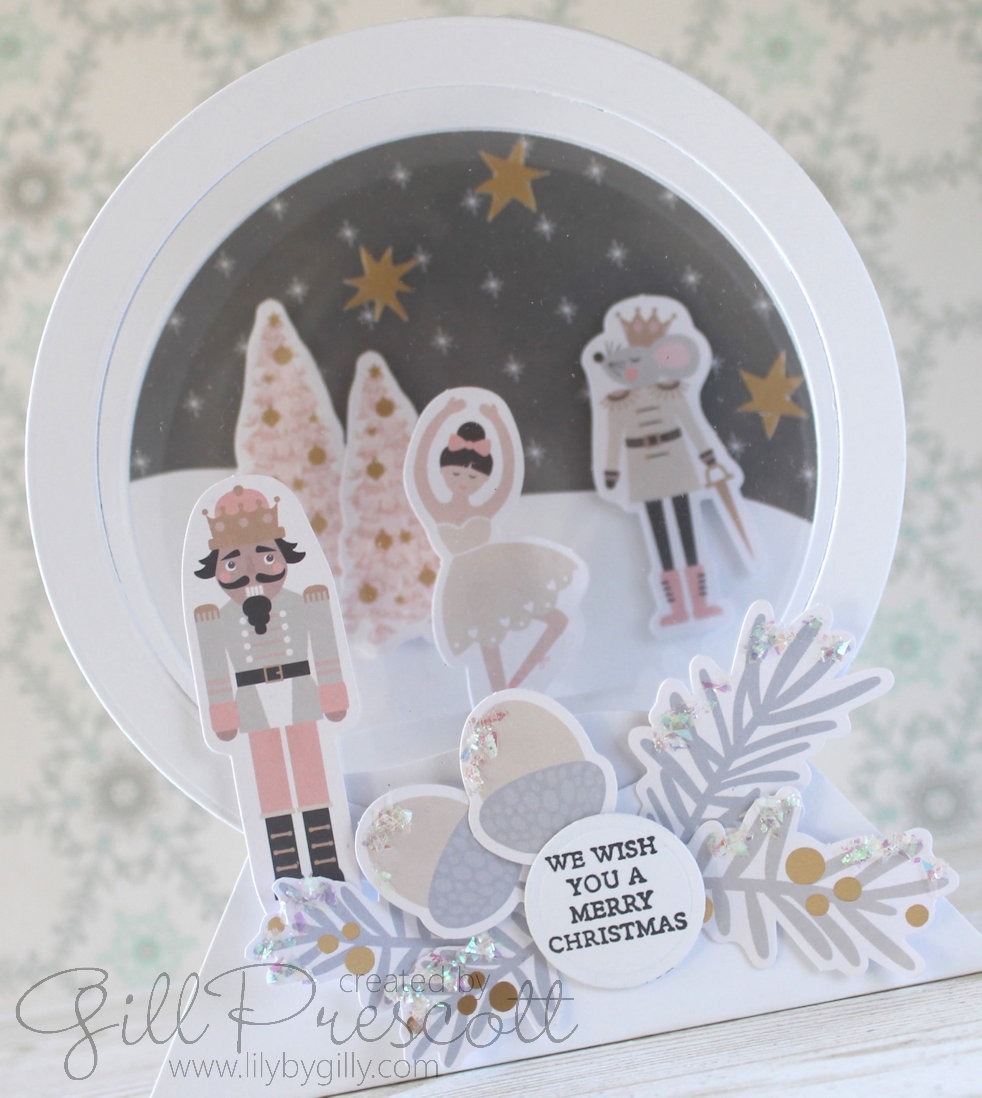
I chose to decorate my circle panels before assembling the card as I figured it would be easier to decorate them whilst flat. I adhered a piece of dsp to the back panel, and added a piece of white card which was die cut using the larger die and cut with scissors in a curve to represent a snowy hill. I used dimensional adhesive to adhere Nutcracker themed ephemera pieces from the Spellbinders Joyful Christmas card kit, and added gold stars from the kit. For the middle circle frame, I created a snowbank as before, and ahered an ephemora piece to the centre. For the outer circle frame, I adhered the acetate to the frame using scor-tape, then added a snowbank as before.
3. Assembling the Circles
Once the circles were ready, I arranged them on the card base. Sarah’s tutorial encourages creativity here—she has great tips on how to place the circles so they line up perfectly when the card is open.

4. Adding Embellishments from the Spellbinders Joyful Christmas Card Kit
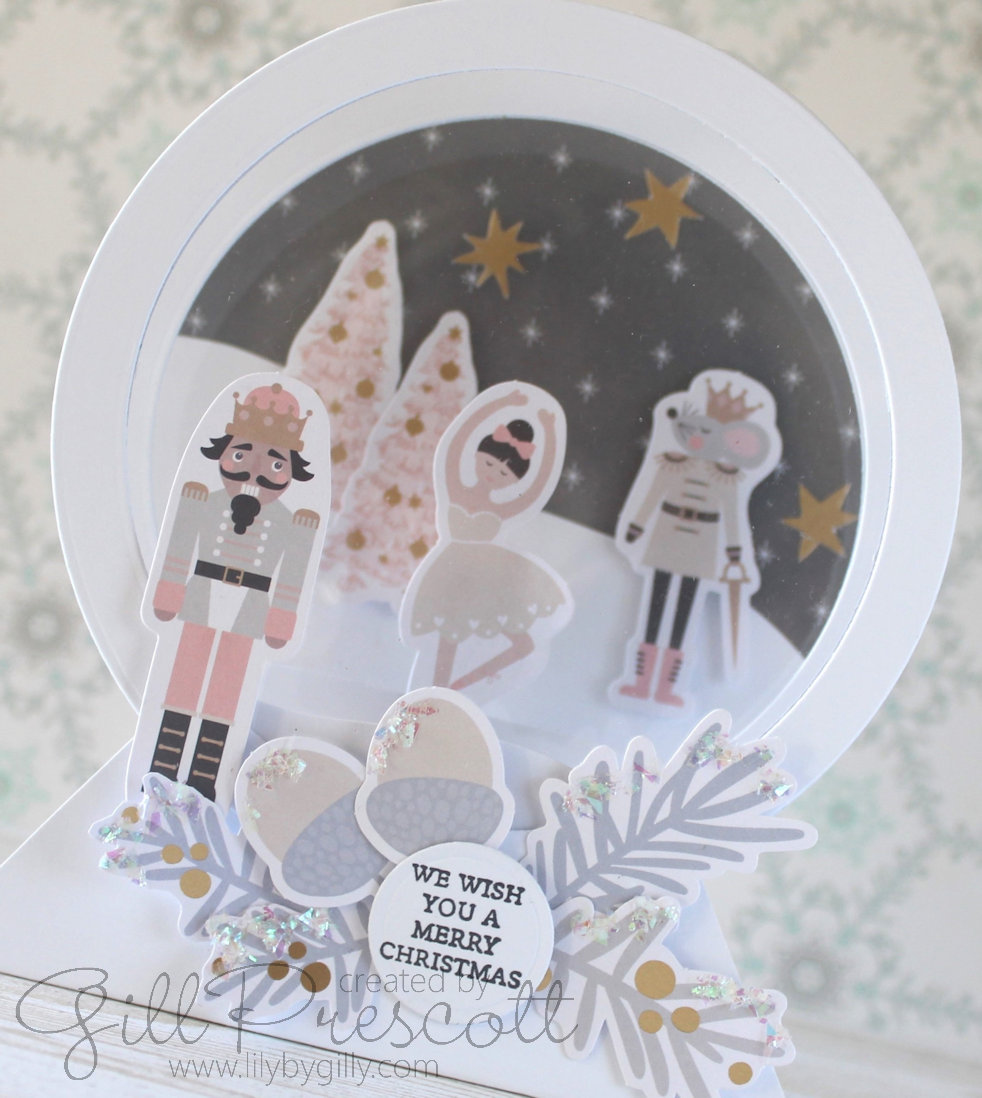
To add some extra holiday cheer, I used more embellishments from the Spellbinders Joyful Christmas card kit. The kit came with a range of festive elements like die-cut poinsettias, holly leaves, and Christmas sentiments. I chose to stamp a sentiment and die cut it out using the smallest circle die I have and placed it on the front of my snowglobe card.
I also tucked in some foliage sprigs and acorns under the circles to bring a touch of interest, and taking pride of place is the Nutcracker, which is the theme of today’s card. The frosty foliage paired beautifully with the colours and tones of the pastel ephemora, giving the card a soft, modern look.

5. Adding Glitter for Sparkle
What’s Christmas without a little sparkle? To finish off the card, I added a touch of glitter along the edges of the foliage. The glitter catches the light beautifully, adding a frosty, festive touch that makes the card feel magical.
Be careful not to go overboard with the glitter—just a subtle touch is enough to elevate the design without overwhelming it. A fine line of glitter glue or a dab of loose glitter applied with a glue pen works perfectly for this. This step adds interest and gives the card a more polished, professional look.
Why I Love This Design
This 3D card design is wonderfully simple but allows for so much creativity, and of course it folds flat for posting!

The beauty of Sarah Trebilcock’s tutorial is that it gives you a basic framework using just circle dies and a scoreboard, but you can take it in any direction you like with your own choice of colours and embellishments. It’s also a great design if you’re crafting on a budget or are new to card making, as it doesn’t require a lot of specialised tools.
The Spellbinders Joyful Christmas card kit was the perfect complement, offering a range of festive embellishments that saved time but still made the card look handmade and thoughtful. The touch of glitter gave the final product that extra holiday sparkle, perfect for spreading Christmas cheer! You may recognise the Nutcracker images as I have used them before on a card – you can check out my previous Nutcracker themed cards here and here.
Tips for Success:
- Experiment with circle placement: bear in mind the size of your circle dies – you can adjust your design to fit what you have. The size affects how you layer and place your circle and frame.
- Use a mix of textures: Consider incorporating metallic or glitter cardstock alongside plain or textured papers which adds dimension and visual interest to the design.
- Less is more with glitter: A little bit of glitter goes a long way. Just a fine line along edges or a dusting on embellishments is enough to make your card pop without overwhelming the design.
Final Thoughts
This Christmas card was a joy to create and proves that even with just a few basic tools, you can make something truly special. Whether you’re new to crafting or looking for a beautiful card design, Sarah Trebilcock’s tutorial is a fantastic option. Combined with the embellishments from the Spellbinders Joyful Christmas card kit, and a sprinkle of glitter, this card is sure to bring a smile to anyone who receives it.
Have you tried this tutorial or a similar design for your Christmas cards? I’d love to hear your ideas and see how you’ve made them your own! Don’t forget to share your card at 52 Christmas Card Throwdown and tag me on social media – I’d love to see what you create!

Magical, immediately transported to The Nutcracker ballet…love it.
elle est splendide Gill! quelle merveille, biz
A wonderful take on the Nutcracker theme. Your snowglobe is fabulous.