

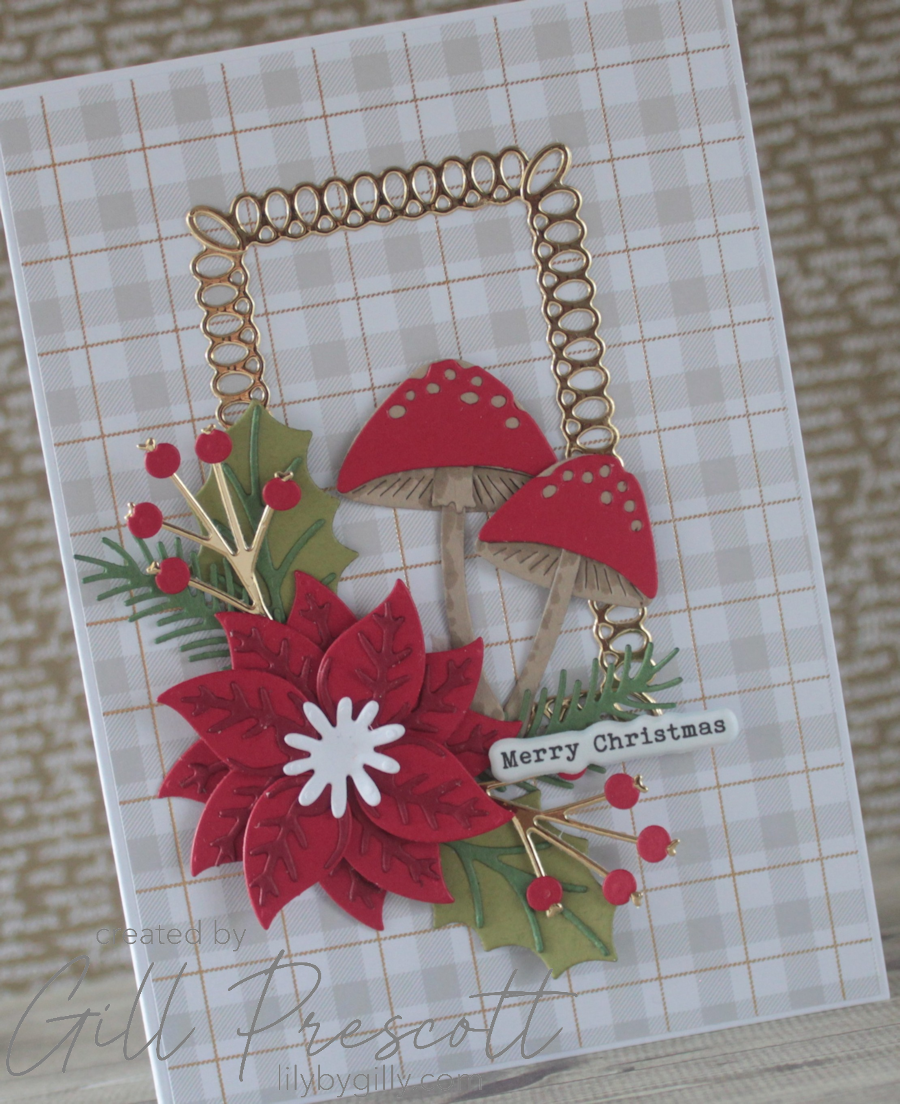
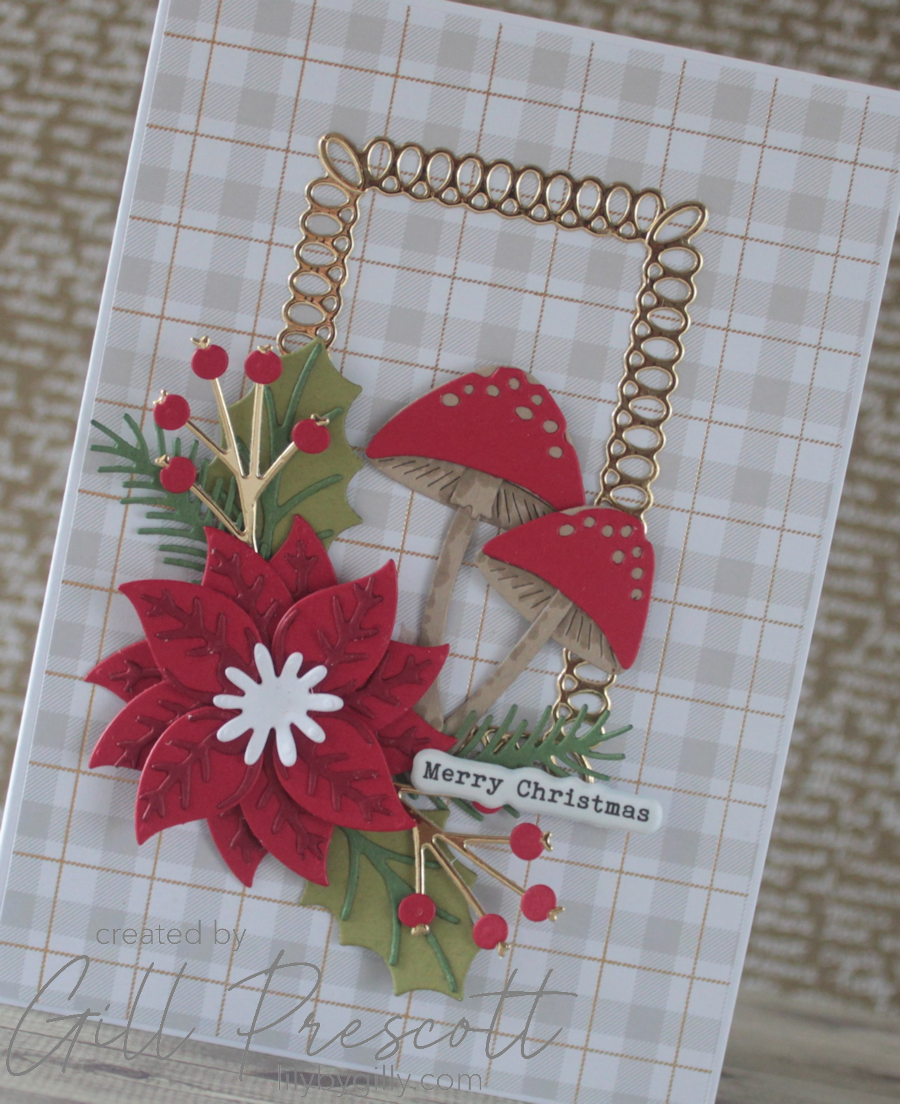
This week’s theme challenge at 52 Christmas Card Throwdown was a delightfully whimsical one—chimney sweeps and mushrooms! I decided to go with mushrooms and had so much fun creating this playful woodland-inspired Christmas card.
Although I’m a little late posting this week, there’s still time to join in—you’ve got until Friday 25th April to link up your creation. Let’s take a closer look at how my card came together…
Materials Used
-
Basic White cardstock – A6 base
-
Patterned paper – from the Spellbinders Christmas Card Kit
-
Gold cardstock – for the frame
-
Poinsettia and foliage dies – in Real Red, Cherry Cobbler, Lucky Limeade, Garden Green, White, and Gold, all by Stampin Up
-
Mushroom dies – from Amazon, cut in Crumb Cake and Real Red, also by Stampin Up
-
Crumb Cake marker pen – for subtle shading
-
Puffy sentiment sticker – “Merry Christmas” from the Spellbinders kit
-
Adhesives – dimensional foam pads and glue
Step 1: Creating the Card Base
I started with a side-folding A6 card base in Basic White cardstock. To add colour and pattern, I adhered a piece of designer series paper from the Spellbinders Christmas Card Kit directly onto the front of the card.
Step 2: Adding the Frame
Following the card kit recipe, and using gold cardstock, I die-cut a decorative frame (also from the kit) and adhered it to the centre of the card a little more to the top, creating a focal point area to build around.
Step 3: Die Cutting the Florals
Next, I used a mix of dies to create a festive floral spray. The poinsettia was cut in Real Red and Cherry Cobbler, with white centre, and leaves and foliage in Lucky Limeade, Garden Green, and Gold. These were layered and adhered to the bottom left corner of the gold frame using dimensional adhesive to give a bit of height and depth.
Step 4: Adding the Mushrooms
For the challenge theme, I added die-cut mushrooms, using Crumb Cake for the stems and Real Red for the caps. I added a little shading to the stems with a Crumb Cake marker pen, and the caps show the colour of the card underneath, giving them that classic toadstool look.
The mushrooms were then tucked into the centre of the floral spray, peeking out from behind the leaves and overhanging slightly to the right side of the frame.

Step 5: Sentiment and Finishing Touches
To finish the card, I used a puffy “Merry Christmas” sentiment sticker from the Spellbinders kit and placed it to the bottom right of the frame to balance the design. I chose not to add any extra embellishments, as the card already had lots of lovely texture and shine from the gold accents and bold colours.

Final Thoughts
This card was such fun to make and a lovely way to try something a bit different with the mushroom theme. The Spellbinders Christmas Card Kit has been amazing value—I’ve used it loads, and there’s still plenty left for more cards. Plus, those dies will come in handy time and again!
If you fancy giving this challenge a go, you’ve got until Friday 25th April to get your entry in—I’d love to see what you make!
If you’d like to see what else I made using the Joyful Christmas Club Kit by Spellbinders, you can see them here, here and here.
Happy crafting!

Love this, there’s something quite magical about it.
That’s just beautiful!
Beautiful card.
Oh Wow Gill, comme toujours, elle est magnifique et fantastique, biz