
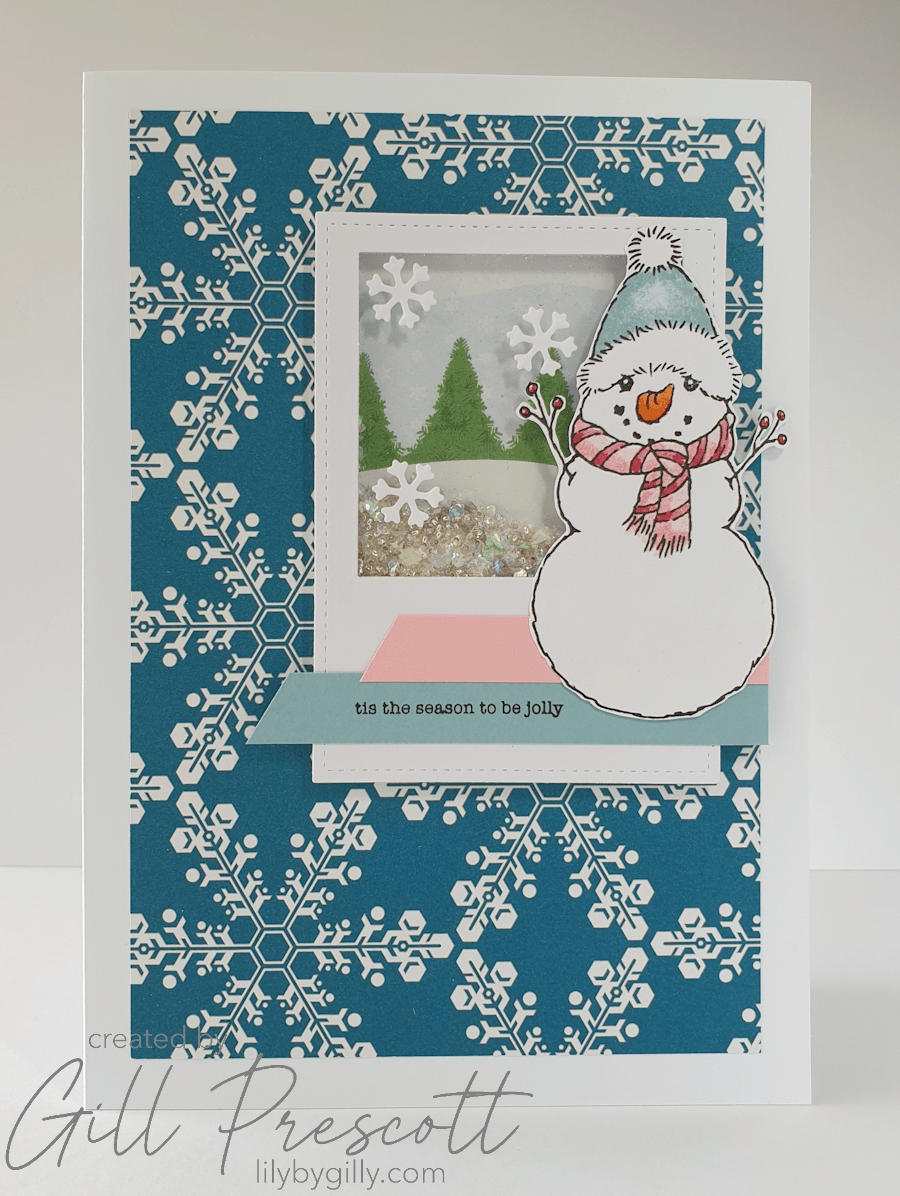
It’s sketch challenge week over at 52 Christmas Card Throwdown, and as soon as I saw the layout, I knew it would work beautifully for a window shaker card! I love making interactive cards and this was the perfect excuse to break out the glitter and confetti.

Let me share how it all came together…
Card Overview
- Challenge Theme: Sketch
- Card Size: A5
- Main Colours: White, Baja Breeze, Pretty in Pink, plus wintery DSP tones
- Techniques: Shaker card with stitched and aperture die cuts
- Focal Image: Snowman
- Products Used: Stampin’ Up cardstock and DSP, Stampendous stamps, Sizzix snowflake confetti
Step 1: Building the Card Base
I started with a sturdy A5 base card made from heavyweight Basic White cardstock by Stampin’ Up. This gave me a nice strong foundation for the shaker element.
For the background, I pulled out a piece of Stampin’ Up Christmas DSP (now retired, but one of my favourites and perfect for this card – hoarding for the win!)
Step 2: Creating the Shaker Window
To create the shaker, I die cut a stitched rectangle panel from white cardstock, keeping the stitching detail around the edge for a nice finished look.
Then I used a smaller square die to cut an aperture towards the top of the rectangle.
I backed the window with a lovely winter scene paper from my stash – the soft snowy imagery was perfect for this project.
Before sealing it up, I filled the shaker with a fun mix of:
- White glitter for sparkle
- Snowflake confetti by Sizzix
- Clear seed beads which add the most wonderful gentle shaker sound when the card is moved
A piece of acetate was added behind the window for the shaker front, and then I used foam adhesive strips to create the shaker well before sealing it all together.

Step 3: Adding the Snowman Focal Point
For the focal image, I stamped the large snowman from the Snowy Friends stamp set by Stampendous onto white cardstock, using black ink for a crisp outline.
I coloured him using alcohol markers:
- Blues for the hat
- Reds and pinks for the scarf and berries
- A touch of orange for the carrot nose
Once coloured, I fussy cut the snowman and adhered him to the side of the shaker window, making him appear as though he’s enjoying the snow inside the shaker scene!

Step 4: Sentiment and Embellishments
For the sentiment strip, I stamped in black ink onto a piece of Baja Breeze cardstock, trimming it to a neat horizontal strip as per the sketch.
To balance the design, I also cut a second strip from Pretty in Pink cardstock, positioning it above the sentiment to echo the layout and match my colour scheme.
Finally, I die cut a few mini snowflakes and adhered them onto the front of the shaker window using wet glue for extra wintery detail.

Step 5: Final Assembly
All the elements were then layered onto the card front, making sure everything lined up nicely with the original sketch layout.
The result is a bright, cheerful Christmas shaker card with a sweet snowman and plenty of sparkle and movement.

Thanks for Visiting!
If you’ve never made a shaker card before, this sketch challenge is the perfect time to give it a go!
There’s still time to join in this week’s fun over at 52 Christmas Card Throwdown, and I can’t wait to see how everyone interprets the sketch.
Happy crafting! ☃️❄️✨

Love that snowman! I don’t make many shaker cards, but this is a fab design
oh wow Gill, quel amour de bonhomme avec ce joli shaker en fond, j’adore, biz
Beautiful card! i love the shaker element!