
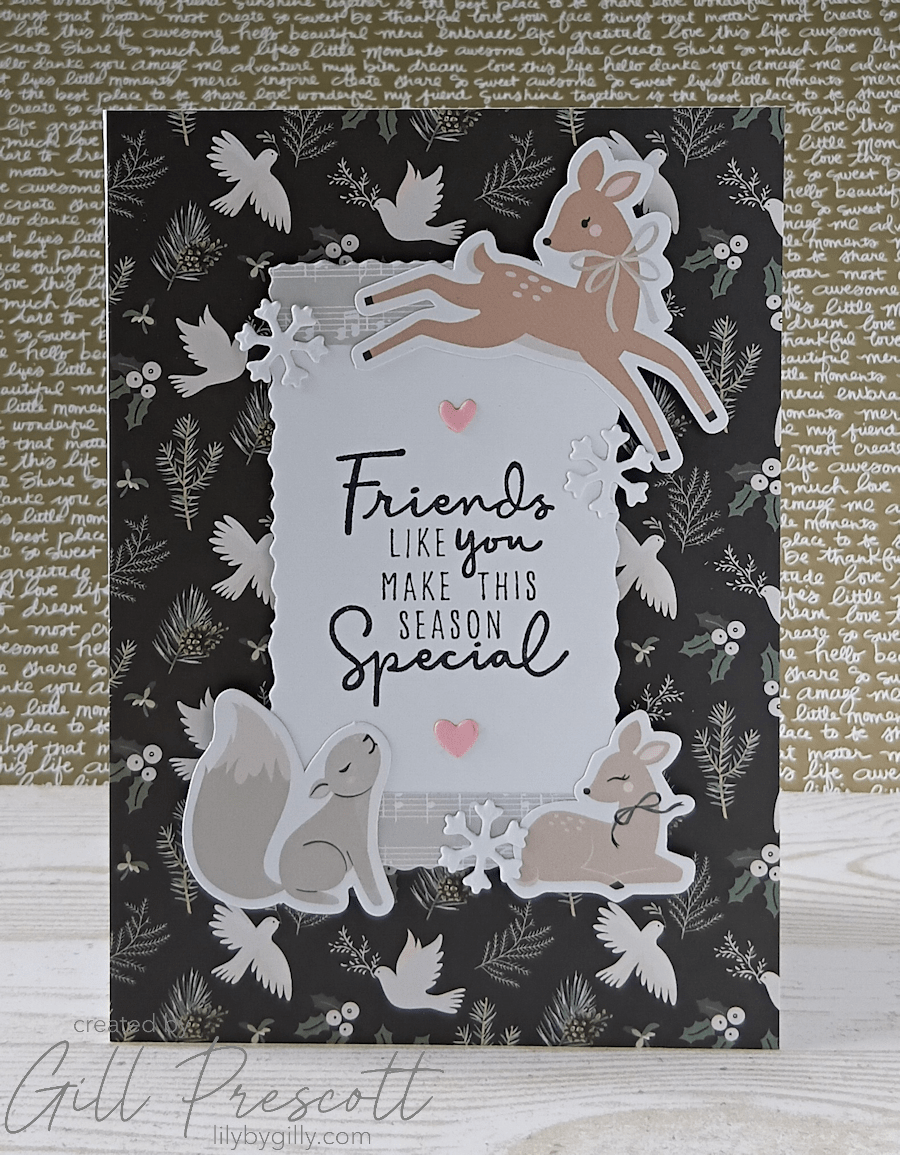
This week’s theme challenge over at 52 Christmas Card Throwdown is animals, which opens up so many fun possibilities! I decided to keep things simple and let some lovely pre-designed elements do the work for me, using the Joyful Christmas Card Kit by Spellbinders. It’s one of those cards that comes together quite easily but… Continue reading A Festive Animal-Themed Christmas Card | 52 Christmas Card Throwdown
Tag: Christmas to remember

Penguins in the Snow – 52 Christmas Card Throwdown Sketch Challenge
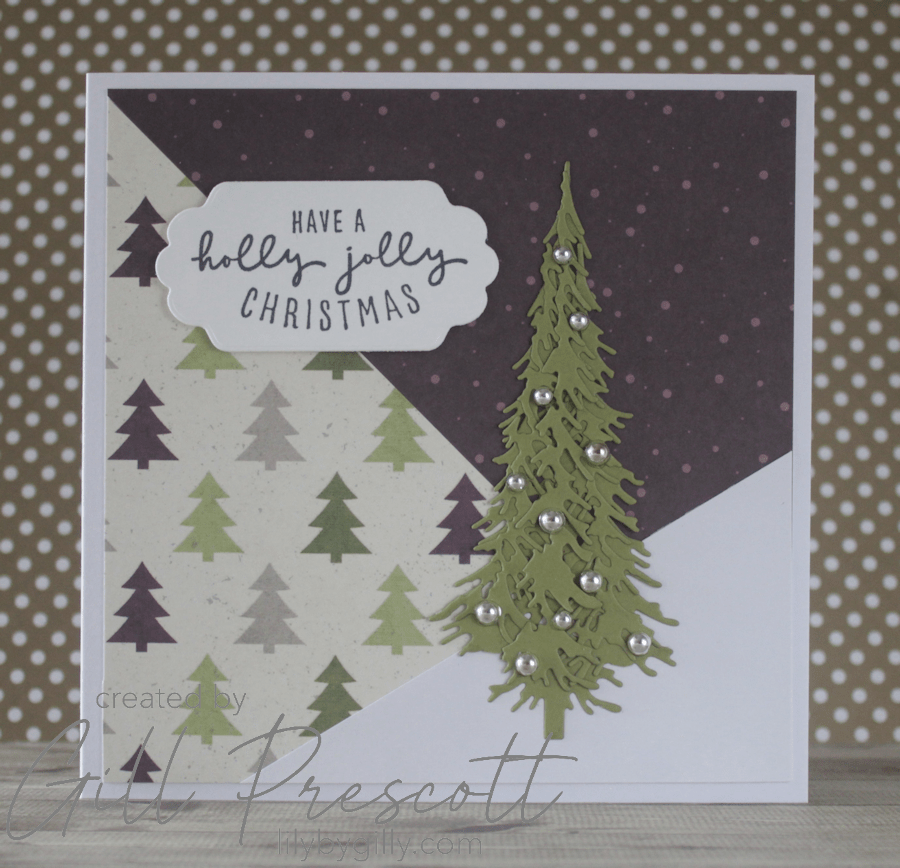
This week’s challenge at 52 Christmas Card Throwdown is a sketch, and I couldn’t resist creating a little snowy scene with some cute penguins and Christmas trees. Card Details Challenge theme: Sketch Card size: 6" square, deckle-edge base Main colours: Soft Sky, Lucky Limeade, White, Black Techniques: Embossing, die cutting, alcohol marker colouring, glitter accents… Continue reading Penguins in the Snow – 52 Christmas Card Throwdown Sketch Challenge
Sketch Challenge Inspiration at 52 Christmas Card Throwdown: A Flipped Festive Scene
Hello crafting friends! I’m back this week with a brand new card for the 52 Christmas Card Throwdown challenge, and this time it’s all about getting creative with a sketch. Sketch challenges are such a fun way to spark new ideas, and for this one, I decided to flip the sketch and dive into my… Continue reading Sketch Challenge Inspiration at 52 Christmas Card Throwdown: A Flipped Festive Scene

Slimline Christmas Card featuring Ribbon
It snowed this week in the north of England, and the first thing my grandson said as I drew back the curtains that morning was "Christmas!" He was one excited little boy making snowballs on the walk to school. As all our minds turn to Christmas and Christmas crafting is in full swing, the 52… Continue reading Slimline Christmas Card featuring Ribbon
