

It’s time for another 52 Christmas Card Throwdown challenge, and this week we’re following a sketch. Sketch challenges are always among my favourites because they’re such a great jumping-off point. You can follow them closely or use them simply as inspiration, and every card ends up looking wonderfully different.
For my Design Team card, I decided on a soft, elegant colour palette of white, silver, pale pink and soft grey. It’s difficult to photograph as the mirror card reflects all the dark surfaces around it! But it’s a combination that feels fresh and frosty, and I love how the silver mirri card catches the light while the glittered foliage adds just the right amount of Christmas sparkle.
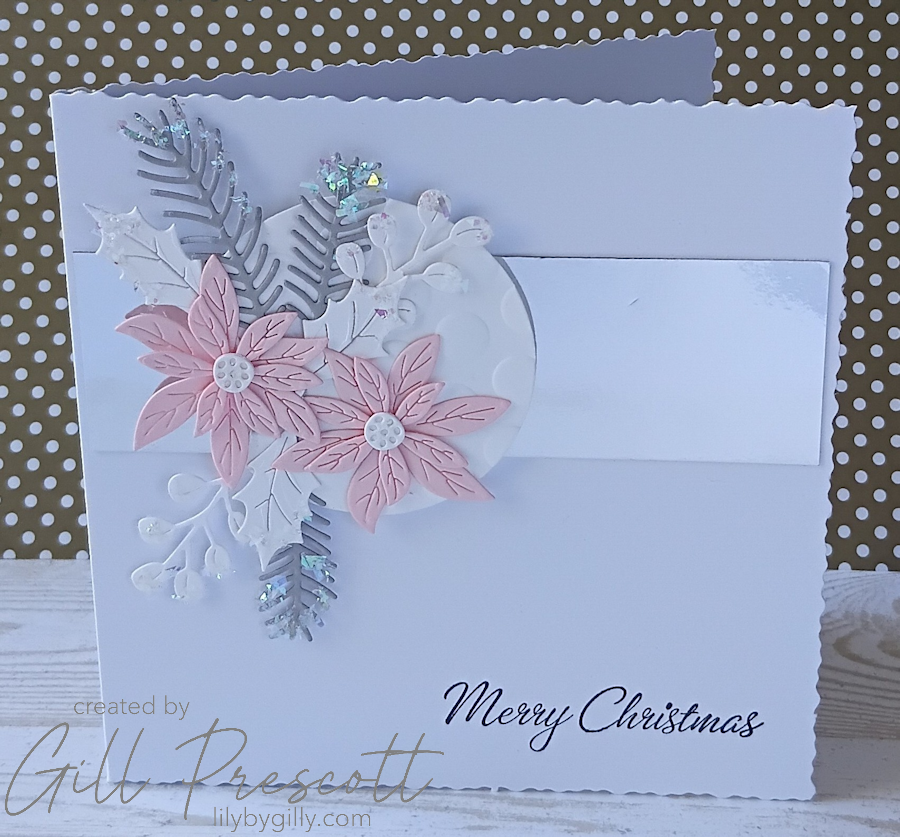
Here’s how I made it.
Materials Used
- Card Base: 6″ white deckle-edge card
- Cardstock: White, Silver Mirri, Pink Pirouette and Smoky Slate
- Dies: Holiday Blooms (Spellbinders)
- Embossing Folder: Spellbinders Puffy Dotty 3D Embossing Folder
- Sentiment Stamp: Stampin’ Up!
- Ink: Black
- Glitter
- Foam Tape
- Liquid Glue
Step 1: Prepare the Background
I began with a 6″ white deckle-edge card base, which gives a lovely soft finish around the edges.
From my ever-growing scraps box, I found a strip of silver mirri card that was almost the perfect size. I trimmed it to fit the width of the card front, leaving a narrow white border on either side.
I love being able to use up scraps like this, especially specialty cardstock that always feels too nice to throw away!
The silver strip was then adhered across the card, just as shown in this week’s sketch.
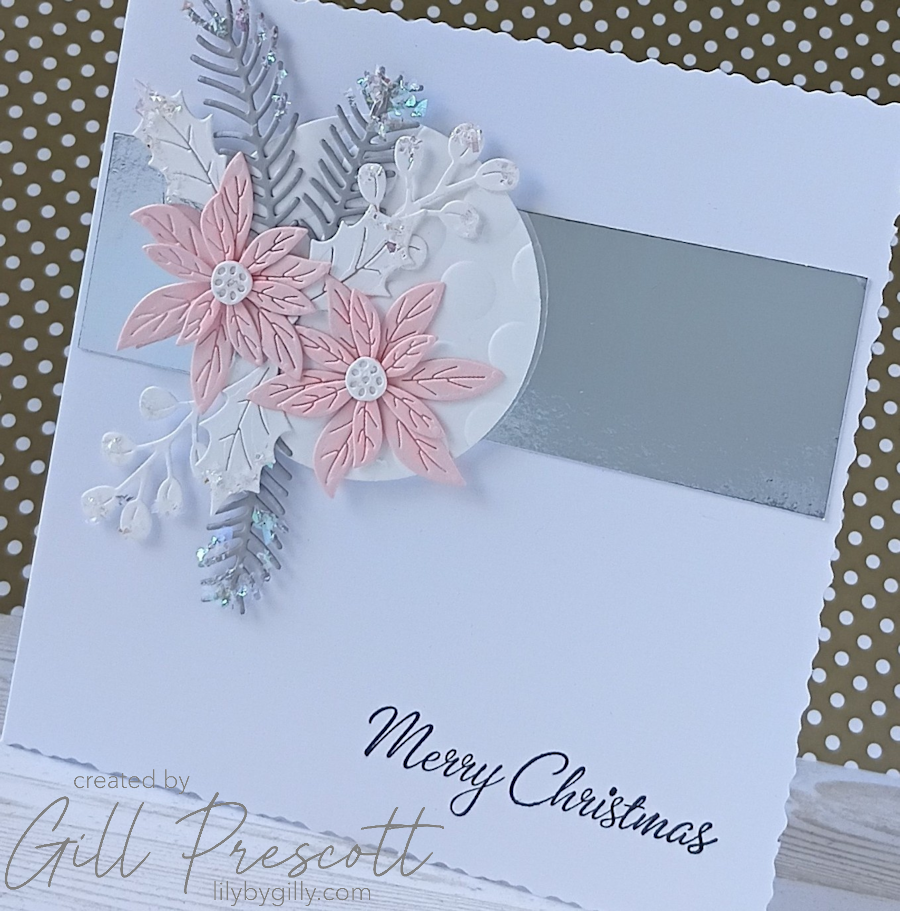
Step 2: Create the Floral Cluster
The focal point of the card is a festive floral arrangement built on a white die-cut circle.
Before adding any of the flowers, I embossed the circle using the Spellbinders Puffy Dotty 3D Embossing Folder. Although much of the embossing is hidden once the flowers are in place, the texture that peeks through adds another subtle layer of interest.
One of my favourite floral sets for Christmas is the Holiday Blooms die set by Spellbinders, which I’ve had on my desk from a previous challenge. I used it again to die cut:
- Poinsettias from Pink Pirouette cardstock
- Pine foliage from Smoky Slate, a lovely pale grey that coordinates beautifully with the silver mirri card
- Holly leaves and delicate sprigs from white cardstock
One of the things I love most about this die set is that the pieces are quite small, making them perfect for using up all those precious scraps of cardstock that are too nice to throw away.
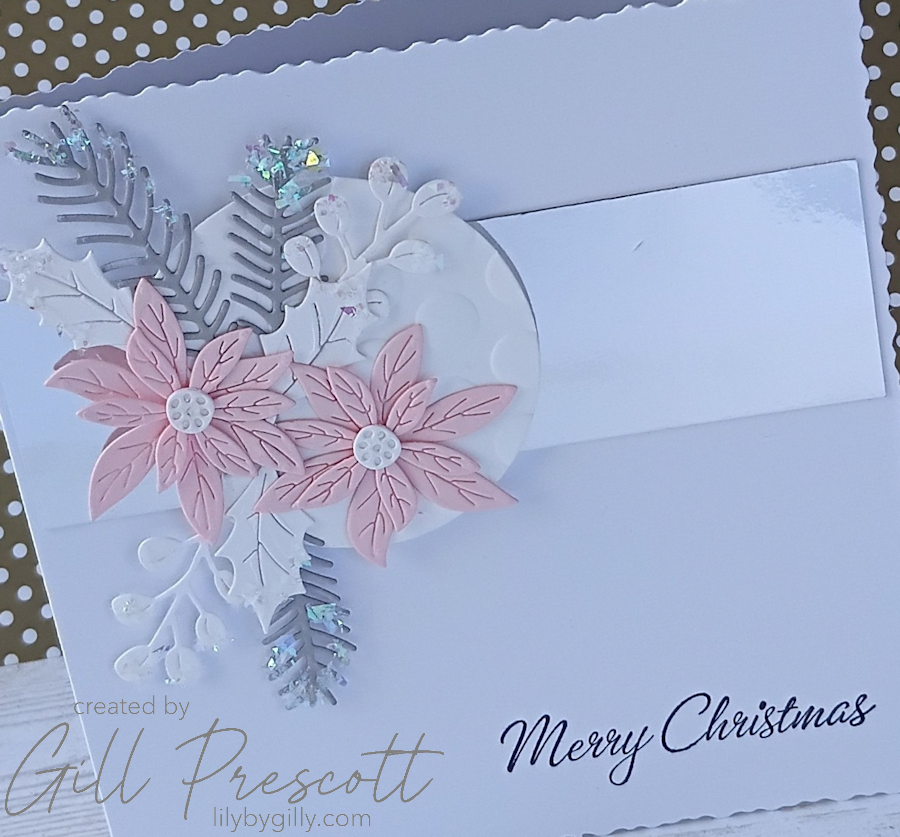
I arranged the poinsettias first before tucking in the foliage until I was happy with the composition, then adhered everything in place using liquid glue.
Step 3: Assemble the Card
Once the floral cluster was complete, I mounted it onto the silver panel using foam tape, positioning it towards the left-hand side to follow the sketch.
The raised dimension helps the arrangement stand proud from the card front and creates lovely shadows around all the layered die cuts.

Step 4: Add the Sentiment
With the focal panel in place, I stamped a festive greeting in black ink directly onto the card base in the bottom right-hand corner.
Keeping the sentiment simple allows the floral arrangement to remain the star of the show while balancing the overall design.
Step 5: Add a Frosty Finish
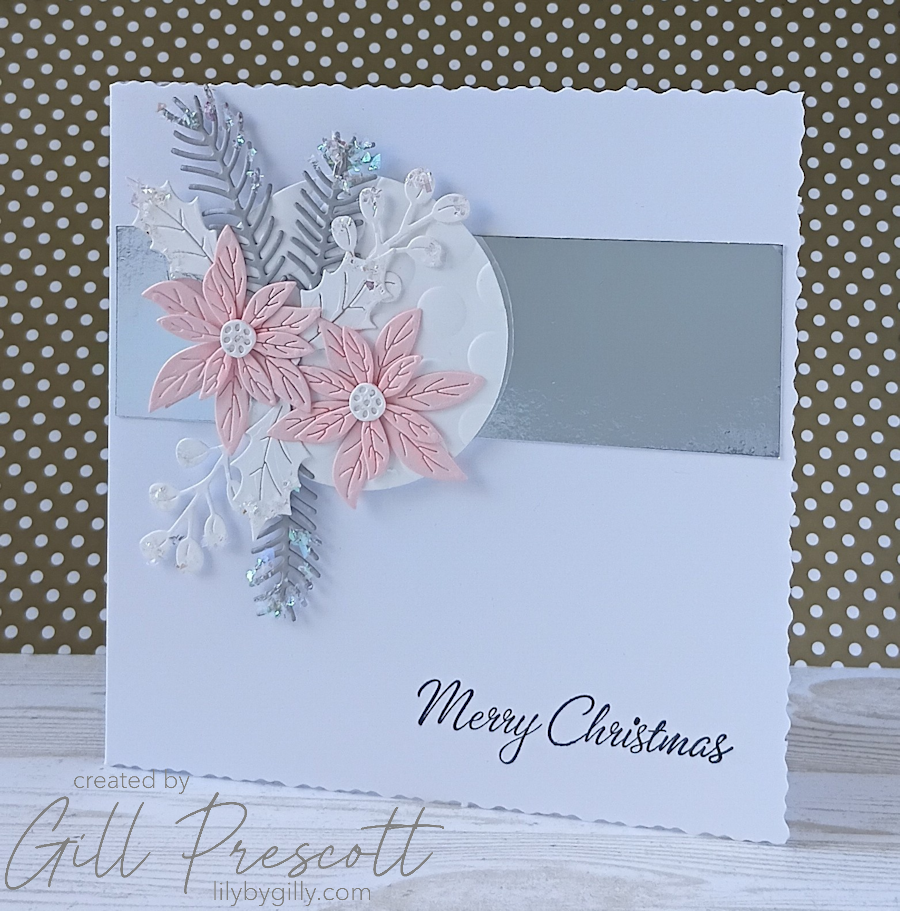
To complete the card, I added tiny dots of liquid glue around the edges of the foliage before sprinkling on a little glitter.
It’s a simple finishing touch, but it gives the leaves and sprigs a beautiful frosted appearance, catching the light just like freshly fallen snow.
Final Thoughts
I really enjoyed creating this card. It’s a lovely example of how a sketch can provide the structure for a design while still allowing plenty of room to make it your own.
I also love that this project made good use of my scraps box. The silver mirri strip and the small die-cut pieces were all created from leftover cardstock, proving that even the smallest scraps can become something beautiful.
If you’re looking for a little festive inspiration, why not join us over at 52 Christmas Card Throwdown this week? Sketches are a wonderful way to kick-start your creativity, and I’d love to see how you interpret this one.
Happy crafting!


Oh this is just gorgeous Gill – I love the colours and the way you’ve interpreted the sketch. Such a classy card!
oh la la Gill, elle est si jolie et charmante, toute de douceur et de charme, j’aime ton choix de couleurs, biz