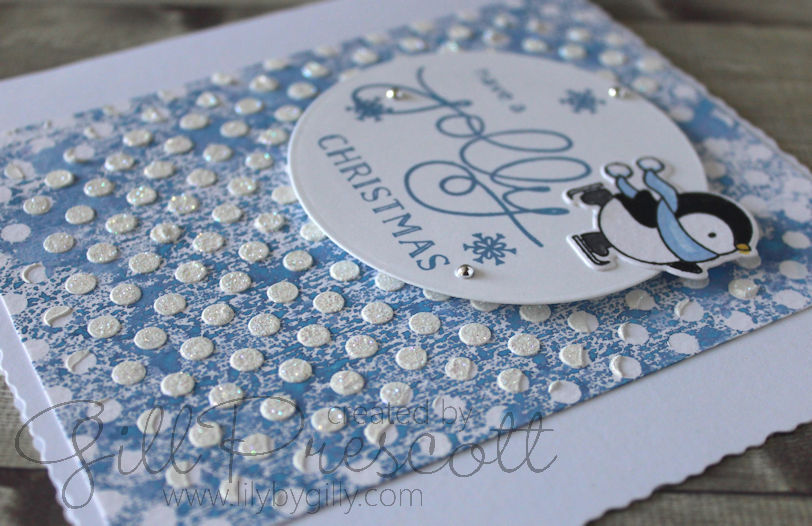
Posts tagged ‘Distress oxide inks’

April 1, 2023

Gelli print background with oxide inks

Hello and welcome.

It’s the first Saturday of a new month, and that means its time for a sketch challenge over at 52 Christmas Card Throwdown.

I had so much fun with the previous mixed media challenge that I decided to create a background for my card using my gelli plate with oxide inks and a snowflake mask – I love the water colour effect it produced….

I added scraps of white textured card for the vertical ribbon to follow the sketch, and topped with a decal edge oval die cut by Spellbinders in pool party card by Stampin Up.

I added a 3D snowflake by Tim Holtz, cut from a piece of card that I’d coloured with a mixture of the oxide inks, and topped with a polar bear from the Folk Christmas stamp and die set by Sizzix on whisper white card, coloured with various stampin’ write ink pens.

I stamped a couple of holly leaves from the Christmas Season stamp set by Stampin Up in old olive ink and used the matching framelits to cut them out.  I added a sprig of foliage in white.

I hope you’ve been inspired to join our challenge this week – we’d love to see what you create using this sketch.

Enjoy your weekend

March 25, 2023

Mixed media festive flurry

Hello and welcome.

There is a mixed media challenge at 52 Christmas Card Throwdown this week.  The term mixed media is used to describe artwork that is made from a variety of different materials or media.  I got out lots my craft supplies and spent a pleasant evening just creating.

To make the background, I started by smooshing oxide inks spritzed with water onto a piece of acetate before pressing onto a piece of watercolour card to create a random pattern.  Here I used speckled egg and weathered wood, spraying a little more water to blend the colours.

After drying with my heat tool, I added homemade texture paste through a star stencil to add texture. I didn’t worry too much about achieving perfection, just went with the flow.  When this was dry, I added a further layer by randomly stamping text onto the background, and then used a white posca pen to add white splatters.

Next, I stamped a snowflake from the Festive Flurry stamp set onto a piece of baja breeze card and heat embossed with chunky white embossing enamel, then die cut using the matching framelits.  I inked the edges of the die cut to make it pop against the background.

I popped up the snowflake and the handcut sentiment on adhesive foam for dimension, inked around the edges and added it to a 6″ square card base.

I was really enjoying the process, so made another background, this time using faded jeans and tumbled glass distress oxide inks. This technique produces different results every time, which is so much fun.  I also like how the chunky embossing powder on the night of navy snowflake looks here and love all the little imperfections…

I was really pleased with how my homemade texture paste turned out too.  I searched online and found several different recipes but didn’t have all the ingredients.  Most of the recipes called for baby powder, but as I didn’t have any, I improvised and used cornflour instead.

My texture paste recipe – add 1 tablespoon each of PVA glue and white acrylic paint to 4 tablespoons of cornflour and mix well.  Add more cornflour, a little at a time, until you reach the consistency you require. Store in an airtight container.  I hope you give it a go – it was easy to do and I was delighted with the results.

I hope you’ve been inspired to join the challenge this week – we’d love to see what you come up with.

Enjoy your weekend

%d bloggers like this: