
Hello, crafty friends! It’s never to early to start creating festive cards to share with loved ones. Today, I’m excited to show you how I made a stunning Christmas card for the challenge over at 52 Christmas Card Throwdown using some fabulous products: Spellbinders 3D embossing folder, Spellbinders Santa’s Festive Circle Crew dies, Mama Elephant Holiday Messages stamp set, Tim Holtz Specimen Thinlits by Sizzix, and a touch of designer series paper (DSP). Let’s dive in and get creative!
Materials Used:
- Spellbinders 3D Embossing Folder: Adds rich, dimensional texture to the background.
- Spellbinders Santa’s Festive Circle Crew Dies: A fun and whimsical Santa die set perfect for holiday cards.
- Mama Elephant Holiday Messages Stamp Set: For the perfect festive sentiment.
- Tim Holtz Specimen Thinlits by Sizzix: To create a clean and crisp sentiment strip.
- Designer Series Paper (DSP): Adds an extra layer of pattern and colour.
- Distress Oxide Ink: speckled egg
- Cardstock, Ink, Adhesive, and Embellishments: Standard crafting supplies to bring the card together.
Step-by-Step Tutorial:
1. Creating the Background with Spellbinders 3D Embossing Folder:
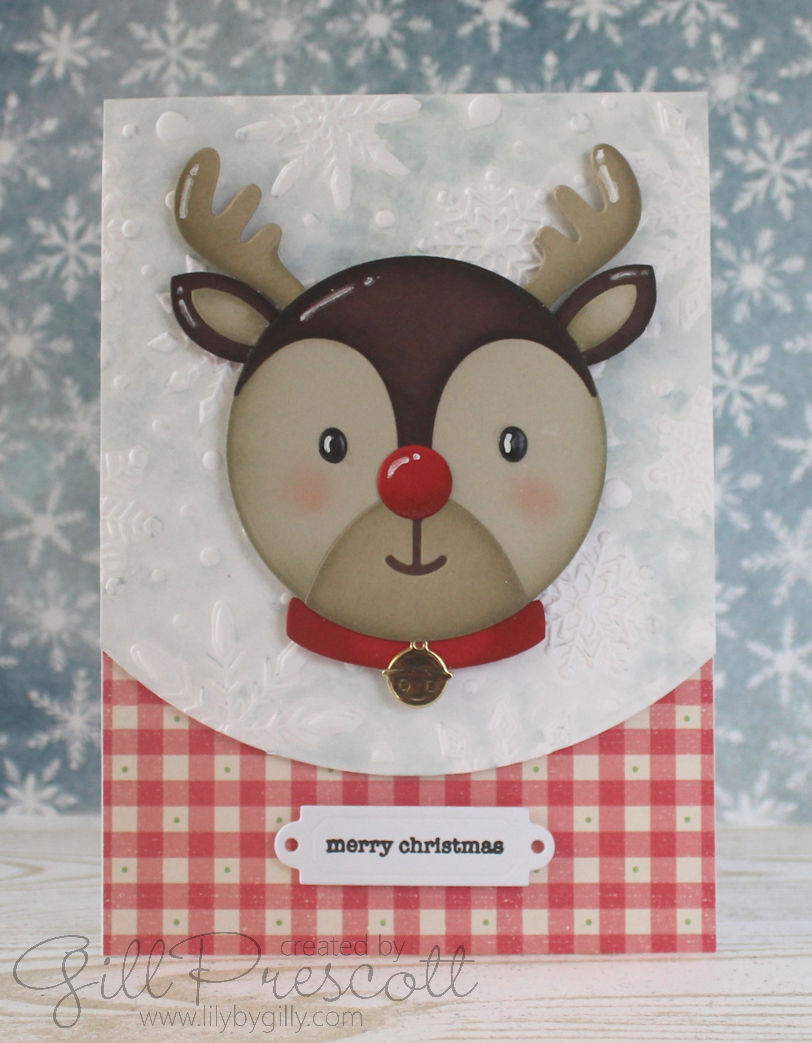
I started by creating the card base using heavyweight white cardstock, measuring 4 1/8” x 5 3/4” (half an A4 sheet folded in half). To add a gorgeous backdrop, I used a piece of white watercolour cardstock and ran it through my die-cutting machine with a circle die to create the curve, and a Spellbinders 3D embossing folder. The deep, intricate design of the folder gives the background a beautiful texture, resembling swirling snow—perfect for a winter scene.
Tip: Lightly spritz the cardstock with water before embossing to prevent cracking and to achieve a deeper impression.
I added speckled egg Oxide Distress Ink using a paintbrush and plenty of water to add colour to the background, leaving the snowflakes white, then set this aside to dry.

2. Preparing the Santa’s Festive Circle Crew Elements:
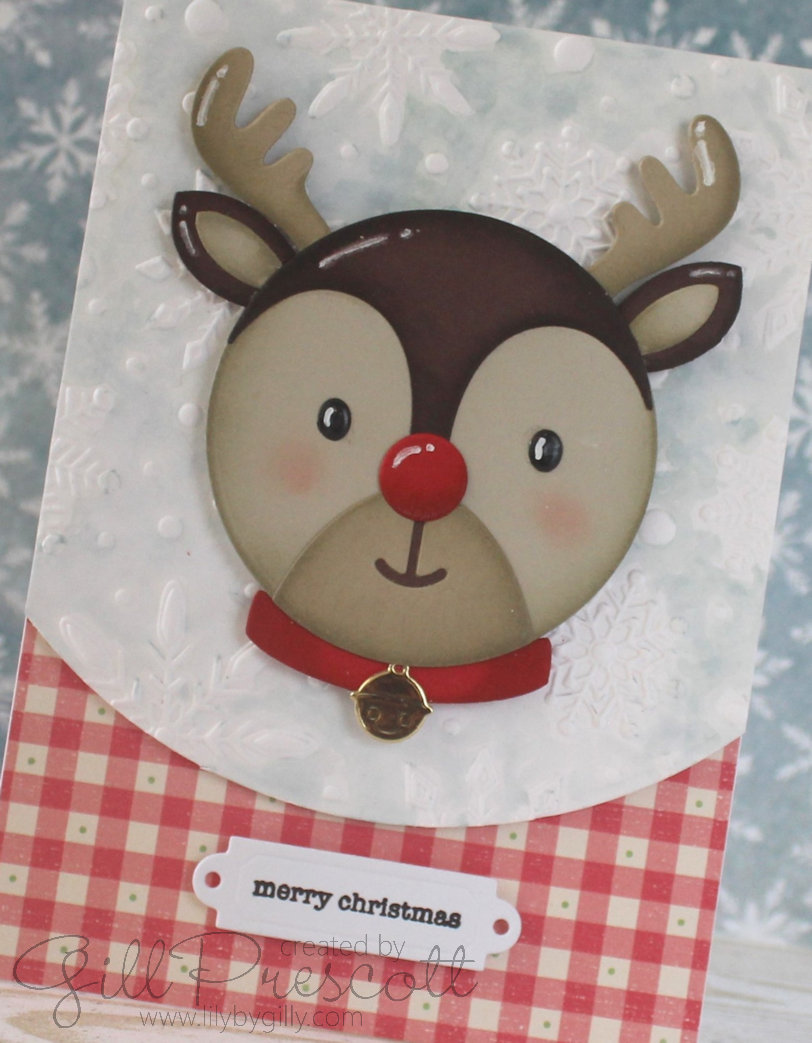
Next, I die-cut all the adorable elements of Rudolph from the Spellbinders Santa’s Festive Circle Crew dies. I used a variety of cardstock colours: a mix of chocolate chip, crumb cake and sahara sand for Rudolph’s head, ears, antlers and face, red for his nose and collar, and gold mirror card for his cute little bell. I added shading and depth to the die cuts using the same colour of inks using sponge daubers. To add extra detail, I used a white gel pen to add highlights and small dots to Ruloph for a cute, whimsical touch.
After assembling Rudolph, I mounted him on a piece of fun foam as he acts as a perfect focal point against the embossed background, so I wanted him to be raised a little.
3. Adding the DSP Layer:
To bring in a touch of pattern and colour, I cut a strip of festive DSP in co-ordinating colours (I used a pink gingham pattern) and adhered it horizontally across the bottom of the base card. This layer adds a nice contrast between the embossed texture and the main elements of the card.

4. Creating the Sentiment Strip:
For the sentiment, I used the Mama Elephant Holiday Messages stamp set, which offers a variety of cheerful and versatile greetings. I stamped the sentiment in black ink on white cardstock, giving it a crisp, clean look that stands out against the patterned paper.
To create a professional finish, I used the Tim Holtz Specimen Thinlits die set to cut out the sentiment strip. This die creates a perfect sentiment strip with label ends and a neat, polished edge. Adding brads to the die cut would look cute too.
5. Assembling the Card:
Now it’s time to assemble everything! I adhered the dsp to the bottom of the base card, and then adhered the embossed background to the card base using foam tape. Next, I adhered the Rudolph circle on top using strong glue. I placed the sentiment strip below Rudolph, on the DSP.
6. Final Touches:
For the finishing touches, I added some glossy accents to Rudolph’s eyes to make them stand out.

Final Thoughts:
This card perfectly captures the festive spirit of the season with its layered textures, adorable Rudolph, and a touch of shine. The combination of the 3D embossed background and the Rudolph die cuts brings the card to life, while the sentiment strip adds the perfect message for the holidays.
I hope you enjoyed this tutorial and feel inspired to create your own holiday cards using these amazing products. Happy crafting, and may your holiday season be filled with creativity and joy!
Don’t forget to share your creations! Share your card at 52 Christmas Card Throwdown and tag me on social media with your festive cards—I’d love to see what you create!
Enjoy your weekend

Beautiful ❤
So, so cute.
Hugs, Majda
Great tutorial and I really like the wintery backdrop on the card…and, of course, the very cute Rudolph.
Would love to see working progress pics or even a video showing your techniques and skills. ❄️❄️❄️
wow Gill, comme toujours tu déchires! elle est trop trop belle, biz