

Hello fellow crafters! It’s time for another fabulous challenge over at 52 Christmas Card Throwdown, and this week we’re embracing the most classic of festive combinations — red and green. There’s something so nostalgic and timeless about these colours, and I had such fun bringing them together for this traditional yet playful Christmas card.
Materials Used:
- 6″ square white deckle-edged card base
- 5 1/2″ square green patterned DSP from my stash
- Certainly Celery cardstock (embossed) by Stampin Up
- Basic White cardstock
- Real Red cardstock
- Linda’s New Year Party stamp by Clarity Stamp
- Spellbinders Holly Flourish embossing folder
- Spellbinders Hemstitch Rectangle dies
- Sizzix Mini Paper Snowflakes dies
- Stampin’ Write markers (reds and greens)
- Black Archival Ink
- Red sequins
- Foam adhesive, trimmer, embossing machine, adhesives
Step-by-Step Instructions:
Step 1: Prepare the Base
Start with a 6″ square deckle-edged white card base — I love the soft, textured edges for a touch of vintage charm.
Cut a 5 1/2″ square piece of green patterned DSP and adhere it centrally to the card front. This forms a rich, festive backdrop.
Step 2: Emboss the Accent Strip
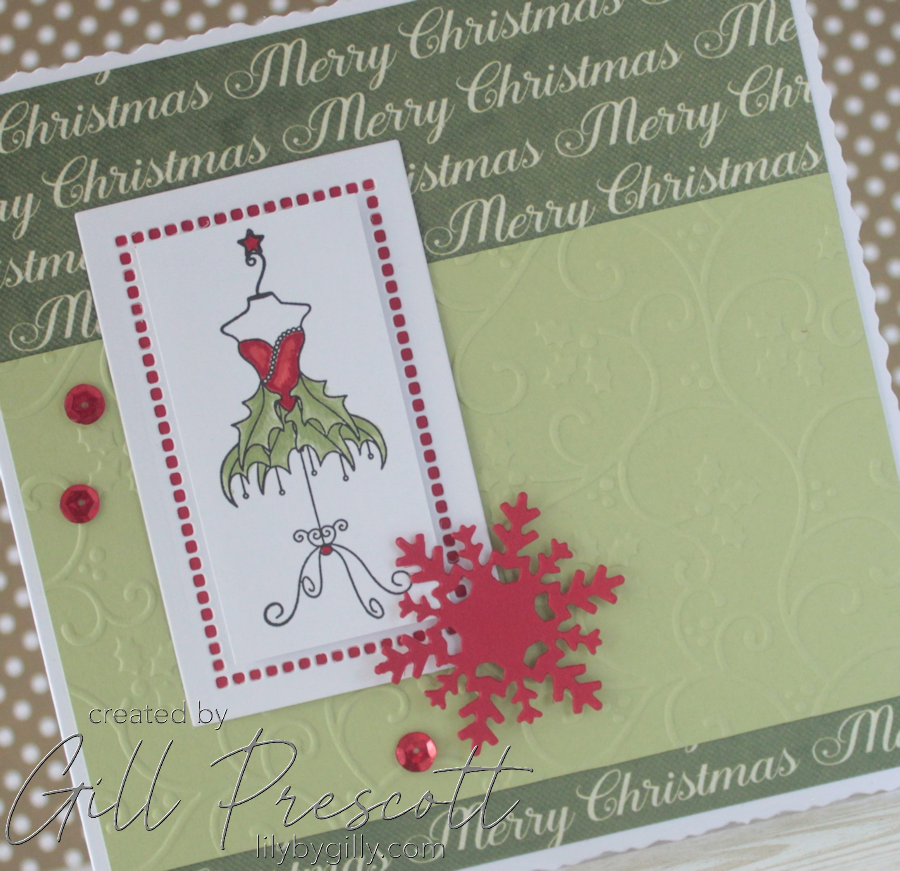
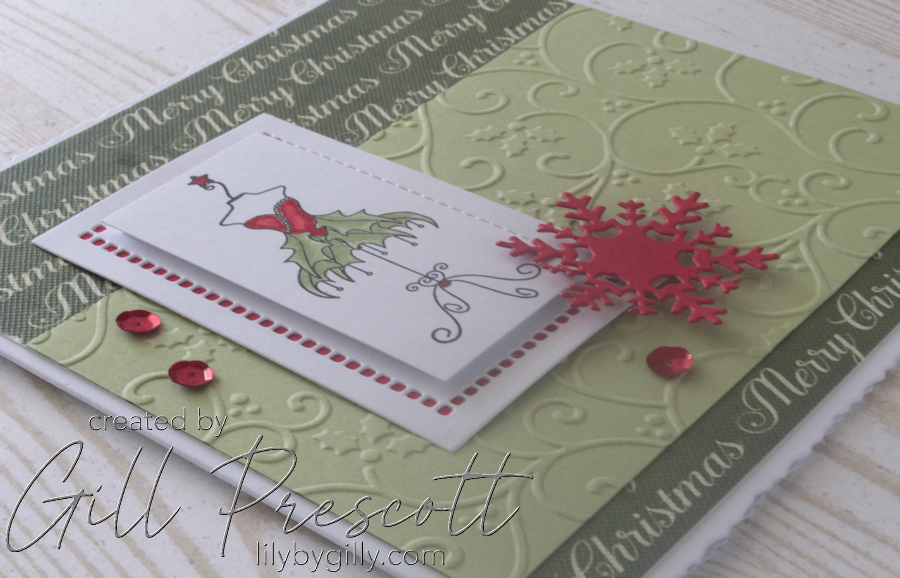
Cut a wide strip of Certainly Celery cardstock and emboss it using the Spellbinders Holly Flourish embossing folder. Adhere it horizontally across the middle of the card over the DSP, stragetically placing it so the words “Merry Christmas” are clearly visible. The embossed panel adds lovely texture and a subtle green contrast.
Step 3: Frame the Focal Point
Die cut a Basic White cardstock panel using the Spellbinders Hemstitch Rectangle dies. Add a piece of real red card behind this and adhere the panel to one side over the background layers. The delicate hemstitching frames the next elements beautifully.

Step 4: Stamped Image
Stamp one of the festive dress images from Linda’s New Year Party by Clarity Stamp onto white cardstock using black Archival Ink. Colour it in using red and green Stampin’ Write markers, bringing festive cheer to the image. I love the holly leaf skirt to this pretty dress and the delicate frame the dress is adorning.
Use foam adhesive to pop the image onto the hemstitch panel, adding dimension and focus.
Step 5: Embellish with Snowflake & Sequins
Die cut a snowflake from Real Red cardstock using the Sizzix Mini Paper Snowflakes dies and adhere it to the bottom right corner of the focal image for a pop of bold red.
Sprinkle a few red sequins across the card to catch the light and add a playful touch of sparkle.

Final Thoughts
This red and green colour challenge was a joy to create with — the combination of embossing, delicate dies, and a whimsical stamp really brought the card together. It’s a reminder that classic colours can still inspire fresh and fun designs!
I can’t wait to see what you all make for this week’s challenge. Don’t forget to share your creations over at 52 Christmas Card Throwdown.
For fun, I’m also joining the challenges at Merry Little Christmas Challenge Blog – #62 anything Christmas goes, and Addicted to Stamps and More – #492 Christmas.
Happy stamping and merry crafting!

Love the Pixie dress
Beautiful card! I do love that stamp and it looks fab in the red & green
oh la la Gill, que c’est charmant et original, très joli tampon, biz
What a gorgeous and unusual Christmas card, Gill. I love all the different elements and the mix of paper and embossing makes a fabulous background.
Thanks for sharing with us at Addicted to Stamps and More.
Hugs
Carol x
Love all the little details that you used on your card design. The dress looks fab in red and green.
Lovely card.
Thanks for joining us at Merry Little Christmas.
Annie (DT)