

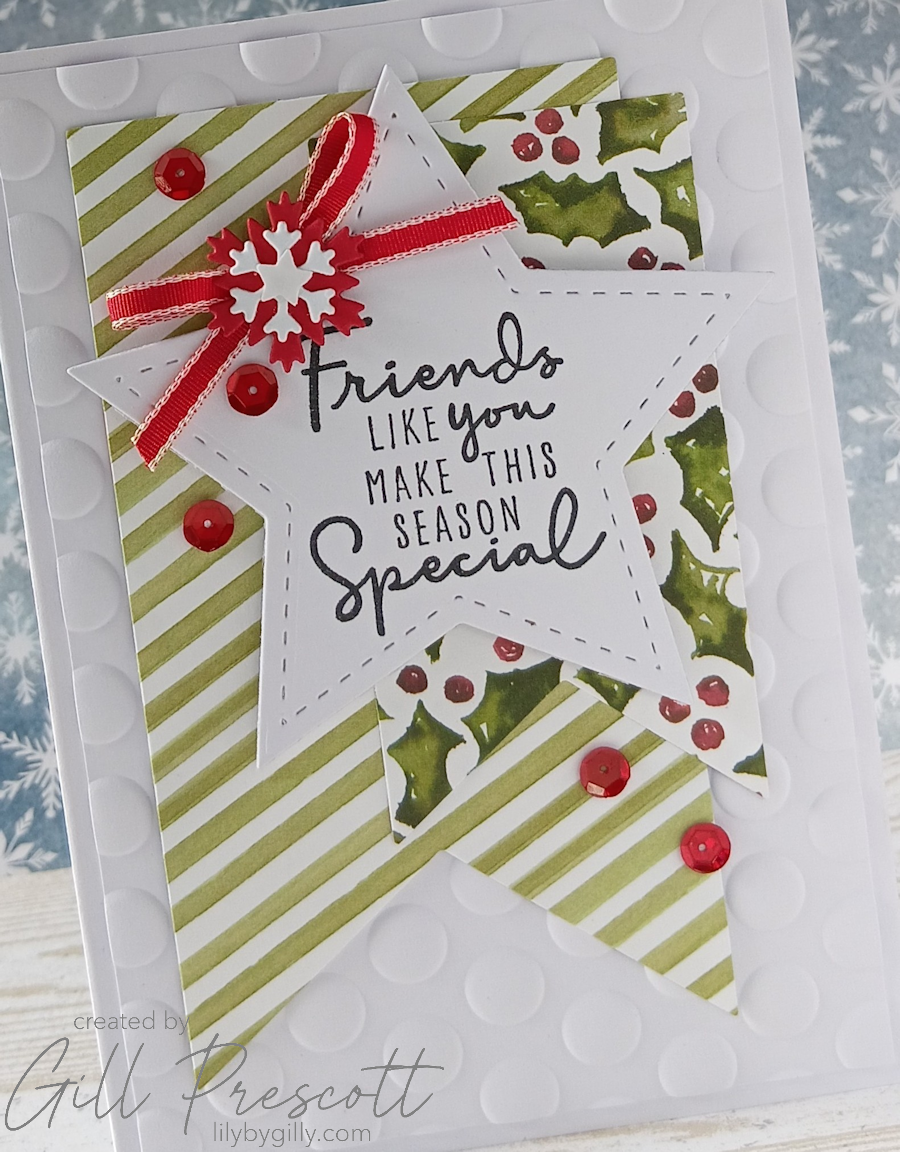
This week’s sketch challenge over at 52 Christmas Card Throwdown is such a great jumping off point. I always love a good sketch — it takes the guesswork out of layout but still leaves plenty of room to play with papers, textures and embellishments. For this card, I kept things fairly clean with a white-on-white base, then added pops of pattern and red for that classic festive feel.
Here’s how it came together.
What You’ll Need
- Cardstock: White, plus scraps of red
- Designer Paper: Two coordinating patterns from your stash
- Dies:
- Banners Framelits (Stampin’ Up)
- Slatted Star Collection (Craft Addiction UK)
- Small snowflake dies (Tim Holtz, Sizzix)
- Embossing Folder: Spellbinders Puffy Dotty 3D embossing folder
- Stamps: Christmas to Remember (Stampin’ Up)
- Ink: Black ink
- Embellishments: Red ribbon, red sequins, small star die cut
- Other: Foam adhesive, glue dots, liquid glue
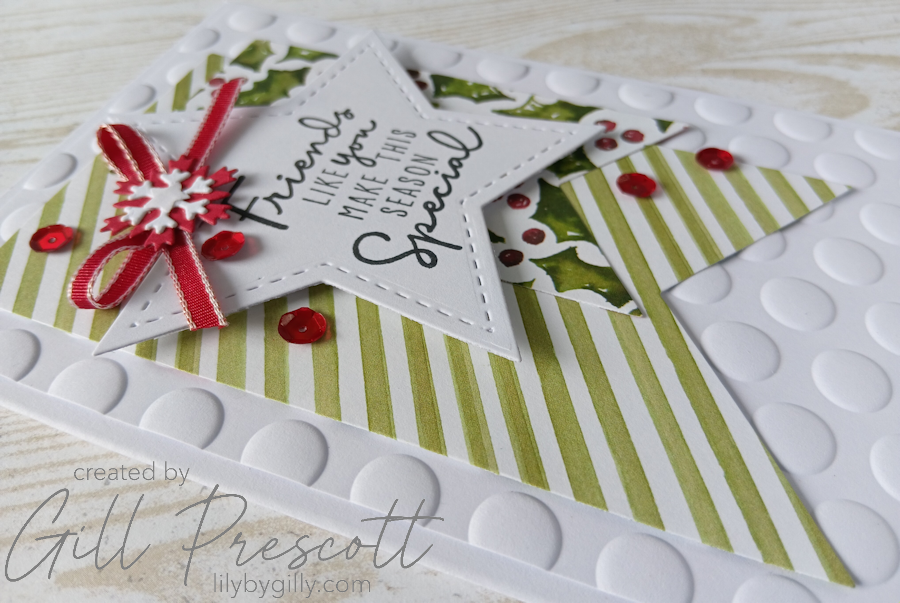
Step 1: Create the Card Base
Start with an A6 white card base.
Cut a piece of white cardstock approximately ¼ inch smaller all round and emboss it using the Spellbinders Puffy Dotty 3D embossing folder. This adds a lovely soft texture while keeping the background clean and neutral.
Adhere this panel to the card base.
Step 2: Add the Banners
Using the Banners Framelits by Stampin’ Up, die cut two banners in different sizes from two coordinating pieces of designer paper.
Layer and adhere them to the centre of the card, positioning them to follow the sketch. This creates a strong base for your focal element and adds a nice mix of pattern.
Step 3: Create the Focal Point
Die cut a large stitched-edge star from white cardstock using the Craft Addiction UK slatted stars collection dies.
Stamp your chosen sentiment from the Christmas to Remember stamp set in black ink directly onto the star – I used my Tim Holtz stamp platform for placement.
Adhere the star to the centre of the card using foam adhesive, overlapping the banners slightly to tie everything together.
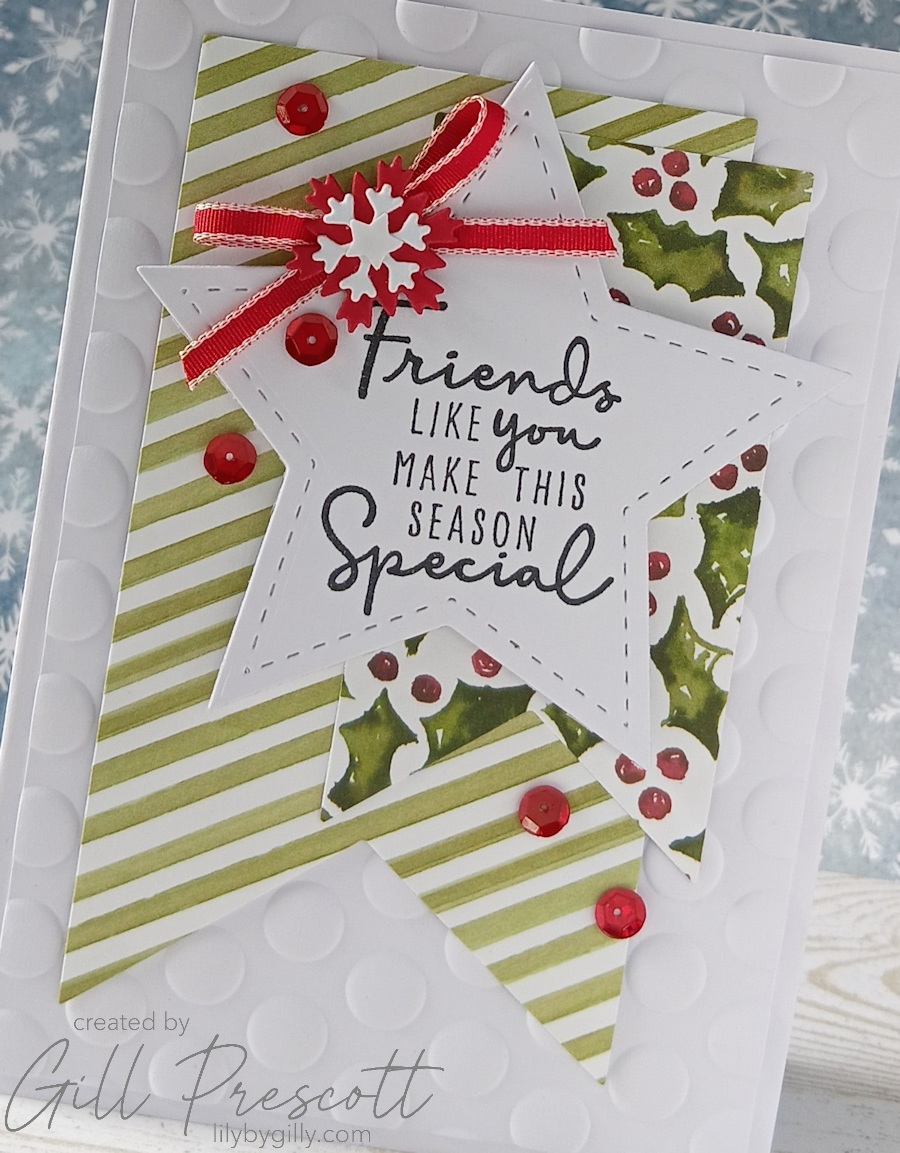
Step 4: Add the Bow Detail
Tie a small red ribbon bow and attach it to the card using glue dots.
To add a bit more interest, die cut two small snowflakes — one in red and one in white — and layer them together. Adhere this to the centre of the bow.
Finish the detail by adding a tiny white star to the centre of the snowflake.
It’s a small cluster, but it really draws the eye.
Step 5: Finishing Touches
Add a sprinkling of red sequins across the card in a loose, random pattern.
This brings in a little sparkle and helps balance the red tones across the design.
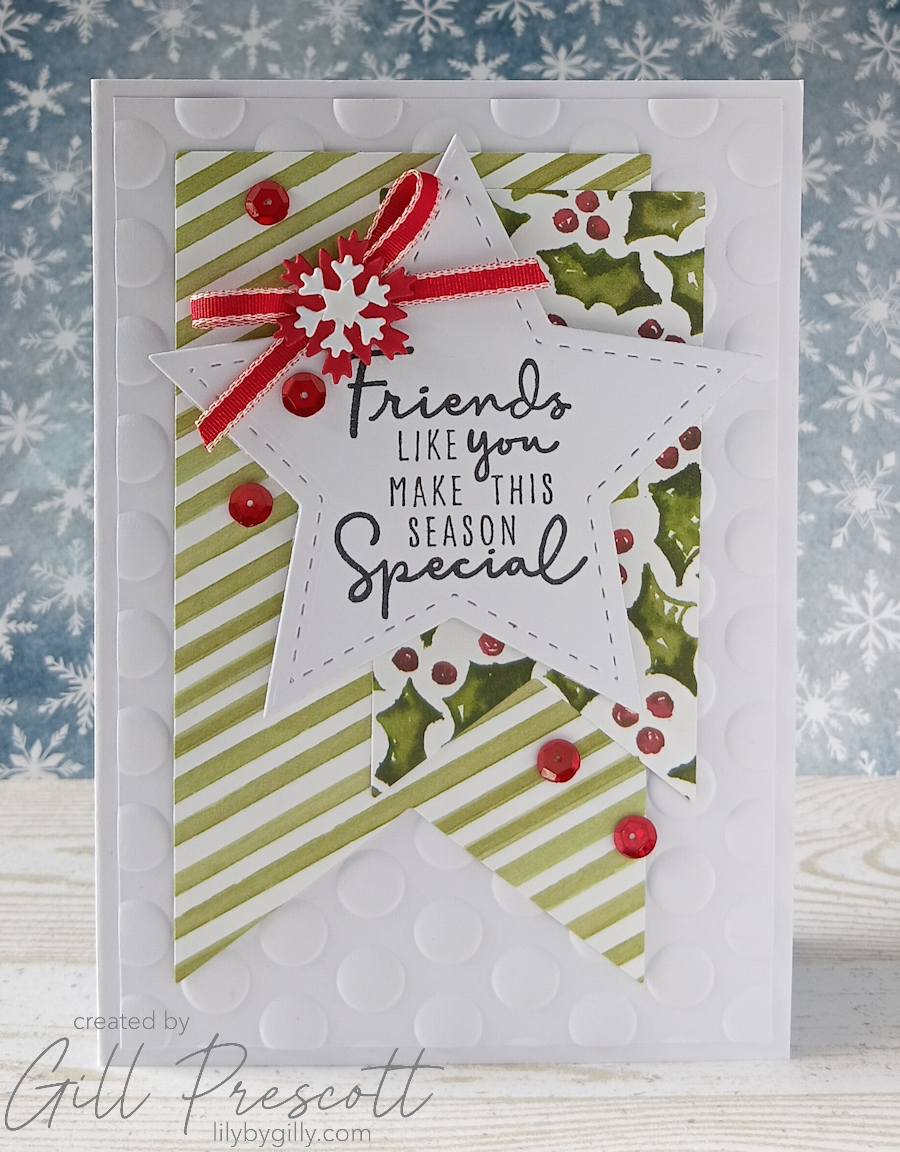
Final Thoughts
I really enjoyed working with this sketch — it’s such a versatile layout and comes together quite quickly once you’ve chosen your papers.
The combination of the textured white background, layered banners and bold star focal point gives the card a clean but festive look, while the touches of red add warmth and interest.
If you’re ever stuck for inspiration, a sketch is always a great place to start — and this one is definitely worth trying. Why not head over to 52 Christmas Card Throwdown and see how others have interpreted it?
Happy crafting!


oh Gill, quel charme et quelle délicatesse, cette touche de papier effet peinture est superbe, biz
Beautiful card! Great idea to use a star for the topper