
This week’s colour challenge over at 52 Christmas Card Throwdown really pushed me out of my comfort zone! The colours are blue, purple and brown – not your typical festive palette, but definitely fun to try something different and I love how they looked once the card was assembled.
Here’s how my card came together…
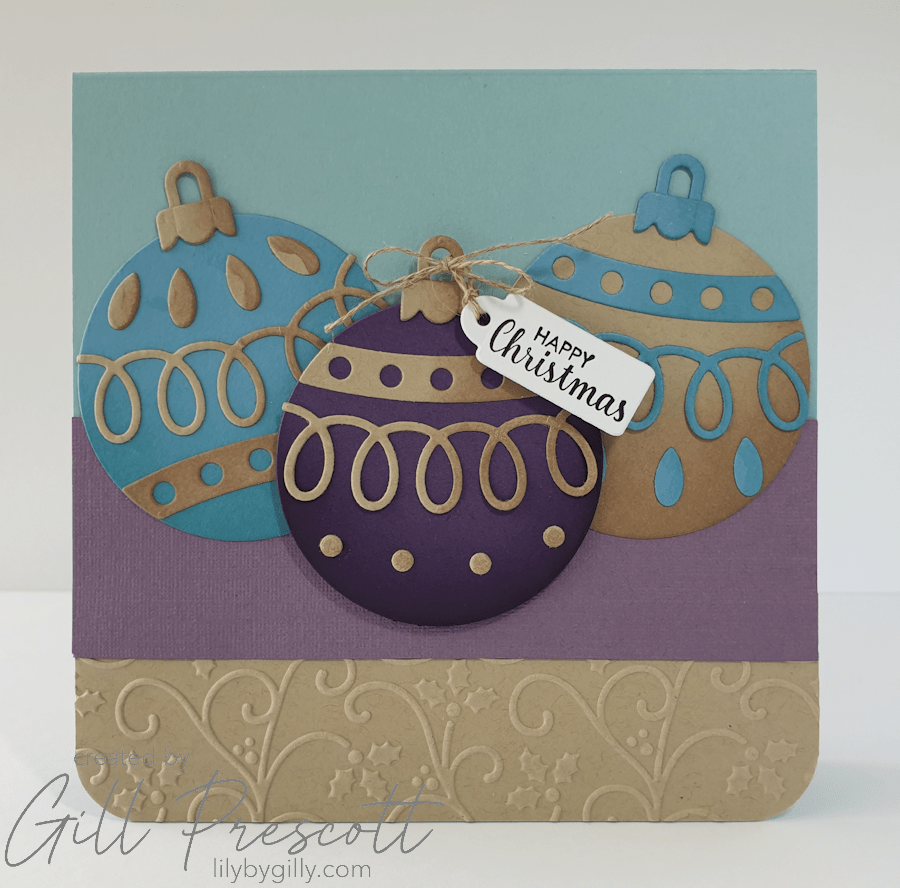
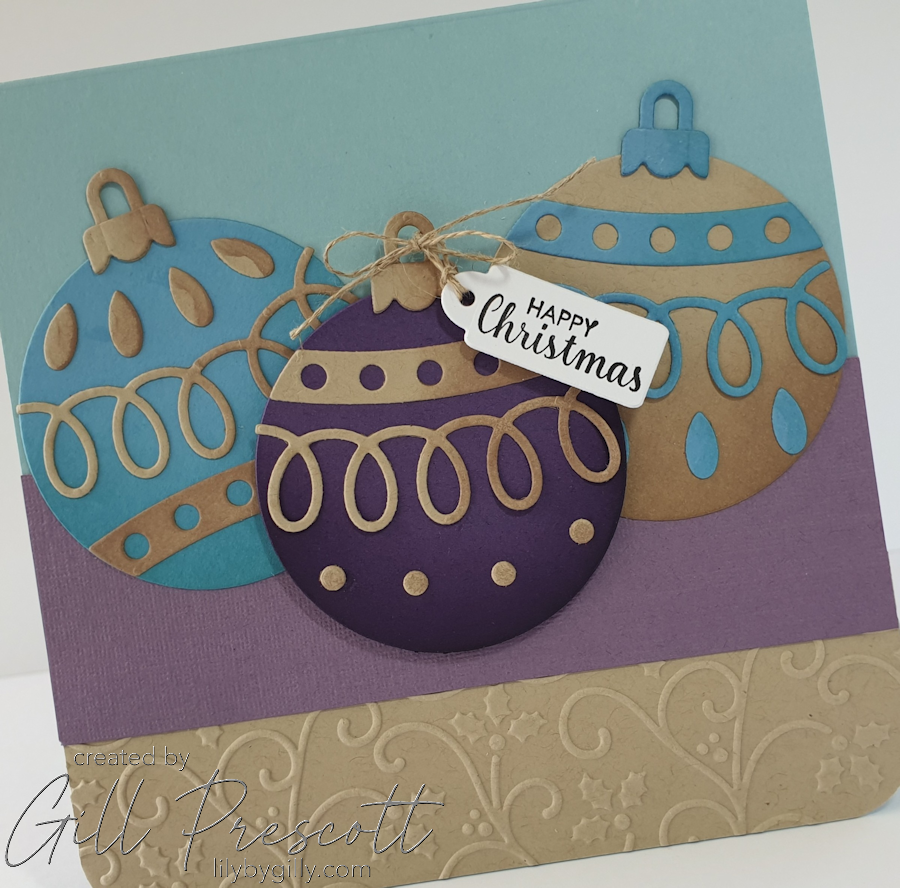
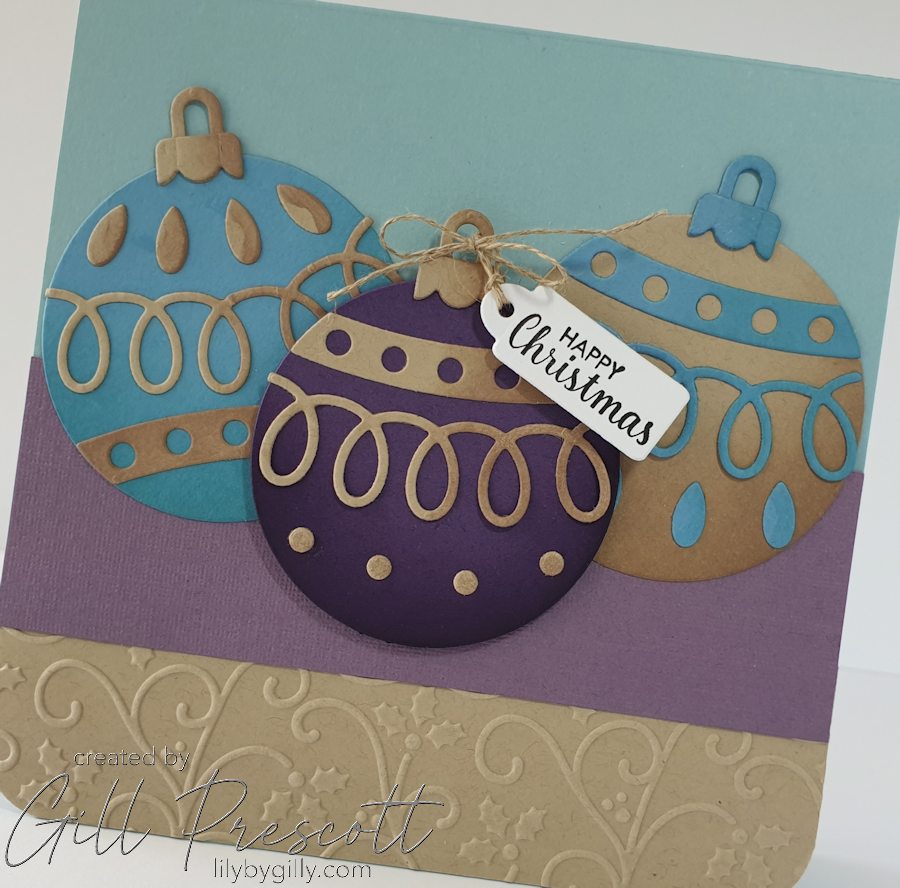
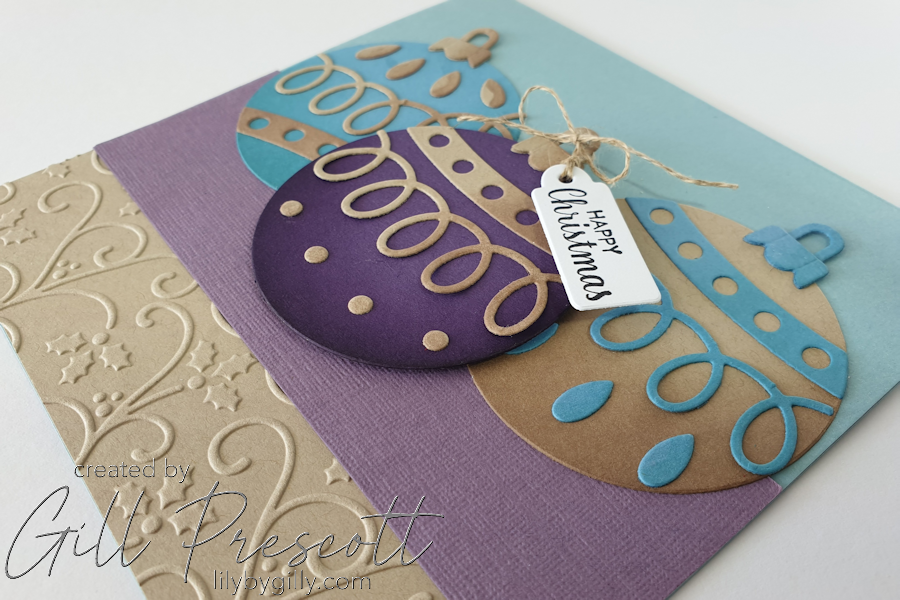
Card Overview
- Challenge Theme: Colour – Blue, Purple & Brown
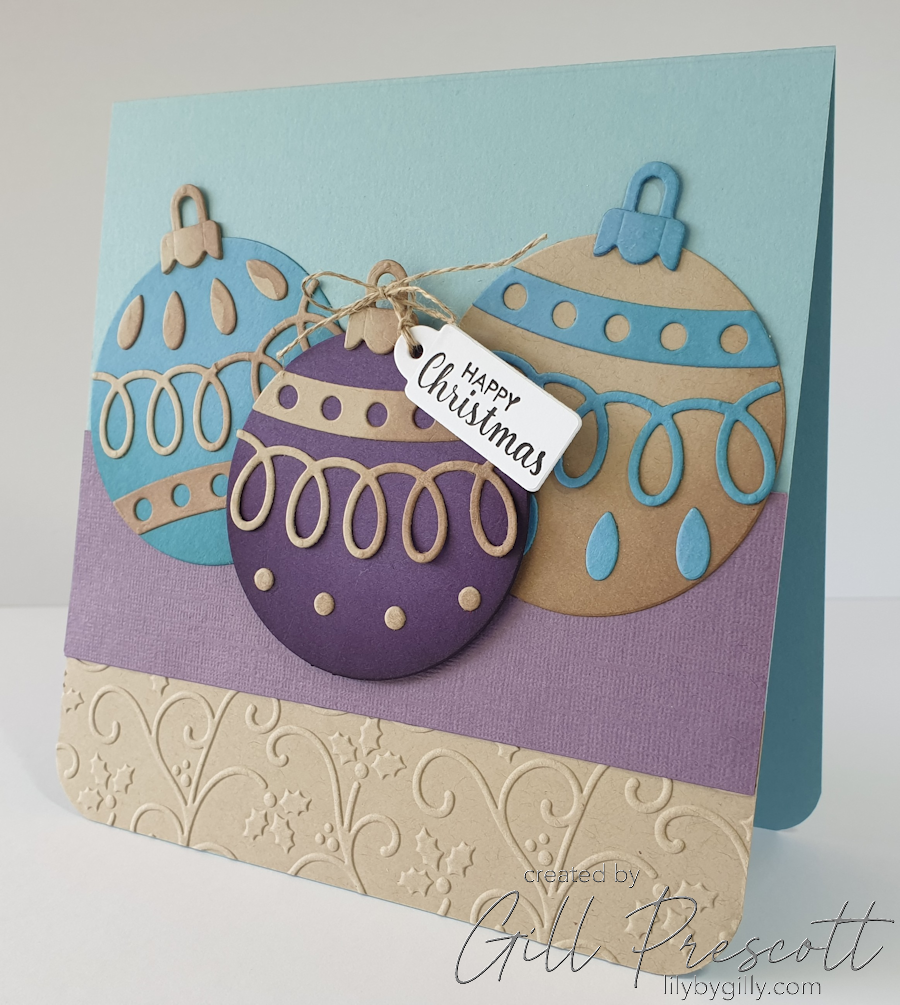
- Card Size: 6-inch square
- Main Colours: Baja Breeze, Elegant Eggplant, Crumb Cake (all Stampin’ Up)
- Techniques: Ink blending, die cutting, embossing
- Focal Point: Three hanging baubles
Step 1: Creating the Baubles
I started by die cutting three baubles using the Festive Ornaments Etched Dies from the Merry Mug & Circle Delights Collection by Nichol Spohr for Spellbinders.
For the cardstock, I chose:
- Baja Breeze for the blue
- Elegant Eggplant for the purple
- Crumb Cake for the brown
All the cardstock is from Stampin’ Up, which meant the colours co-ordinated beautifully across the project.
To add some depth, I used co-ordinating inks and blending brushes to lightly shade the right-hand side of each bauble as well as the die cut decorative pieces that layer over the top.
I then assembled the baubles using wet glue, making sure to add back in some of the tiny teardrop and circle shapes that popped out during the die cutting – these little details really help the design pop.
Step 2: Building the Background
For the base, I used a 6-inch square card made from Baja Breeze cardstock.
To add some texture, I cut a strip of Crumb Cake cardstock, ran it through my machine with the Holly Flourish embossing folder by Spellbinders, and adhered this along the bottom of the card front then used a corner rounder to round the bottom corners.
Next, I added a 2-inch strip of textured purple cardstock by Sizzix across the centre of the card. This helped tie in the Elegant Eggplant bauble and balanced the overall colour scheme.
Step 3: Arranging the Baubles
With the background in place, I adhered the three baubles across the centre strip:
- The left and right baubles were adhered flat with wet glue.
- The centre bauble was popped up on foam adhesive for a little extra dimension and interest.
I love how the height difference makes the centre bauble stand out as the main focal point.
Step 4: Adding the Sentiment
For the sentiment, I stamped a simple greeting from the Itty Bitty Christmas stamp set by Stampin’ Up, using black ink on a piece of white cardstock.
I then die cut it using a small tag die from the Collector die set by Tim Holtz. To finish it off, I tied it to the centre bauble with a little natural twine (also from Stampin’ Up), making a sweet bow at the top and kept the tag in place with a small foam square.
Step 5: Finishing Touches
I decided to leave the rest of the card clean and simple to let the unusual colour combination and the detailed die cutting take centre stage.

Thanks for Stopping By!
I have to admit, this blue, purple and brown combo was a real challenge at first, but I’m so pleased with how it turned out!
If you fancy trying something a bit different for your Christmas crafting this week, why not play along? There’s still time to join in over at 52 Christmas Card Throwdown – I’d love to see your take on this colour challenge!
Happy crafting! 🎄💜❄️

Gill, čudovito praznično čestitko si naredila :-)) Krasna kombinacija barv ❤️
oh wow Gill, c’est trop joli, tu as joué a fond le trio de couleurs et j’adore, biz
Very stylish card with wonderful colors!
I think it looks fab – very regal looking!
Beautiful card! You used colours very nicely!