
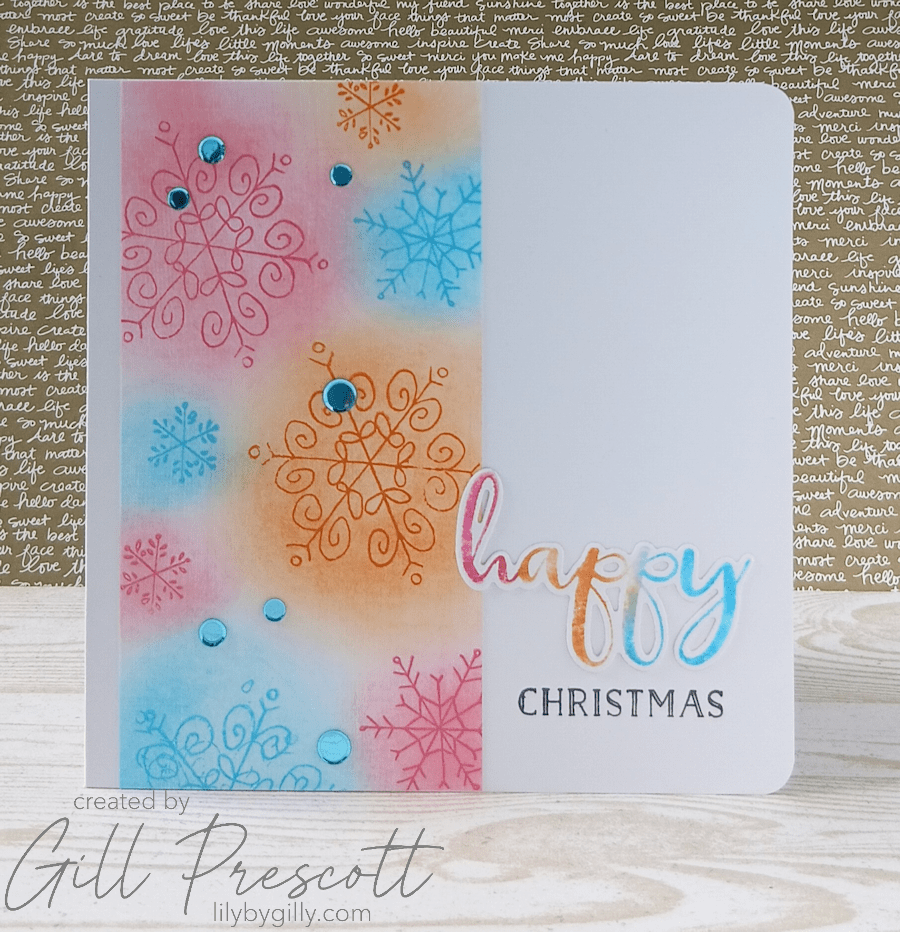
This week’s colour challenge at 52 Christmas Card Throwdown certainly took me out of my festive comfort zone! The challenge colours are orange, pink and turquoise — not exactly the first colours that spring to mind when making a Christmas card.
I’ll admit, I looked at the challenge graphic for a while before inspiration struck. Once I started playing with the colours, though, I discovered they work surprisingly well together, creating a bright, cheerful card with a fun modern feel. Here’s how I made it.
What You’ll Need
- Plain white and white linen cardstock
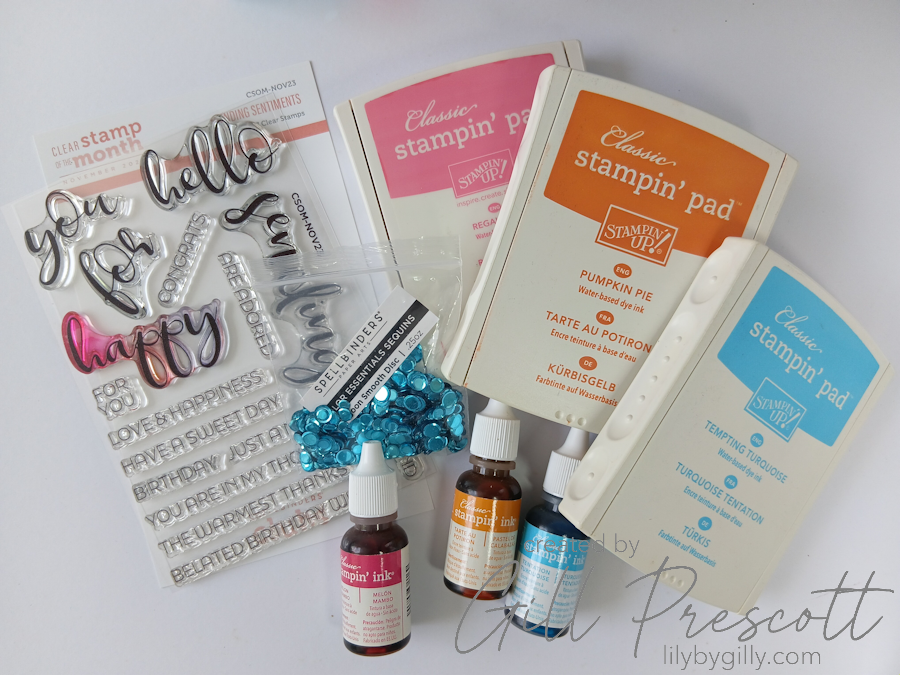
- Stamp sets – Stampin’ Up Endless Wishes, Spellbinders Stamp & Die of the Month November 2023, Mama Elephant Jolly and Merry
- Inks: Stampin’ Up Pumpkin Pie, Regal Rose, Tempting Turquoise and black; reinkers in co-ordinating colours
- Blending brushes
- Baby wipes
- Stamp positioner
- Corner rounder punch
- Spellbinders Lagoon Sequins
- Liquid glue
Step 1: Create the Background Panel
I started with a 5½” square white card base.
For the focal panel, I cut a piece of white linen cardstock measuring 2¾” x 5½”. The subtle texture of the linen card adds interest before you even start stamping.
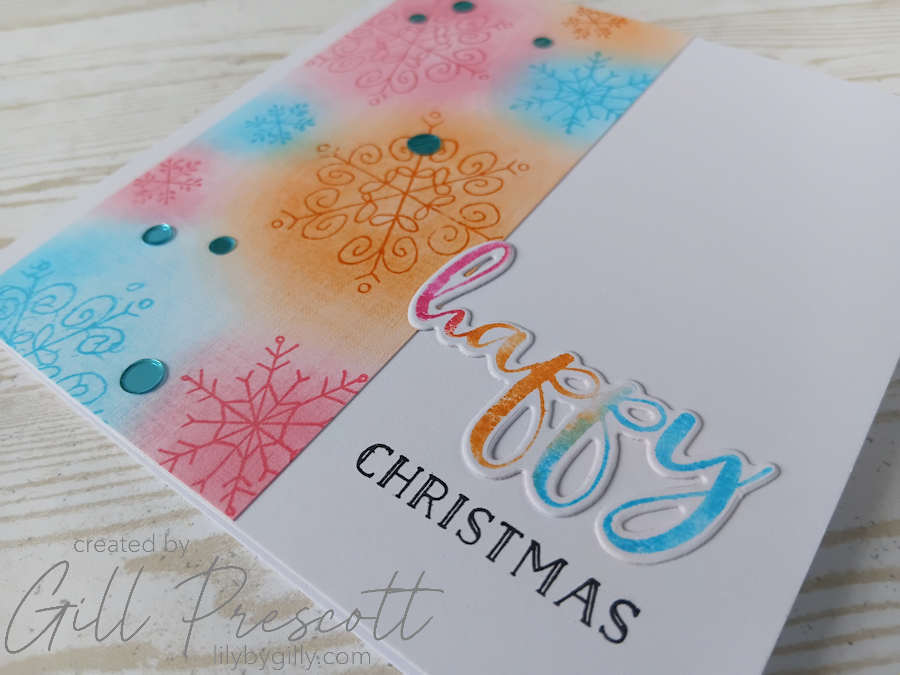
Using the Endless Wishes stamp set from Stampin’ Up, I stamped snowflakes in various sizes across the panel using Pumpkin Pie, Regal Rose and Tempting Turquoise inks. Rather than creating a neat pattern, I stamped them randomly to give a more natural, scattered effect.
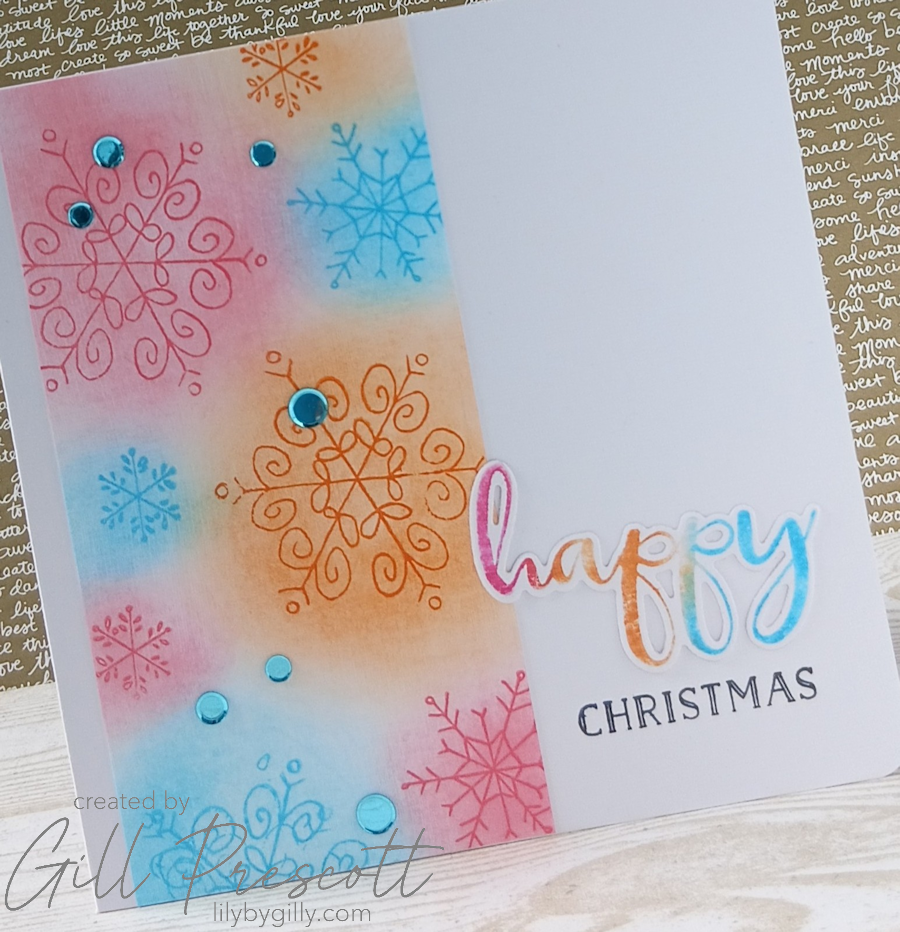
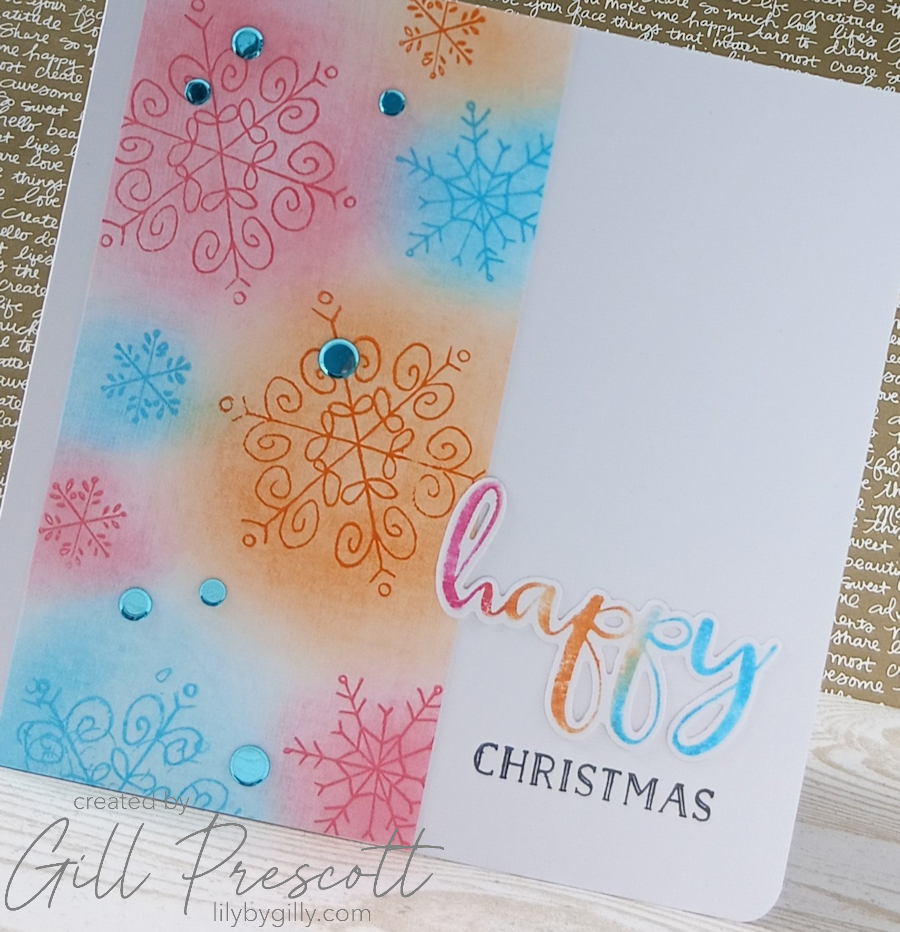
Once the stamping was complete, I used blending brushes to softly blend ink around each snowflake, allowing the colours to overlap and merge into one another a little. This soft blending helps tie the three quite bold colours together and creates a lovely glow around the images.
The completed panel was then adhered to the left-hand side of the card front, leaving approximately a ¼” border along the edge.
Step 2: Create a Multicoloured Sentiment
Next came a technique I’ve only used a handful of times but had such fun doing — the baby wipe technique.
I folded a baby wipe a few times and added stripes of reinker across the surface. I didn’t actually have a Regal Rose reinker, so I substituted Melon Mambo, which was close enough to achieve the look I wanted.
The folded wipe then became a custom ink pad. I pressed the “happy” sentiment stamp from the Spellbinders Stamp & Die of the Month November 2023 onto the baby wipe and stamped it onto white cardstock, creating a beautifully blended multicoloured image. The matching die was then used to cut out the sentiment.
One slight downside of this technique is that the strong reinker colours can stain clear photopolymer stamps. It doesn’t affect how they stamp, but I must admit I was a little sad to see my nice clear stamp looking rather colourful afterwards!
Step 3: Add the Sentiment
Before adhering the die-cut word, I stamped “Christmas” from the Mama Elephant Jolly and Merry stamp set directly onto the card front in black ink.
For perfect placement, I used my trusty Tim Holtz Stamp Platform, which remains one of my most-used tools in the craft room.
Once I was happy with the positioning, I adhered the die-cut “happy” using liquid glue, allowing it to overlap the snowflake panel slightly.
Step 4: Finishing Touches
To soften the design, I rounded the two outer corners of the card using a corner rounder.
Finally, I added a sprinkling of Spellbinders Lagoon Sequins using liquid glue. The turquoise tones coordinate beautifully with the stamped snowflakes and add just the right amount of sparkle.
Final Thoughts
This was definitely one of those challenges that pushed me to think differently. Orange, pink and turquoise aren’t colours I would naturally reach for when making Christmas cards, but that’s exactly why challenge blogs are so much fun.
The finished card feels bright, modern and cheerful, and proves that Christmas cards don’t always have to feature traditional reds and greens. Sometimes the most unexpected colour combinations can produce the most interesting results.
If you’re looking to stretch your creativity, why not join us over at 52 Christmas Card Throwdown this week? I’d love to see how you interpret this vibrant colour palette.
Happy crafting!


What a beautiful card, Gill!
☼ ELFi
Love this Gill – those snowflakes work surprisingly well with the bright colours! Have you tried cleaning your stamp with isopropyl alcohol? That may remove some of the staining xx
Hi Deborah. Thanks for the tip – I’ll give that a try. Gill x
love that this card doesn’t use traditional Christmas colours and that they diffuse in to one another… It works really well and made me smile.
elle est si charmante Gill, j’ai un coup de cœur pour ce sentiment en degradé, biz
This is so pretty–your snowflakes are just beautiful! Love the sponging technique and your multi-colored sentiment matches perfectly! Cute! Thank you for having me as a guest designer this week!
Gill, I love your snowflake card! So clever to use the baby wipe to create your multi-colored “stamping pad” for the sentiment, too. Thank you for sharing all your steps… you’ve inspired me for a future card!!! -Donna