
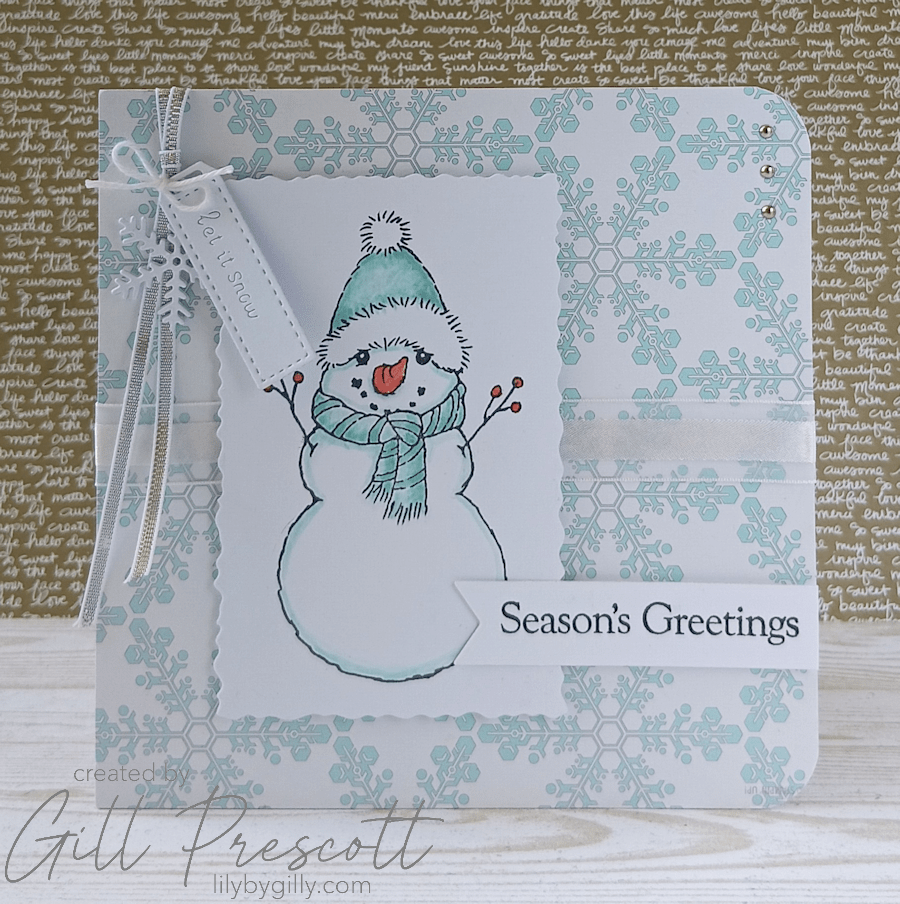
This week’s theme challenge at 52 Christmas Card Throwdown gave me the perfect excuse to revisit one of my favourite festive characters — a cheerful snowman! There’s something wonderfully nostalgic about snowmen on Christmas cards, and this design combines a sweet focal image with lots of lovely little details and textures.
I also took the opportunity to use up some snowflake patterned paper from my stash, proving once again that those carefully hoarded papers really do come in handy eventually! Here’s how I made it.
What You’ll Need
- 6″ square white card base
- Snowflake designer paper – Stampin Up
- White ribbon – Stampin Up
- White cardstock
- Snowman stamp – Stampendous
- Colouring medium of your choice
- Essential Rectangle Deckle Frames dies by Craft Addiction UK
- Mini Christmas Tags dies by Craft Addiction UK
- Banner die – Spellbinders
- Silver ribbon – Stampin Up
- Three tiny silver brads – Stampin Up
- Greeting stamp – Stampin Up
- Foam adhesive
- Liquid glue
- Hole punch
- Corner rounder
Step 1: Create the Background
I began with a 6″ square white card base and covered the entire front with a piece of snowflake designer paper from my stash.
To add a little extra texture and interest, I wrapped a length of white ribbon across the centre of the card front and secured it on the reverse before adhering the panel.
The white ribbon softens the busy pattern and helps draw the eye towards the focal image.
Step 2: Create the Snowman Panel
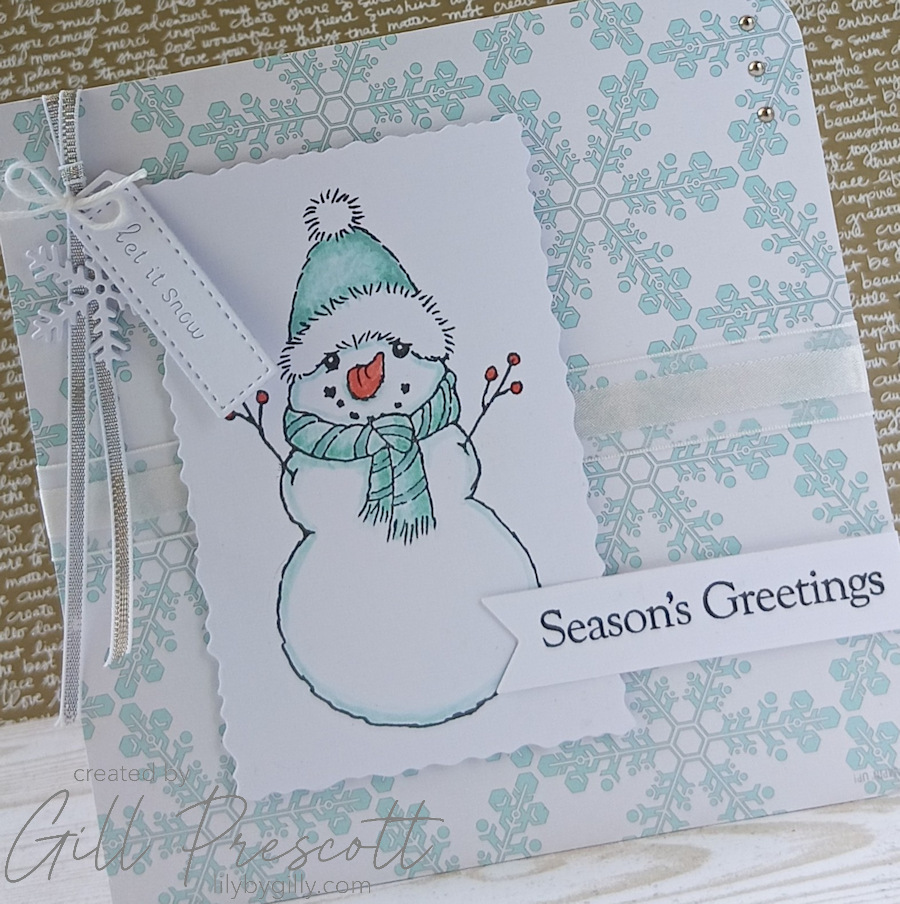
For the focal point, I stamped a snowman image onto white cardstock and coloured it using my chosen colouring medium.
You could use alcohol markers, pencils, watercolours or inks depending on your preference. I kept mine fairly traditional with soft winter colours and a few brighter accents to bring the image to life.
Once coloured, I die cut the image using the Essential Rectangle Deckle Frames dies by Craft Addiction UK. I love how the deckled edge adds a little extra character without needing additional layers.
The completed panel was then adhered to the centre of the card using foam adhesive to give it some dimension.
Step 3: Add the Corner Details
To soften the overall design, I rounded the two right-hand corners of the card base.
For a little touch of metal detail, I punched three tiny holes into the top right corner and added three small silver brads.
They’re a subtle embellishment but add just enough shine to catch the light.
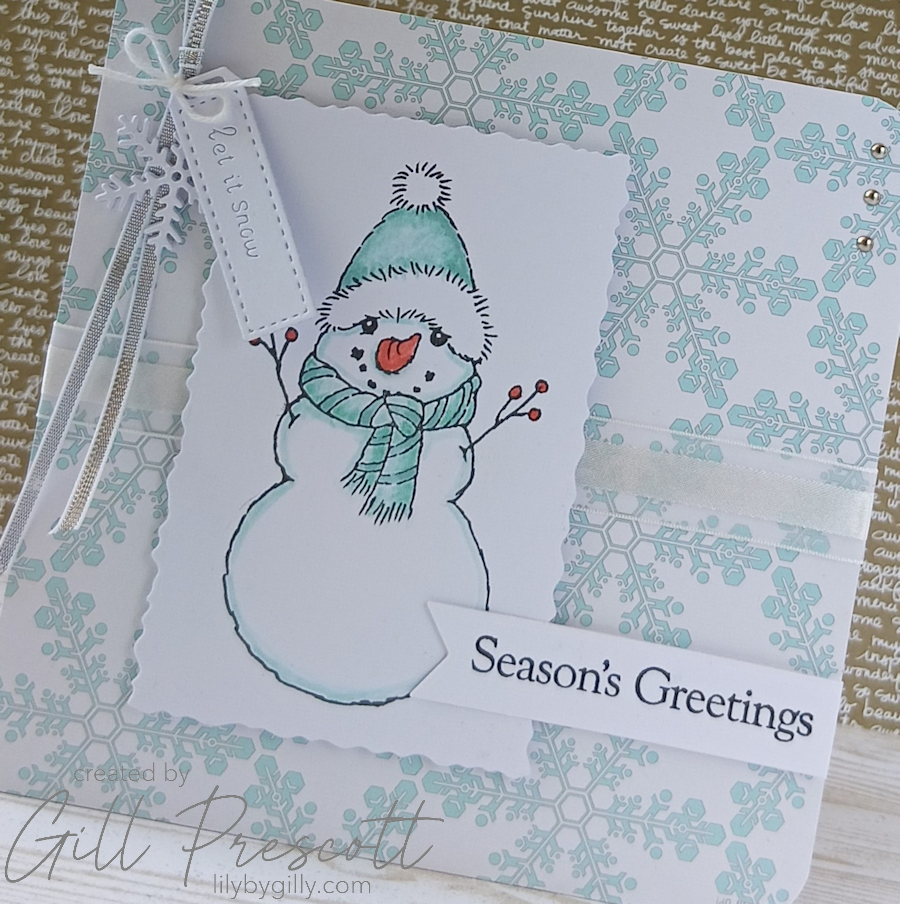
Step 4: Create the Tags
At the top left corner, I punched a slightly larger hole through the card front and threaded through a length of silver ribbon.
Using the Mini Christmas Tags die set by Craft Addiction UK, I die cut two tiny tags and attached them to the ribbon.
These little tags add a fun interactive element and help balance the embellishments on the opposite corner of the card.
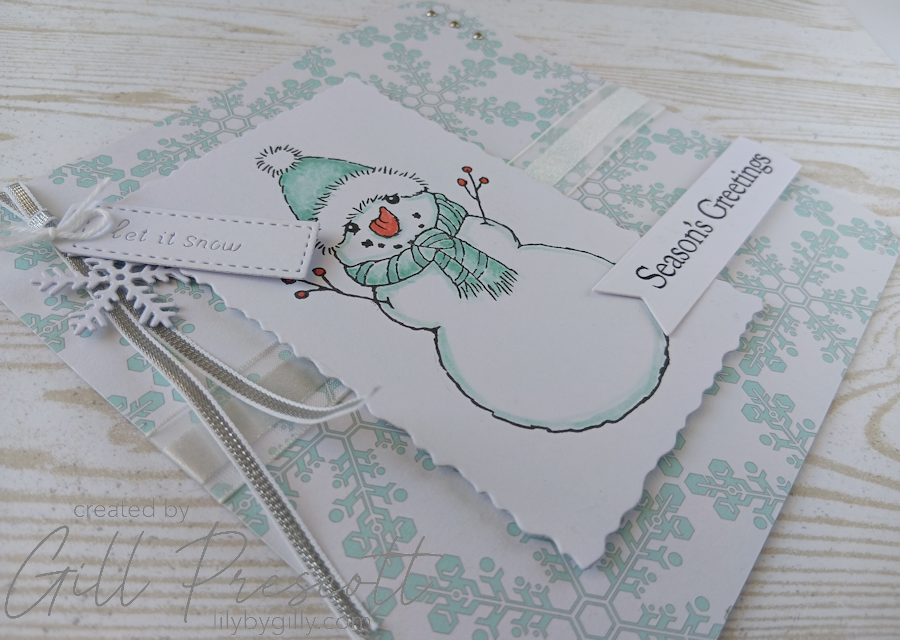
Step 5: Add the Greeting
To finish the design, I stamped a festive greeting onto white cardstock and die cut it using a banner die.
The banner was then adhered to the card front, positioned so it complements the snowman image without covering any of the lovely details.
Final Thoughts
I really enjoyed making this card. The combination of the snowflake paper, textured ribbon, silver accents and sweet snowman image creates a card that feels festive without being overly complicated.
Sometimes it’s the little finishing touches — the tags, the brads and the rounded corners — that really elevate a design and make it feel complete.
If you’re joining in with this week’s 52 Christmas Card Throwdown theme challenge, I’d love to see which snowman image inspires your creation. Challenges like these are a wonderful way to keep those Christmas cards building throughout the year!
Happy crafting!


il est si adorable et charmant Gill, biz
Oh he’s just so cute – love it!