
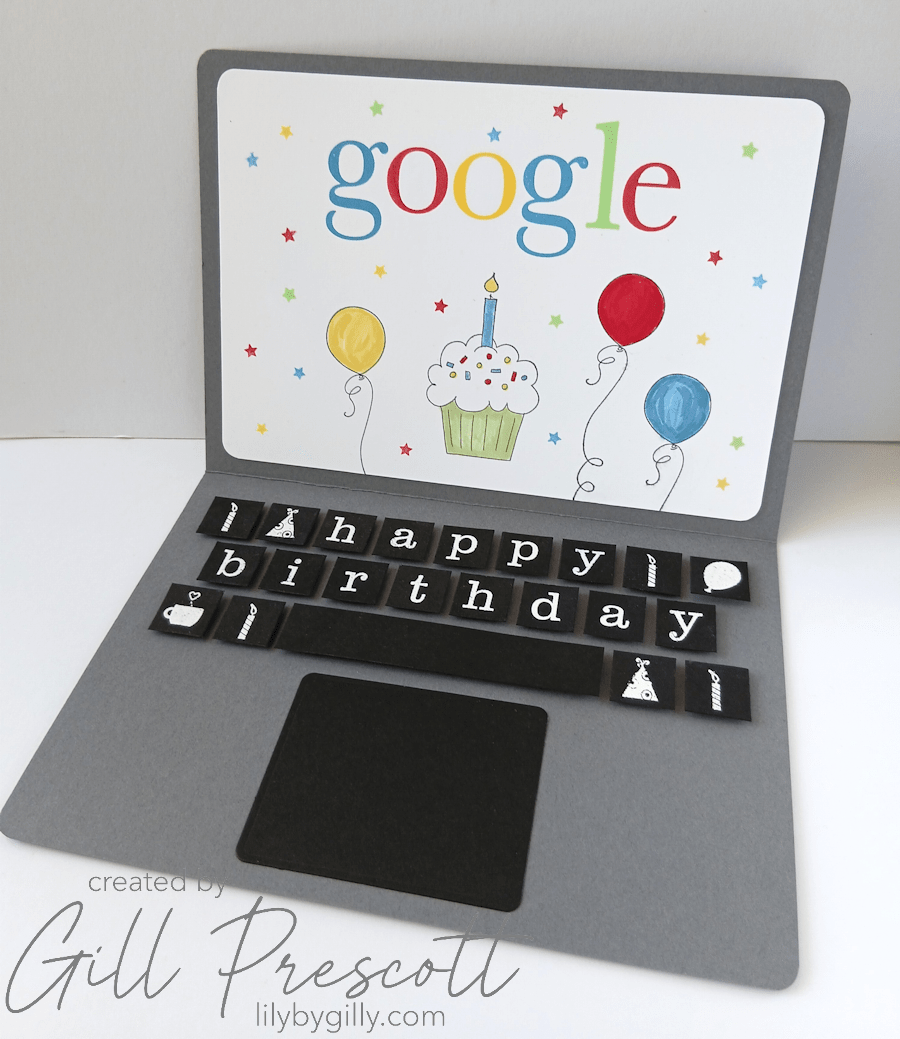
It’s time for another Design Team card for The Male Room, and this month’s challenge is “Jobs or Professions.”

As soon as I saw the theme, I knew exactly who I wanted to create for. My son-in-law’s birthday was just around the corner and, as a software developer, his profession provided the perfect inspiration. Throughout his career he’s worked on many different laptops, but his current favourite is a Dell, so I decided to recreate one as a fun, interactive birthday card.
Here’s how I made it.
What You’ll Need
- Cardstock: basic grey, whisper white and black
- Dies: circle, alphabet, Specimen dies by Tim Holtz
- Inks: Versamark ink
- Stamps: alphabet, balloons, cupcake, candles, party hat, cup, small sta
- Inks: real red, marina mist, daffodil delight, green galore
- Adhesive: Foam adhesive, liquid glue
- Tools: Corner rounder punch
Step 1: Create the Laptop
I started with a full sheet of A4 Basic Grey cardstock, scoring and folding it in half to form the laptop. To soften the shape and make it look more realistic, I rounded all four corners using a corner rounder punch.
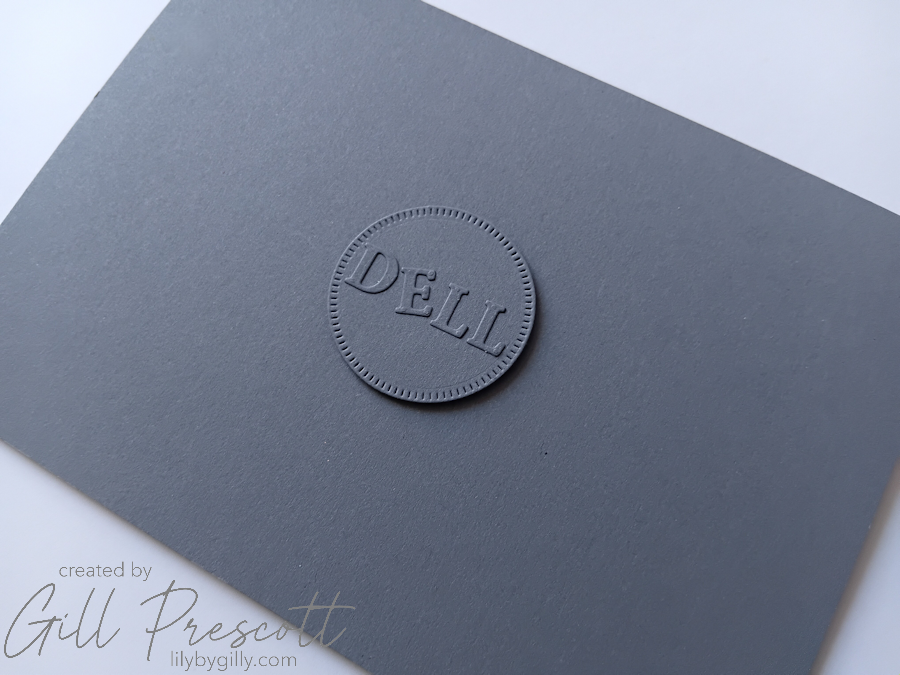
For the laptop lid, I die cut a grey circle and added matching die-cut letters to spell “Dell” before adhering it to the centre of the front of the card with foam adhesive.
Step 2: Design the Screen
To create the computer screen, I cut a piece of white cardstock to fit inside the card and corner rounded the corners.
Using an alphabet stamp set, I stamped the word Google, using colours for each letter to match the familiar Google logo.
Below the logo, I stamped birthday images including balloons and a cupcake before colouring them using the same bright colour palette. To make the screen look a little more like a personalised homepage, I filled some of the remaining white space with lots of tiny stars stamped randomly in Real Red, Marina Mist, Daffodil Delight and Green Galore.
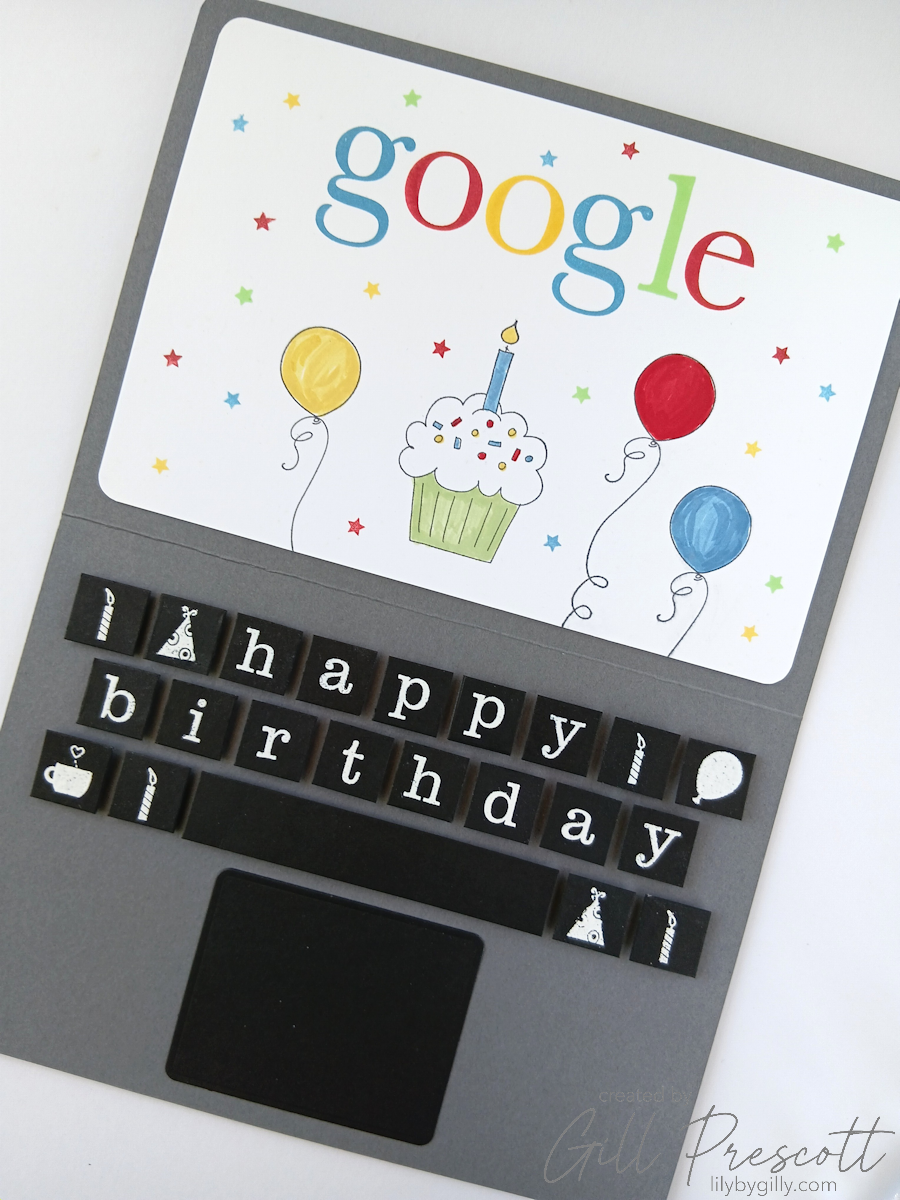
Step 3: Build the Keyboard
This was definitely the most time-consuming part of the project!
Each keyboard key was individually cut to exactly the same size before being stamped with Versamark ink, covered with white embossing powder and heat embossed. The lettered keys spell out “happy birthday”, while the remaining keys feature birthday-themed images including candles, balloons and party hats. Of course, I couldn’t resist adding a little cup of tea too — one of my son-in-law’s favourite drinks!
A longer strip of black cardstock became the spacebar, instantly making the keyboard look much more authentic.
Step 4: Add the Finishing Details
To complete the laptop, I die cut the trackpad using one of the dies from the Specimen die set by Tim Holtz and adhered it beneath the keyboard.
All of the individual keys were attached using foam adhesive, giving the keyboard dimension and helping it resemble a real laptop.
Finally, I added a panel of white cardstock to the back of the card, providing plenty of space to write a personal birthday message.

Final Thoughts
I really enjoyed making this card, especially because it was designed around someone I know so well. It’s always satisfying when you can combine a challenge theme with a personalised birthday card, and this one certainly ticked both boxes.
Although masculine cards can sometimes feel a little challenging, using someone’s profession as your starting point opens up so many creative possibilities. Whether it’s computing, teaching, baking, engineering or healthcare, there are endless ways to personalise a card and make it feel truly unique.
If you’re looking for inspiration this month, why not join us over at The Male Room and share a project inspired by a job or profession? We’d love to see where the theme takes you.
Happy crafting!



Such a brilliant design Gill! I love it!
I am stunned with this card! It is WONDERFUL. I can only barely imagine how much time it took to make this beautiful card. It will be treasured by your son-in-law and your whole family.