
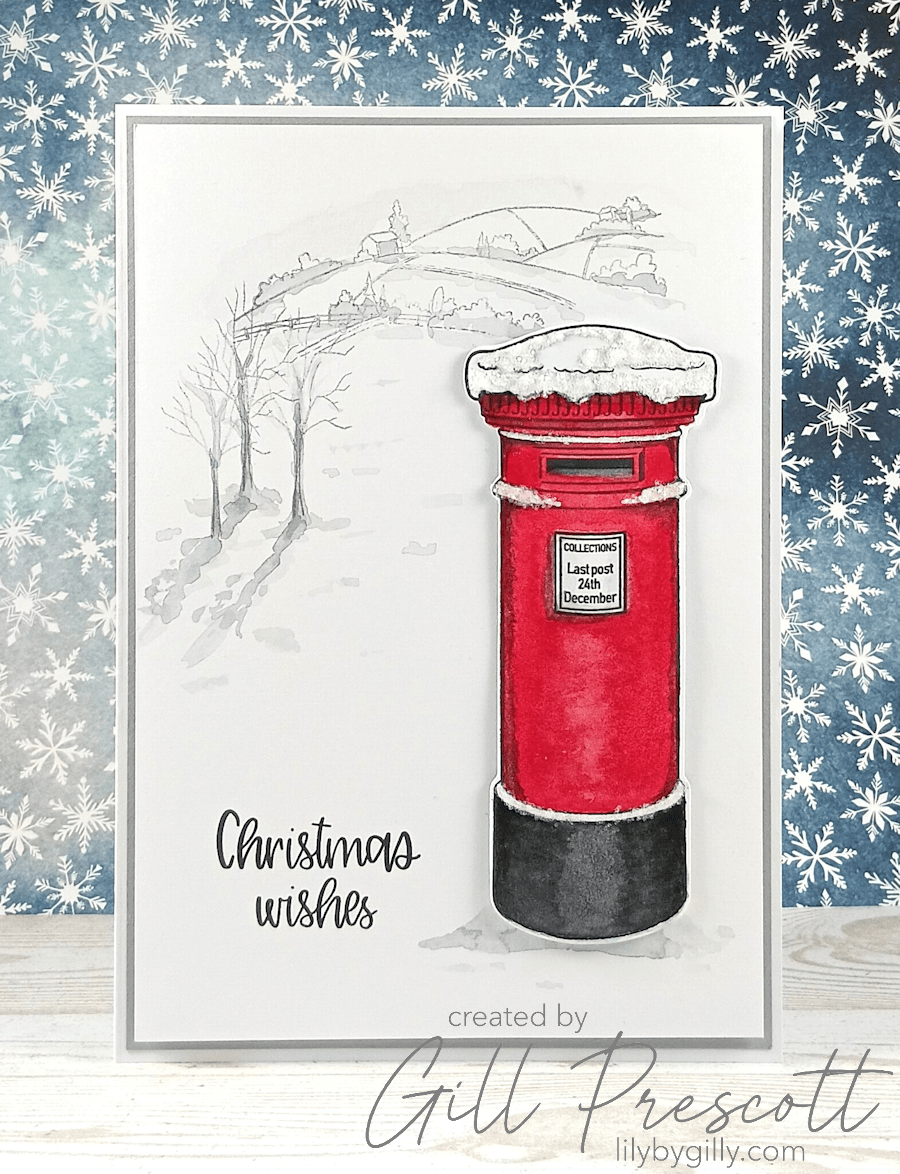
Hello, crafty friends! It’s time for another 52 Christmas Card Throwdown challenge, and this week Valentina has chosen a lovely festive theme for us: Christmas Mailbox.
Now, I have to admit, this week’s card was particularly exciting for me to make, as I had some wonderful inspiration fresh in my mind after attending a workshop with the very talented Josh Griffiths last Sunday.
The workshop was held at Port Sunlight Village, Wirral, surrounded by the most picturesque scenery. We were blessed with a beautiful sunny Sunday, and I had such a lovely time meeting some wonderful fellow crafters. Josh was on top form, sharing lots of tips and tricks for creating winter scenes using his stamps and bringing them to life with watercolour paints.
I also happen to be lucky enough to own a painting by the lovely Liverpool artist Frieda McKitrick, who I used to work with years ago. Her distinctive style combines black ink with just a splash of colour. I absolutely love the bright colour against the monochrome background and seeing something similar on Pinterest in shades of grey rather than black, this became another source of inspiration for my card.
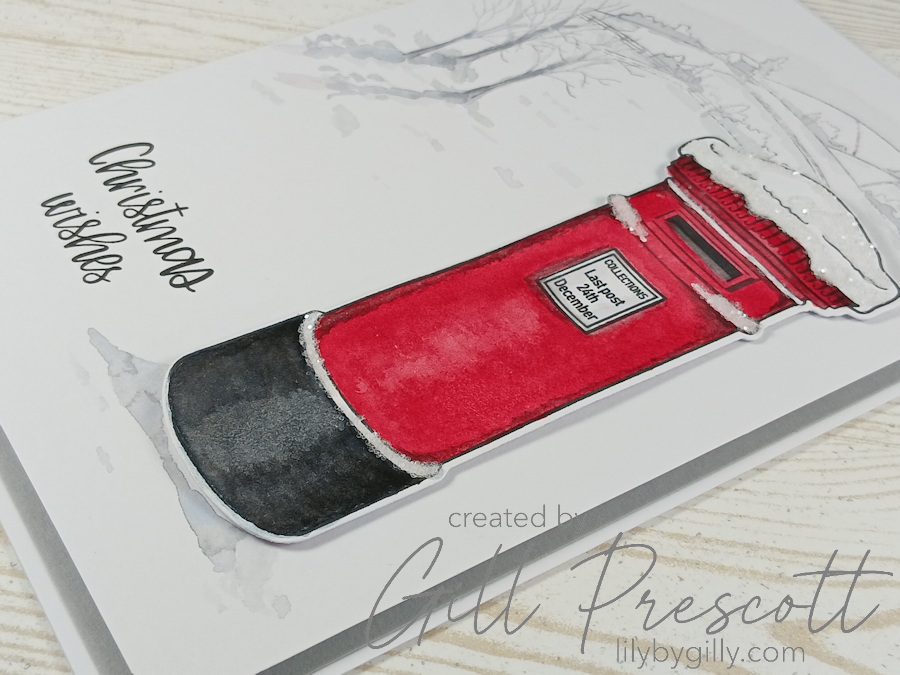
So, with the theme decided and plenty of inspiration to draw on, here’s how I made my Design Team card!
Materials Used
- Cardstock: White and smoky slate
- Stamps: Cosy Scenery by Josh Griffiths Studio; Letter to Santa and Confetti Star by Chloe’s Creative Cards
- Inks: Basic Grey and black
- Watercolours: Payne’s grey, cadmium red and lamp black by Winsor & Newton
- Adhesive: foam and liquid
- Additional: paintbrush, water, white posca pen, white glitter
Step 1 – Create the Winter Scene
I started with a piece of A4 white cardstock, scored and folded in half to create my card base. I then cut a piece of white cardstock for the main panel, making it ⅜” smaller than the card base.
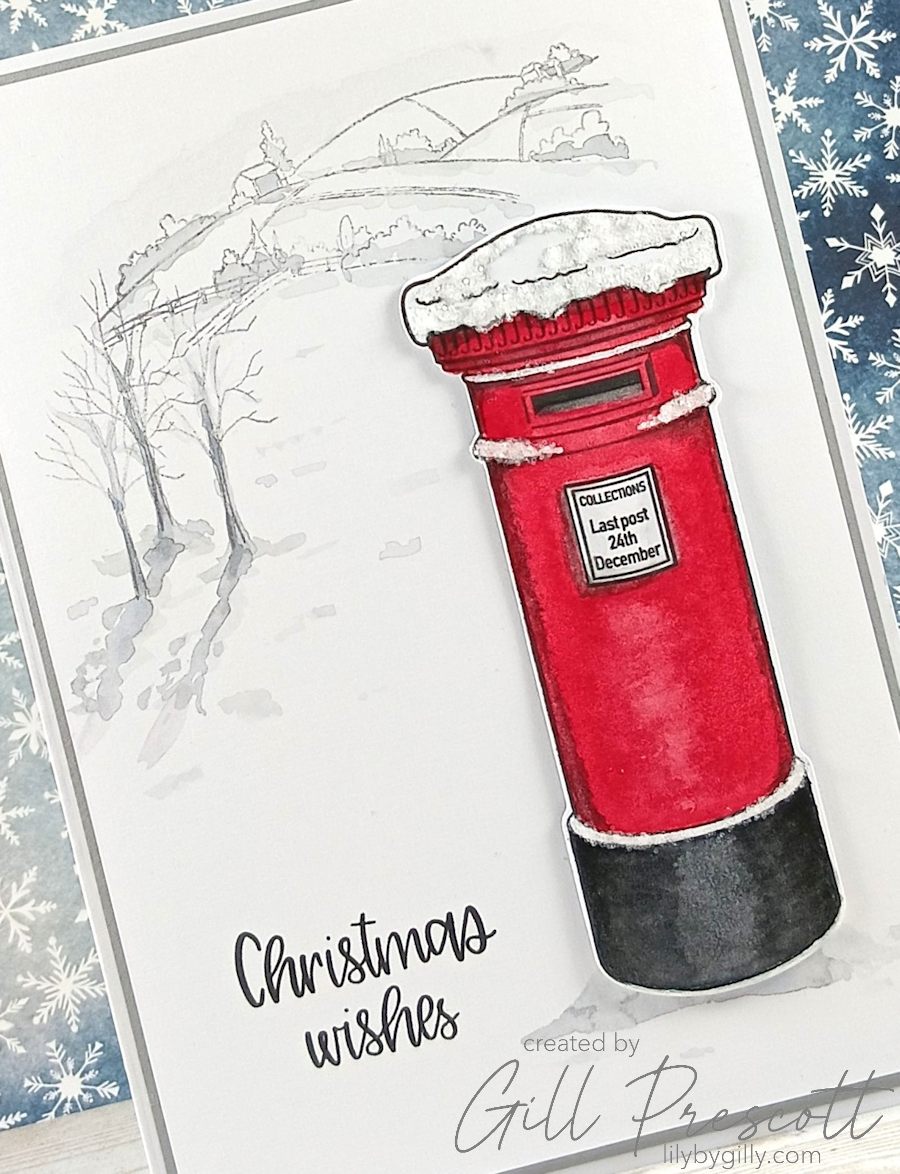
Using basic grey ink, I stamped the background fields towards the top of the panel to create the beginnings of my winter landscape.
Next, I stamped the winter tree three times, arranging the images close together to form a little clump of trees towards the front of the scene.
I love the simplicity of this kind of scene. With just a few stamped images and a little careful colouring, you can create a lovely winter landscape without needing lots of complicated layers or embellishments.
Step 2 – Bring the Scene to Life with Watercolour
This was the part I was particularly keen to try after my workshop with Josh.
Using a small amount of water and a little Payne’s grey watercolour paint, I added soft shades of grey to the scenery and sky and tried to create different tones using more or less water. I also added a few touches of paint here and there on the ground to suggest the gentle undulations in the snow.
The idea was to keep the scene mostly monochrome, with subtle shading to give it depth and atmosphere. A limited splash of colour can have such a striking effect.
Josh has a wonderfully free-flowing style when he paints, and I love the charm this brings to his artwork. Unfortunately, I’m still finding it rather difficult to be quite so relaxed with my own brush strokes! I kept going back to add just a little more here and a little more there. I really am my own worst critic sometimes, and I suspect I’ll never be entirely happy with anything I paint!
I clearly need plenty more practice, particularly when it comes to creating realistic shadows, but I’m trying to remind myself that learning is all part of the fun. And, despite my little niggles about the slightly wonky stamped background and the shadows that could be better, I was actually pleased with how the scene turned out. After all, we can’t expect to master a new skill overnight, can we?
Step 3 – Add the Christmas Postbox
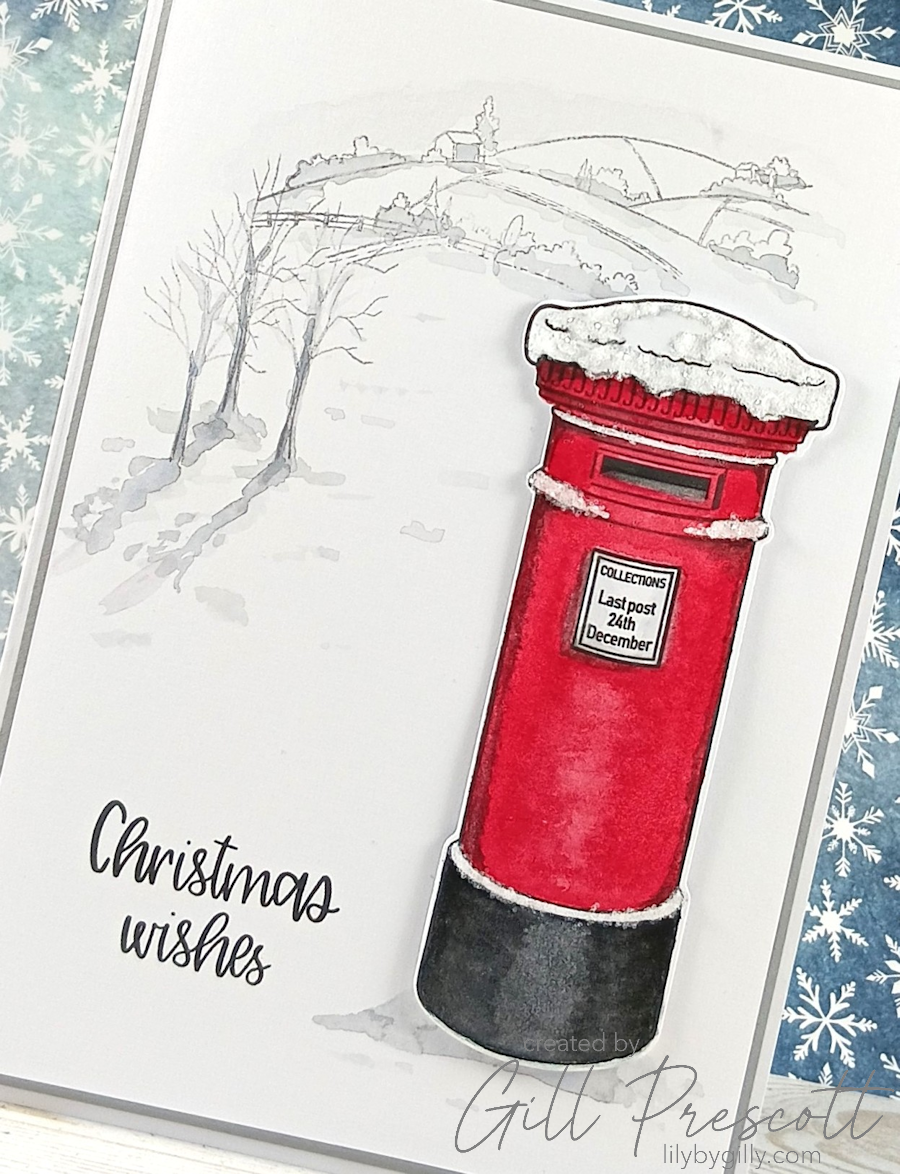
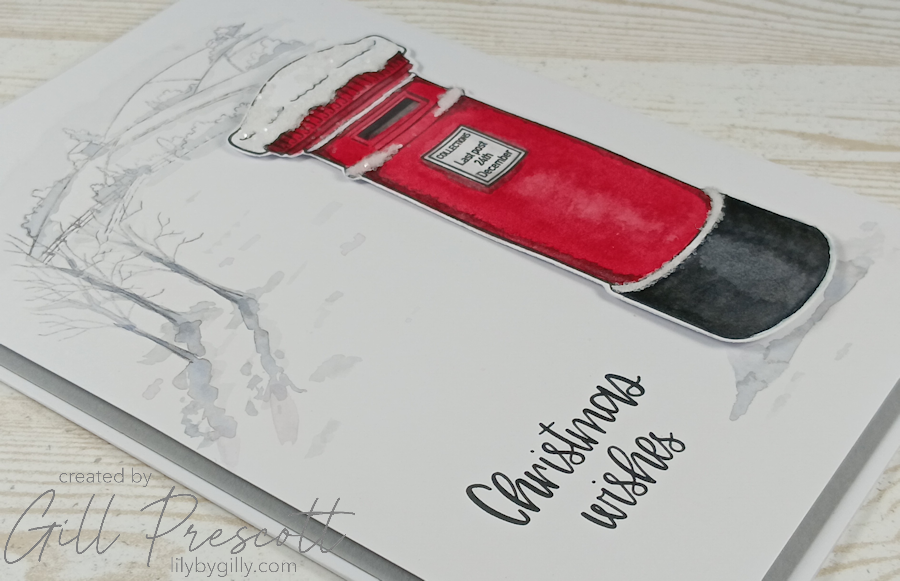
For the main focal point, I turned to the Letter to Santa stamp and die set from Chloe’s Creative Cards. The postbox was stamped onto white cardstock using black waterproof ink and cut out using the matching die. I then carefully painted the image using cadmium red, Payne’s grey and lamp black watercolour paints, leaving the snow-covered areas white.
I really enjoyed adding the colour to this little image. Keeping the background in shades of grey meant that the bright red postbox would stand out beautifully and become the main focus of the card.
Once the paint had dried, I added a little white glitter using liquid adhesive to the areas where snow would naturally have settled on the postbox, using a white posca pen to add a touch more snow where necessary. It’s such a simple detail, but the glitter adds a lovely touch of festive sparkle.
Step 4 – Add the Sentiment and Layers
To finish the main panel, I stamped a greeting from the Confetti Star stamp set by Chloe’s Creative Cards in black ink.
I then cut a pale grey mat to complement the monochrome winter scene and adhered it directly to the white card base. The stamped scenery panel was added on top using foam adhesive, giving the design a little dimension.
I wanted the postbox to have a rounded appearance rather than sitting completely flat against the card, so I gently curled it between my fingers. Foam adhesive was added just to the centre of the postbox diecut and this was then positioned on the card. This allowed the edges to curve slightly down towards the background, giving the postbox a little extra dimension.
Finally, I painted a soft shadow beneath the postbox using Payne’s grey again to help ground it in the snowy landscape.
I love how the red postbox brings the whole design together, with just that little splash of colour against the otherwise grey and white winter scene.
Final Thoughts
I really loved making this week’s card! The Cosy Scenery stamp set by Josh Griffiths Studio is fabulous to work with, and I can’t wait to use it again.
Attending the workshop was such a lovely experience, and it has encouraged me to keep experimenting with watercolours. I still have a long way to go before I achieve Josh’s wonderfully loose and effortless style, but I’m enjoying the journey — even if I do need to learn to put my paintbrush down and stop fiddling!
I think the combination of the soft grey winter scene and the bright red Christmas postbox works beautifully. It also reminded me that inspiration can come from all sorts of places, whether it’s a workshop, a piece of artwork you admire or simply a new stamp set waiting to be inked up.
So, what will you create for Valentina’s Christmas Mailbox Theme Challenge? Perhaps you’ll make a traditional red postbox, a snowy village scene or a little design featuring letters to Santa. There are so many possibilities!
We’d love to see your festive creations in the 52 Christmas Card Throwdown gallery, so do come and join us.
Happy crafting, and happy Christmas card making!


