Hello and welcome.
It’s time for the third challenge of November over at 52 Christmas Card Throwdown, and as I’m hosting all of this month’s challenges, I’ve got another festive theme for you to try. This week, we’re looking for Stained Glass Window designs. I thought this would be a fun opportunity to play with vellum and colour, creating a stained-glass effect without needing lots of complicated techniques.
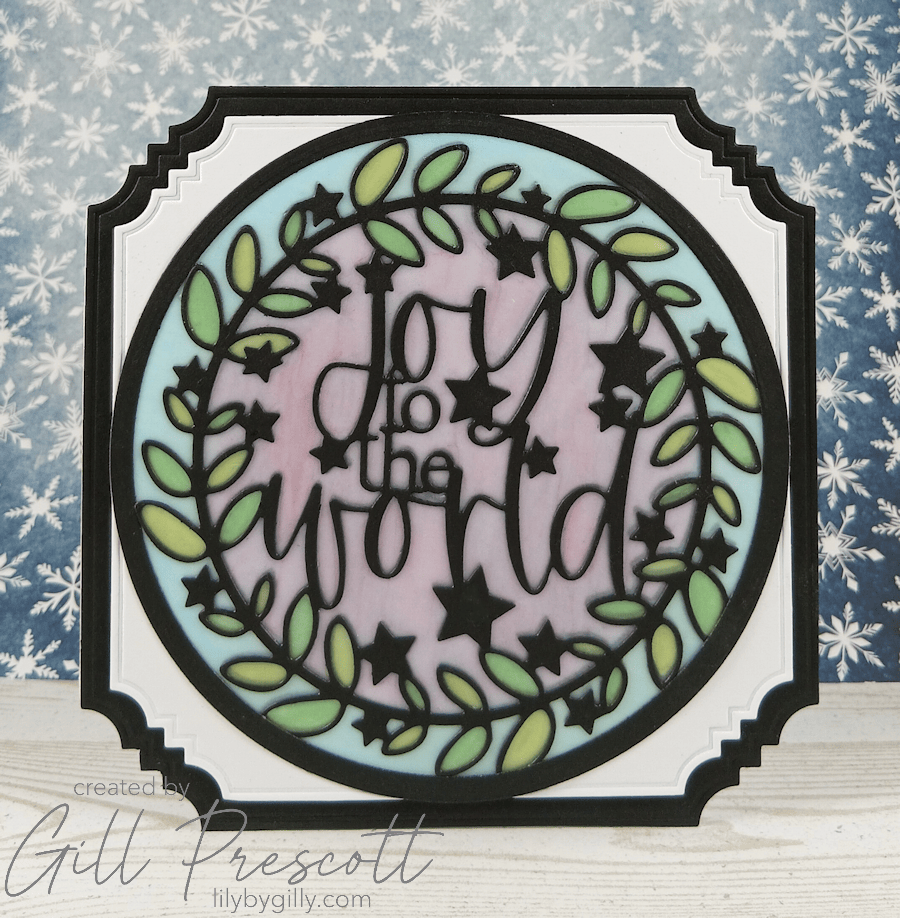
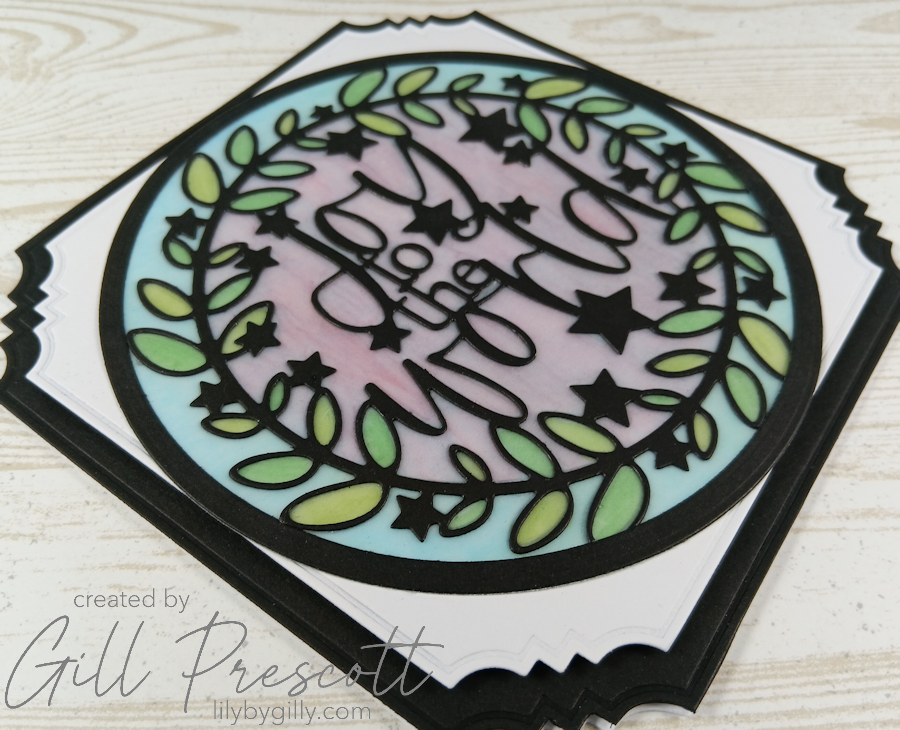
For my Design Team card, I’ve kept things fairly simple, letting the beautiful die-cut sentiment take centre stage. I chose a classic black and white colour combination for the main design, with a little pop of colour shining through the vellum.
Here’s how I made it.
Materials Used
- Cardstock: white, black and vellum
- Dies: Gilded Squares and Joy to the World, Chloe’s Creative Cards; Nested Circles by Clarity Crafts
- Alcohol markers in shades of pink, green and blue
- Liquid and foam adhesive
Step-by-Step Tutorial
Step 1 – Creating the Card Base
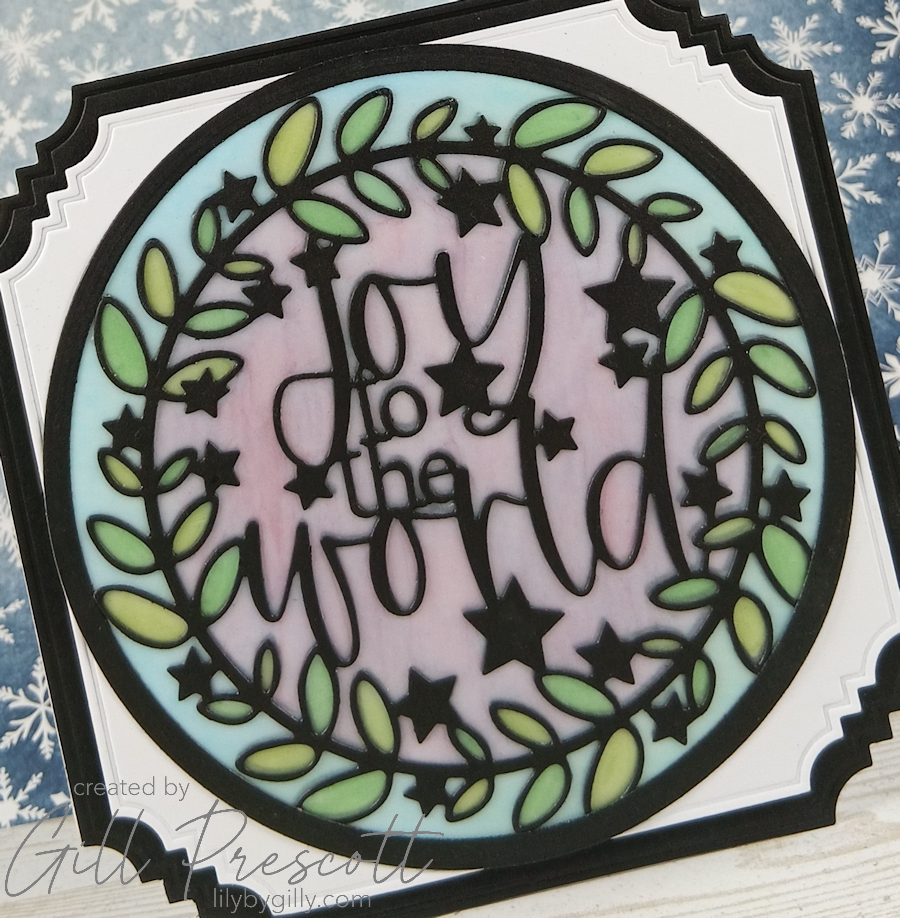
I started with a piece of white cardstock and used a die from Chloe’s Creative Cards Gilded Squares collection to cut the card base. I then used the same die to cut a panel from black cardstock, which I adhered to the front of the card. I love how these dies add an embossed border around the edge of the die-cut. There are 14 nesting dies in this set, the largest being 7.8″, so you need a wide die cutting machine, such as a bigshot plus, to die cut with this. Luckily, I’ve just treated myself to one and can’t wait to make some larger cards, when I have time to play that is!
Step 2 – Adding the White Mat Layer
Using the next size down from the Gilded Squares collection, I die-cut a white panel and attached it to the black background with foam adhesive. This gives the card a lovely layered look and adds a little dimension.
Step 3 – Creating the Focal Panel
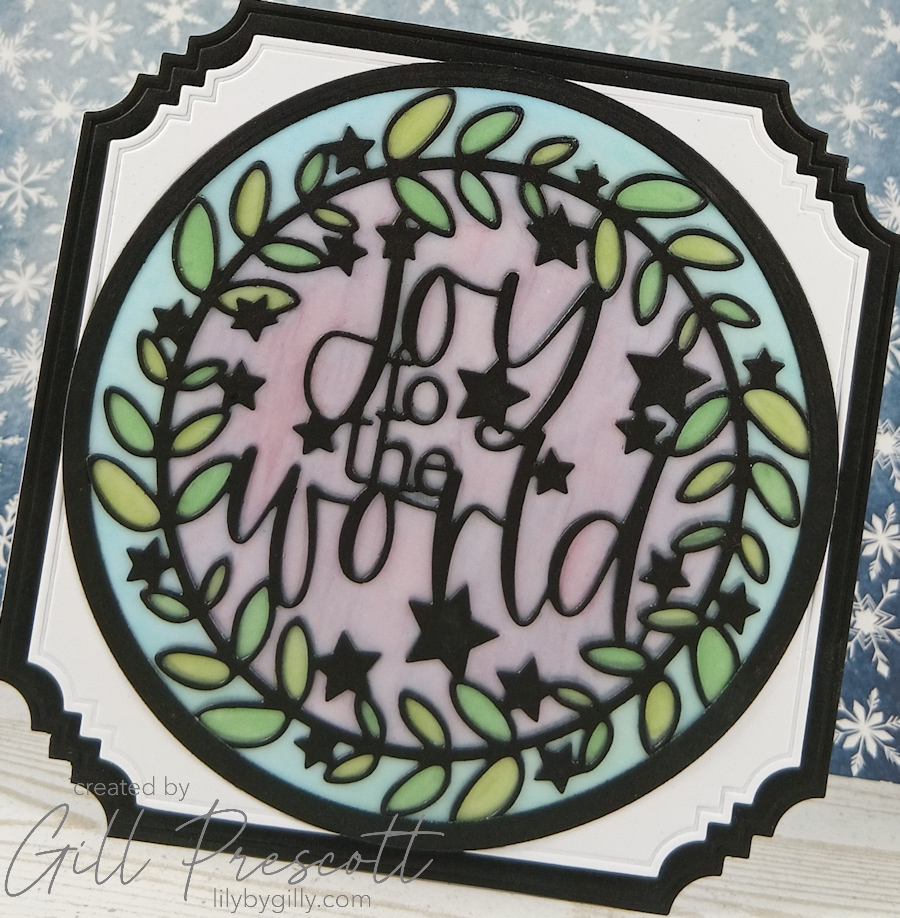
For the focal point, I used the Joy to the World die by Chloe’s Creative Cards die from black cardstock. I then used two nested circle dies by Clarity Crafts to create a narrow black circle frame, which I adhered around the die-cut. Next, I die-cut a circle from vellum using one of the circle dies and attached it to the back of the focal panel.
Step 4 – Adding the Stained Glass Colour
This is where the magic happens! Using alcohol markers in shades of pink, green and blue, I added colour to the reverse side of the vellum. The vellum softens the colours beautifully, giving the impression of light shining through coloured glass.
Once the colouring was complete, I adhered the focal panel to the centre of the card.
Final Thoughts
I really enjoyed experimenting with this technique. The black die-cut frame gives the impression of the leading in a traditional stained-glass window, while the coloured vellum adds those lovely little flashes of colour. I think the contrast between the black and white layers and the colourful centre works really well.
Now it’s your turn! We’d love to see how you interpret our Stained Glass Window theme. Why not have a rummage through your stash, get creative with some colour and join in with this week’s challenge?
As always, do pop over to 52 Christmas Card Throwdown to see what the rest of the Design Team have created for inspiration. I can’t wait to see your festive creations!


