

Hi and welcome to my blog.
Well this week’s challenge at 52 Christmas Card Throwdown had me a bit perplexed! The challenge is to use enamel dots – an easy enough task you would think, except I don’t own any enamel dots! I am very lucky to have lots of different embellishments in my stash, but enamel dots are not amongst them. So what was a girl to do? Make her own of course!
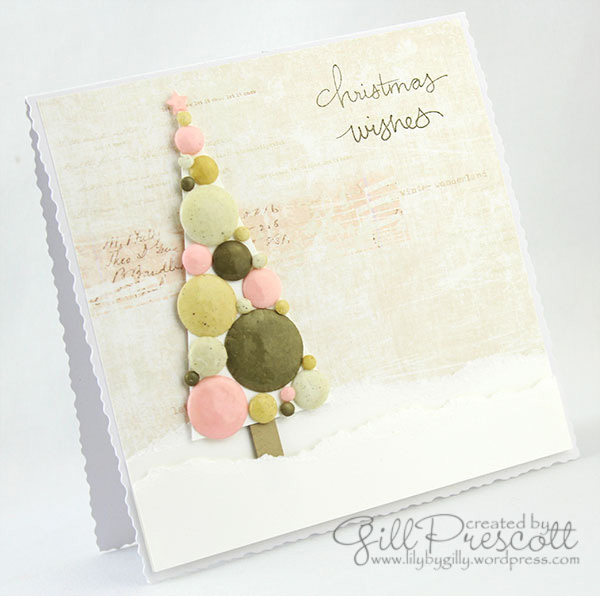
So, with the help of a few punches and some crafting supplies, I soon had enough enamel dots to decorate a whole Christmas tree …
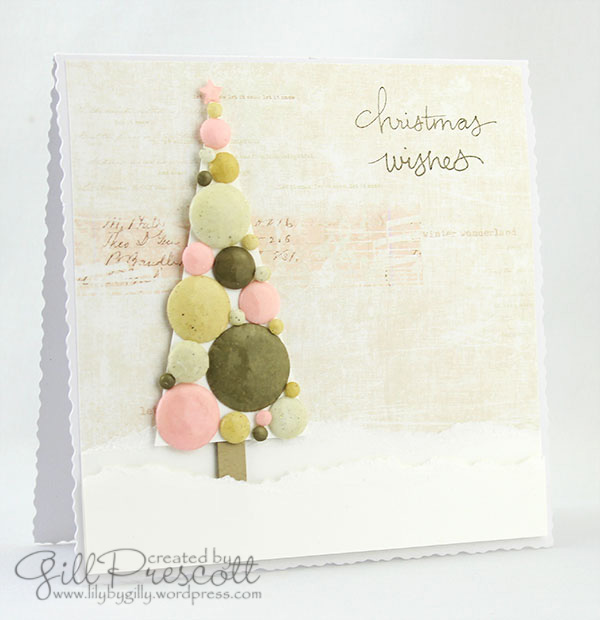
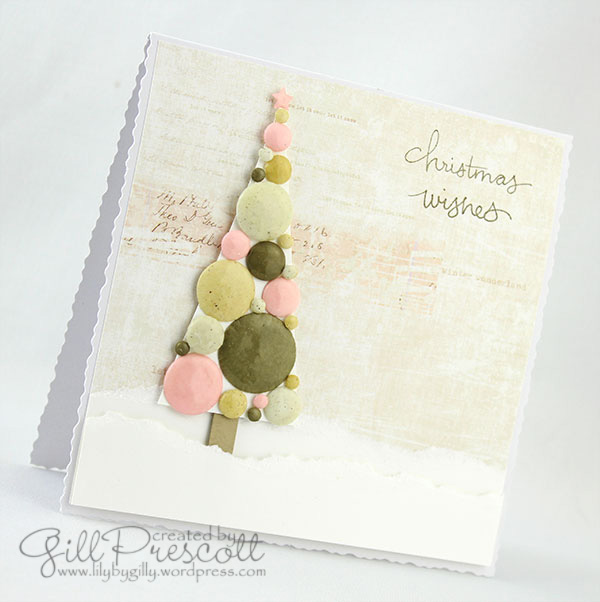
I chose colours from the background paper for my dots …
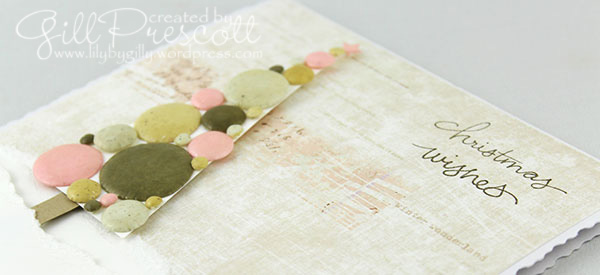
The sentiment, from Endless Wishes, is stamped in early espresso ink – such a pretty font…
How to make your own enamel dots:
- Punch cardstock circles in various sizes using circle punches.
- Cup each circle into a dome using a ball tool in a circular motion on a sponge surface, such as the back of a mouse mat.
- Cover the dots in versamark ink, dip into clear embossing powder and heat with a heat tool. While still hot, dip into the embossing powder and heat again – the second coat of embossing powder will give a more realistic enamel look to the dots.
- Leave to cool then add the dots to your projects with dimensionals.
Tip: it helps to have a tool to hold the cardstock circles for dipping into the embossing powder and heating with the heat tool. I made my own by adding a dab of tombo glue to the end of a cocktail stick and then allowing it to dry. The tombo then becomes a temporary adhesive.
I hope you’ve been inspired to have a go at making your own enamel dots. Do pop by to see what the rest of the Design Team at 52CCT have been up to.
Before I go, I’m delighted to share that last week my card won the Silent Night challenge at Merry Monday! Not only did my card meet with the team’s approval, but I’ve also been invited to join them as Guest Designer for their new challenge to be published on Monday, so do please pop back again soon.

cardstock: whisper white, pink pirouette, sahara sand, naturals ivory and naturals white;
stamp set: endless wishes;
inks: early espresso, versamark;
punches: circle punches in various sizes, star edge punch;
accessories: stampin’ dimensionals, clear embossing powder, heat tool;
additional: background paper from my stash.
All supplies from Stampin’ Up unless otherwise stated.
I love receiving your messages, so if you have any questions, or you just want to say hi, do please leave me a comment.
Thanks for dropping by today


Love your dots Gill, the colours are gorgeous and congratulations on the design team too xxx
I think your Christmas tree is so pretty – the colours are just lovely and go with the paper perfectly. Such a good way to make “enamel” dots of all sizes. Great work.
BTW, it was so nice to see you win at MM last week. Looking forward to next week’s challenge xx
These enamel dots made such a pretty Christmas tree, Gill! This is better than buying them because you can have different sizes and the colors you want! Very clever!
Well done!
I don’t have any enamel dots either so I’m interested to see how you made yours. The effect is lovely and the colours go so well.
I should really have tried harder to come up with something for this challenge – I never even thought of making them this way – I am hanging my head in shame! Your card is stunning – love the colours – Jacqueline xx
Merci pour cette technique Gill, c’est une super idée, et ta création est superbe, j’aime ta déco sur ce sapin, elle est génial, biz
Wow! Your own handmade dots, they look so fabulous in those colours which of course match the DP perfectly. Thanks for the tutorial on how to make them too. Love the pastel shades and the dark green and espresso. This is a brilliant and inspiring card for your DT sample
Louise xx
I love the pastel colours you have used and wow hand made dots too. thanks for the tutorial. Congrats on getting a GD spot and I love the card you made for that too.
hugs
Margaret M
I adore your homemade enamel dots Gill and they look gorgeous decorating the tree in these beautiful colours! Thanks for sharing your tips too. Vicky x
How cool is this? Yet another way to make your own dots. Between you and Peg this week giving us some inspiration, I now have a couple new things to try. This is just fabulous Gill!
Love this tip – thanks so much for sharing. Love to be able to make my own supplies 🙂