

It snowed this week in the north of England, and the first thing my grandson said as I drew back the curtains that morning was “Christmas!” He was one excited little boy making snowballs on the walk to school. As all our minds turn to Christmas and Christmas crafting is in full swing, the 52 Christmas Card Throwdown challenge this week has us diving into our stash with a special focus on ribbon. As a Stampin’ Up! enthusiast, I couldn’t resist creating a festive slimline card featuring some classic favourites: Christmas Pines Stamp Set, A Christmas to Remember, Seasonal Labels Dies, Pretty Pines Thinlits, and the striking Real Red Grosgrain Ribbon.
Here’s how this project came together – a simple yet elegant card perfect for the holidays!
Materials Used:
- Stamps: Christmas Pines, A Christmas to Remember (for the sentiment)
- Dies: Seasonal Labels Dies, Pretty Pines Thinlits (for the foliage)
- Ribbon: Real Red Grosgrain Ribbon
- Cardstock: Basic White, Old Olive
- DSP: I used a piece from my scraps box that just happened to be the right size – must have been meant to be!
- Ink: Old Olive, Certainly Celery, Basic Black
- Other Supplies: Stampin’ Dimensionals, Mini Glue Dots, Adhesive, Half-back Pearls, Sequins
Step-by-Step Instructions:
- Create the Slimline Base
Start with a Basic White slimline card base – mine was a DL base (1/3 of an A4) and measured 8 1/4″ x 4 1/4″ (21cm x 10cm). Slimline cards offer a unique shape, perfect for showcasing ribbon and layers.
- Add Mats and layers
Cut a piece of Old Olive cardstock slightly smaller than the card base. Adhere a piece of dsp cut slightly smaller again. - Add the Real Red Ribbon Feature
Cut a piece of Real Red Grosgrain Ribbon slightly longer than the old olive and dsp panel and adhere it along the length of the card in the centre. I secured mine with tear tape on the back of the panel, and with a Mini Glue Dot on the front in the centre to tack in place.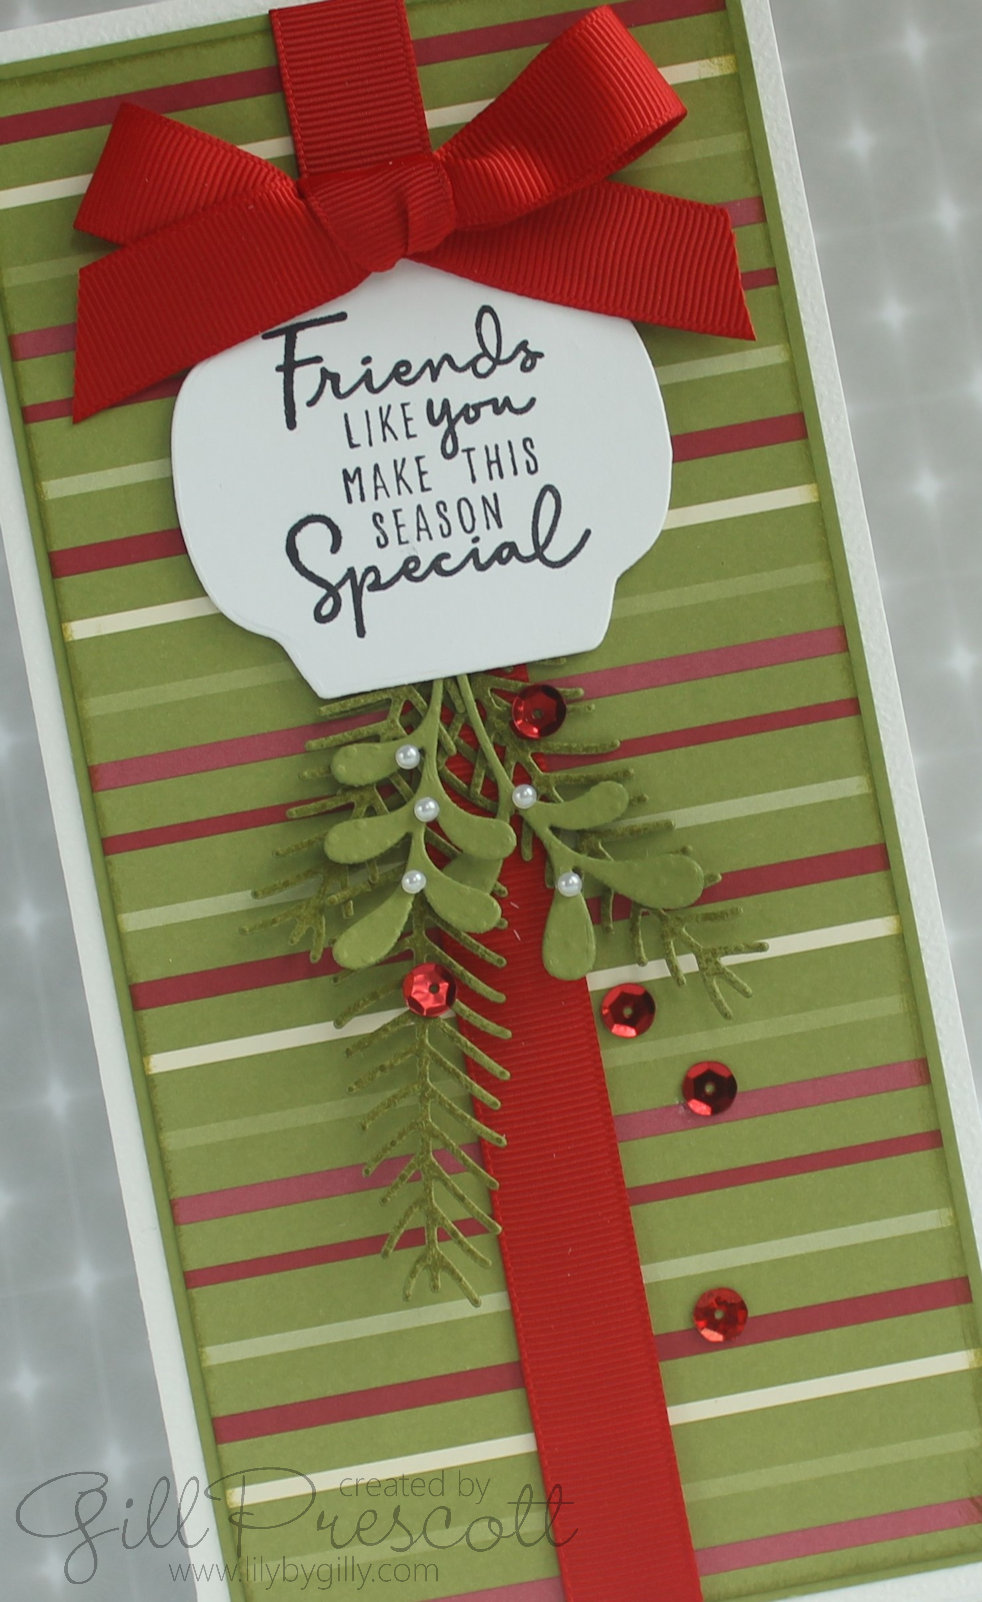
- Die-Cut the Pine Elements
Using the Pretty Pines Thinlits, die-cut pine sprigs and mistletoe from Old Olive cardstock. Sponge the pines with old olive ink to add shading. Layer these elements to create a lush festive cluster. - Layer with Seasonal Labels Dies
Die-cut a label from Basic White cardstock using the Seasonal Labels Dies. Stamp a sentiment from the A Christmas to Remember set in Basic Black ink, and adhere it over the ribbon using Stampin’ Dimensionals for height.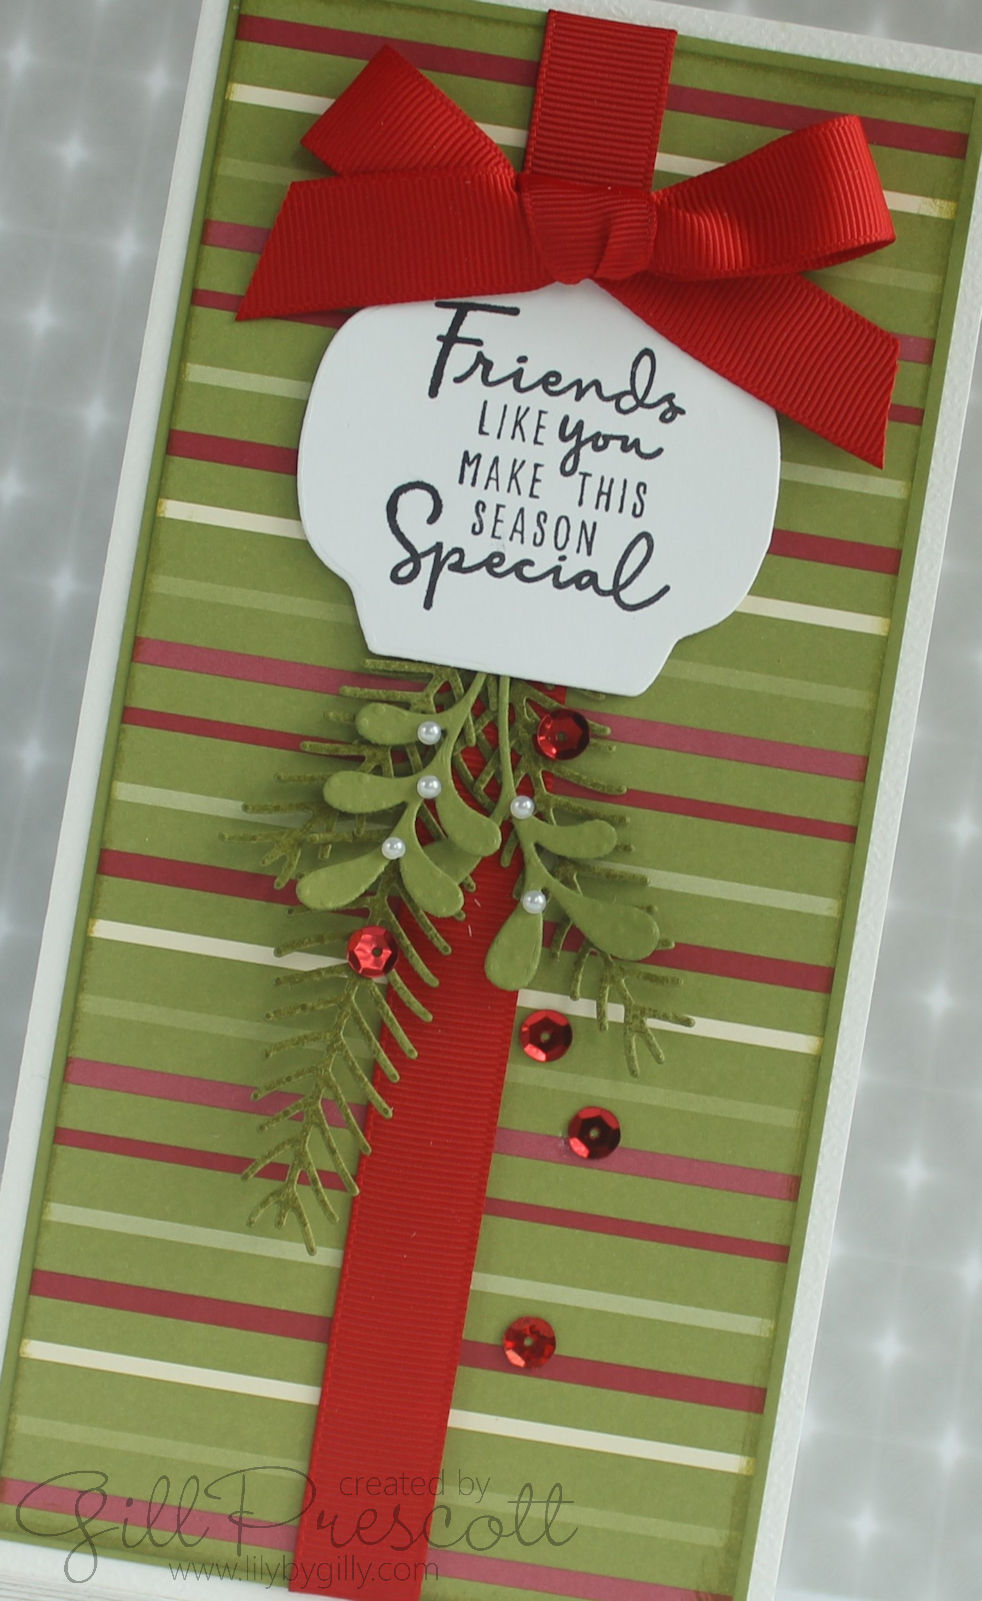
- Finish with Details
Arrange the pine sprigs and pinecones below the sentiment label, securing them with Mini Glue Dots. For extra flair, add small flat-back pearls for the mistletoe berries, and a sprinkling of red sequins to tie in the ribbon’s colour. - Final Touches
To balance the design, adhere a small bow made from the same Real Red Grosgrain Ribbon above the sentiment. Consider adding a touch of shimmer by brushing the foliage with Wink of Stella. I also added mats and stamping to the inside of the card, with a sprinkling of sequins too.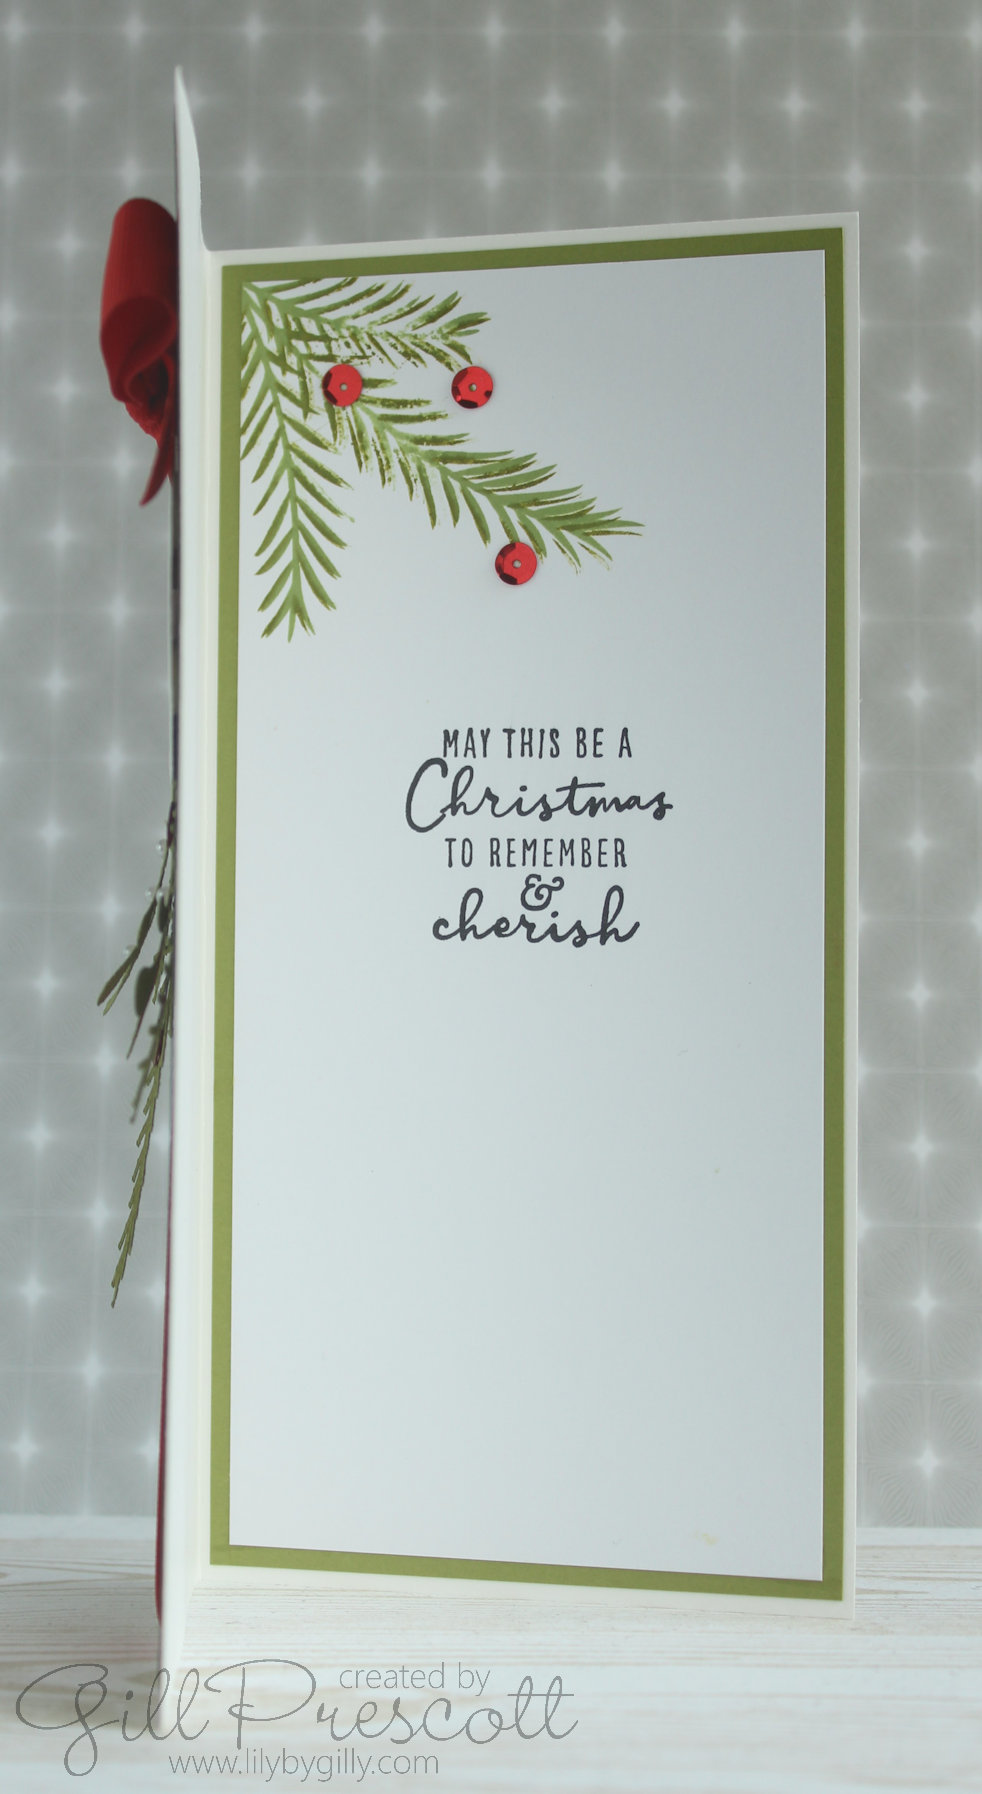
Why This Card Works:
The ribbon truly shines as the star of this project. Its texture and vibrant colour create movement across the card, making it a perfect focal point. By pairing it with the intricate details of the Pretty Pines Thinlits and the timeless elegance of Stampin’ Up! sentiments, this slimline card feels both classic and modern.
This stash challenge was a delightful opportunity to rediscover the beauty of ribbon in cardmaking. Whether you’re creating for a challenge or simply building your Christmas card collection, let ribbon take centre stage for a touch of festive charm!
What’s your favourite way to use ribbon on your cards? Share your creations in the comments below, and don’t forget to join the fun at 52 Christmas Card Throwdown!

very classy, looks like a card wrapped as a present. I also like the inside.
wow Gill, comme toujours tu montes le niveau au degré supérieur, ta carte est superbe, même parfaite, biz