

Hello – it’s time for another 52 Christmas Card Throwdown challenge, and this week’s technique challenge is to make a fractured card.
I have to admit, this was a completely new technique for me. I’d not come across this type of card before and had to research online to find out how to make one. That’s one of the things I love most about technique challenges—they encourage you to try something new, and sometimes you discover a technique you’ll definitely be using again!
For my card, I chose a beautiful piece of vintage-style Christmas designer paper with soft, muted colours. Rather than covering it up, the fractured design allows little glimpses of the paper to peek through, creating a really striking effect. Here’s how I made my Design Team card:
Materials Used
- Cardstock: naturals and very vanilla
- Designer Series Paper: Christmas Flea Market Finds by Cathe Holden
- Black Ink
- Christmas Sentiment Stamp Stampin Up
- Dies: Holiday Blooms, Spellbinders; Ribbon layering dies, Craft Addiction UK
- White Glitter
- Adhesive: Liquid Glue, Glue Dots
- Three Tiny Silver Bells
- Red Twine
Step 1: Choose Your Designer Paper
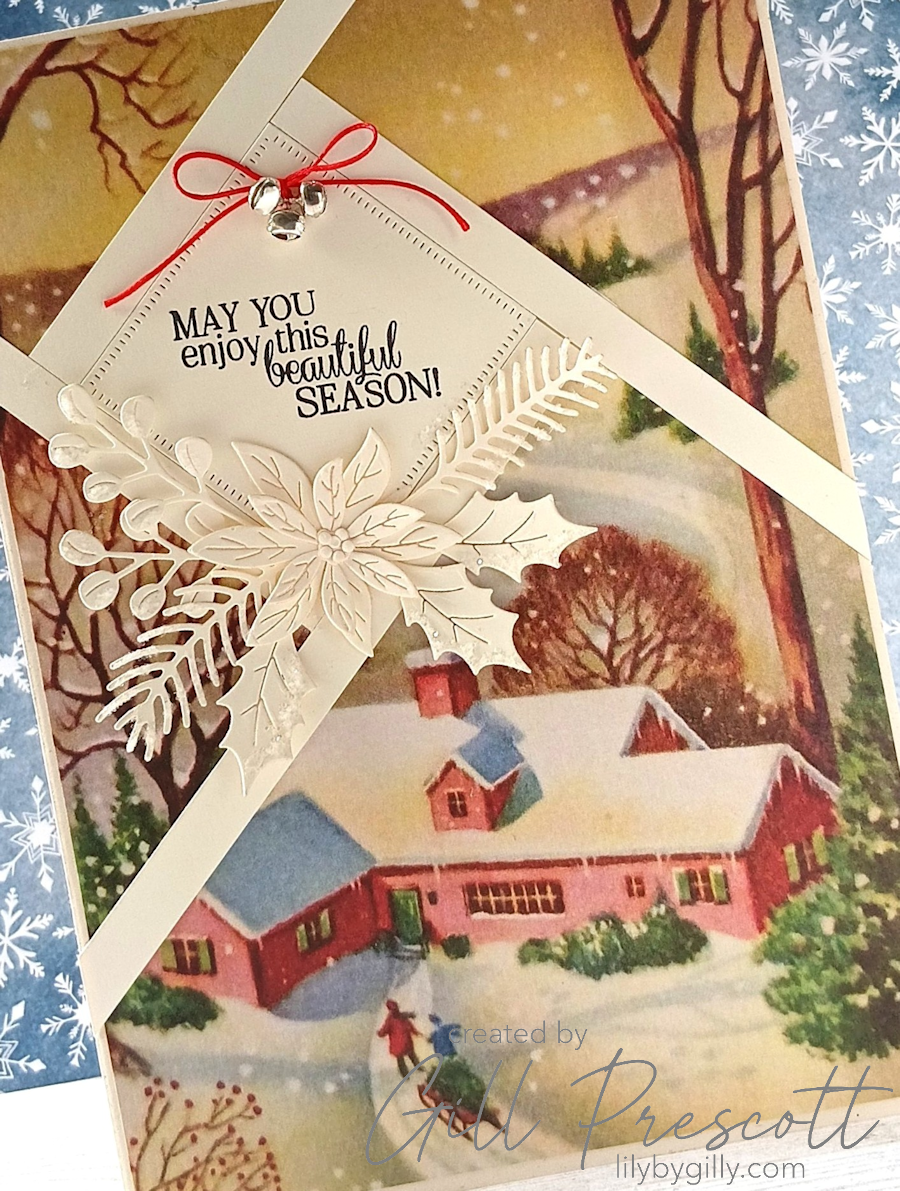
The fractured card technique works best with a paper that has an interesting design, so I began by choosing a sheet of designer paper featuring a vintage Christmas scene.
I love the muted, nostalgic colours and traditional feel of this paper. It immediately gives the card a timeless elegance and provides plenty of visual interest without needing lots of additional embellishments.
Step 2: Create the Fractured Design
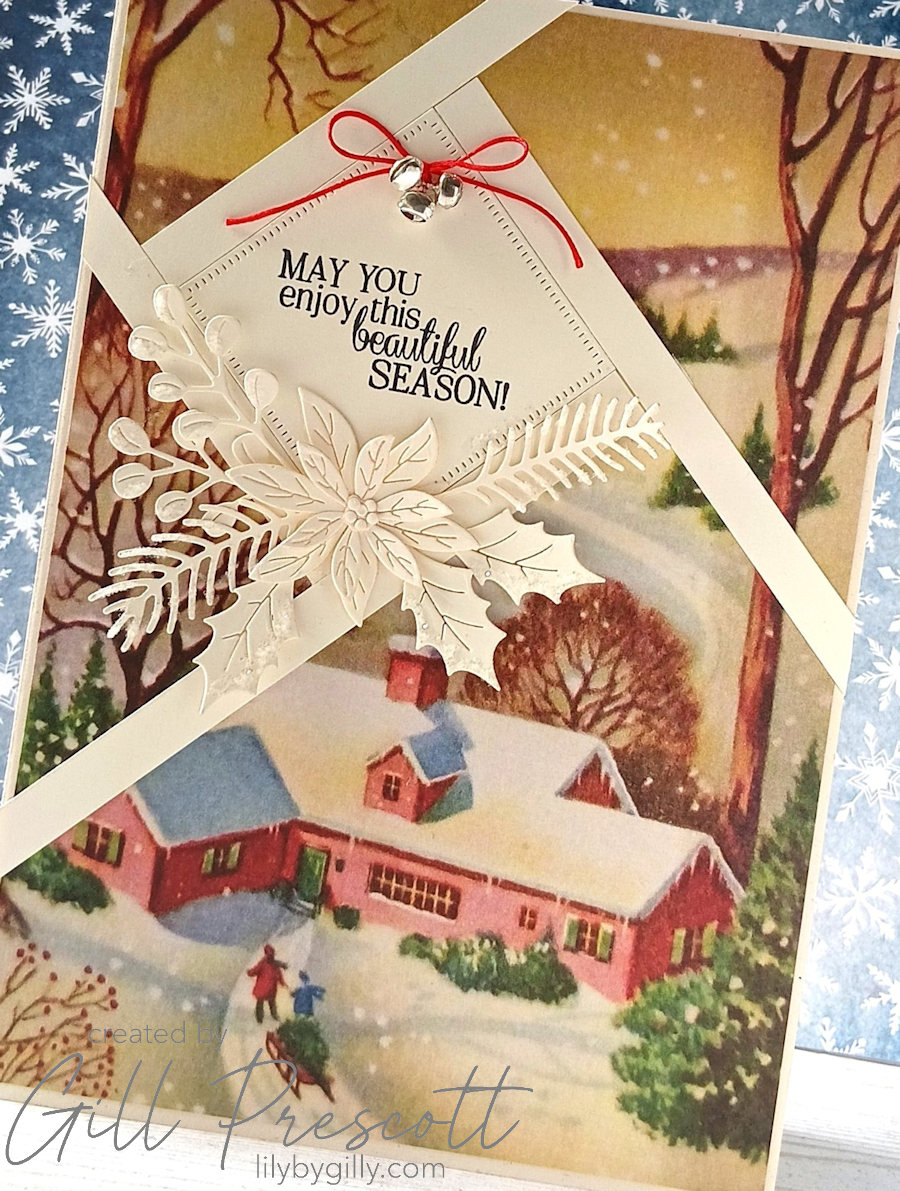
To complement the vintage paper, I chose Very Vanilla cardstock rather than bright white.
Using very vanilla cardstock, I created the centre square using one of the ribbon layering dies by Craft Addiction UK. I then cut narrow strips that form the characteristic fractured design.
I really love how these clean strips divide the patterned paper into sections, almost like looking through the panes of an old window. It’s a clever technique that looks far more complicated than it actually is!
Step 3: Add the Sentiment
Once the centre square was in place, I stamped a festive greeting in black ink.
Keeping the sentiment simple allows the fractured background and decorative embellishments to remain the stars of the show.
Step 4: Create the Floral Embellishment
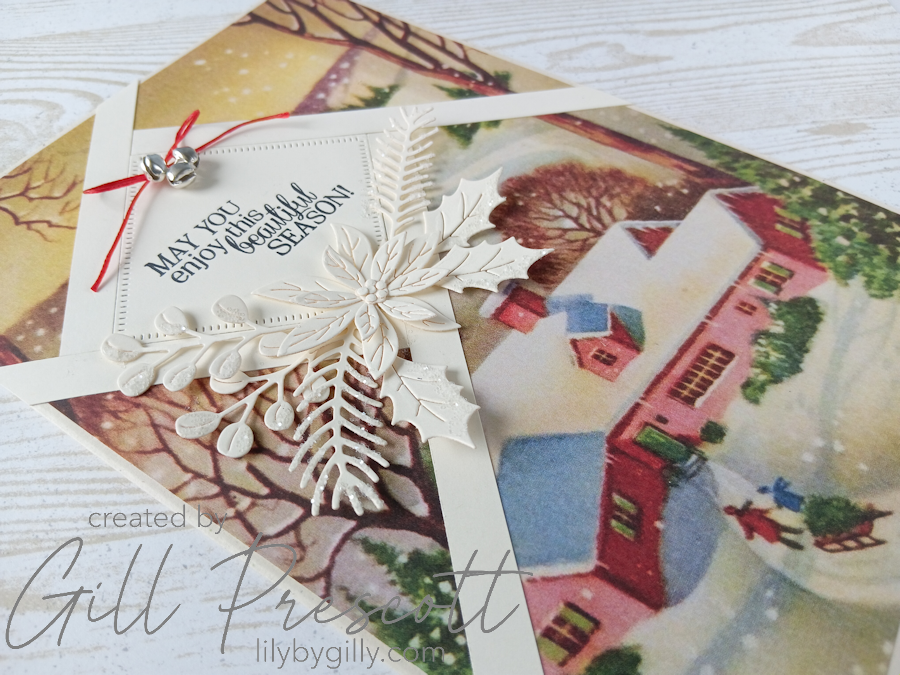
To decorate the sentiment panel, I die cut a poinsettia together with several pieces of festive foliage from Very Vanilla cardstock. Before assembling the arrangement, I added tiny dots of liquid adhesive around the edges and sprinkled on white glitter. This gives the die cuts a beautiful frosted appearance, adding subtle sparkle while still keeping with the soft vintage feel of the card.
The finished floral cluster was then arranged beneath the sentiment and adhered in place.
Step 5: Add the Finishing Touches
For my final embellishment, I tied three tiny silver bells together using red twine, finishing with a neat little bow. The bell cluster was adhered above the sentiment using a Glue Dot.
I love the way this small detail introduces a little texture and a touch of festive charm without overpowering the rest of the design.

Final Thoughts
I thoroughly enjoyed trying this technique for the first time and was pleasantly surprised by how straightforward it was to create. It’s one of those designs that looks wonderfully intricate, yet it’s really just a clever arrangement of paper and cardstock.
Pairing the fractured layout with vintage-style designer paper and soft Very Vanilla cardstock gives the finished card a classic, elegant feel that reminds me of old-fashioned Christmas cards from years gone by. The frosted poinsettia and tiny silver bells add just enough sparkle and texture to complete the design.
If you’ve never made a fractured card before, I’d definitely encourage you to give it a go. It’s a fantastic way to showcase your favourite patterned papers and is a technique that’s sure to impress family and friends.
Why not join us this week over at 52 Christmas Card Throwdown? We’d love to see your take on this fun technique, and don’t forget to check out all the fabulous inspiration from the rest of the Design Team.
Happy crafting!


I can hear Bing Crosby singing White Christmas looking at this card…magical.
This is probably one of the most beautiful cards I have ever seen! I wish that paper was still available, I love it! Although I could possibly find a postcard on her site that I could use! The poinsettia is gorgeous as well! You did a great job of putting this all together!
oh wow Gill, quelle magnifique façon de réaliser cette technique, j’adore ce que tu en as fait, biz