
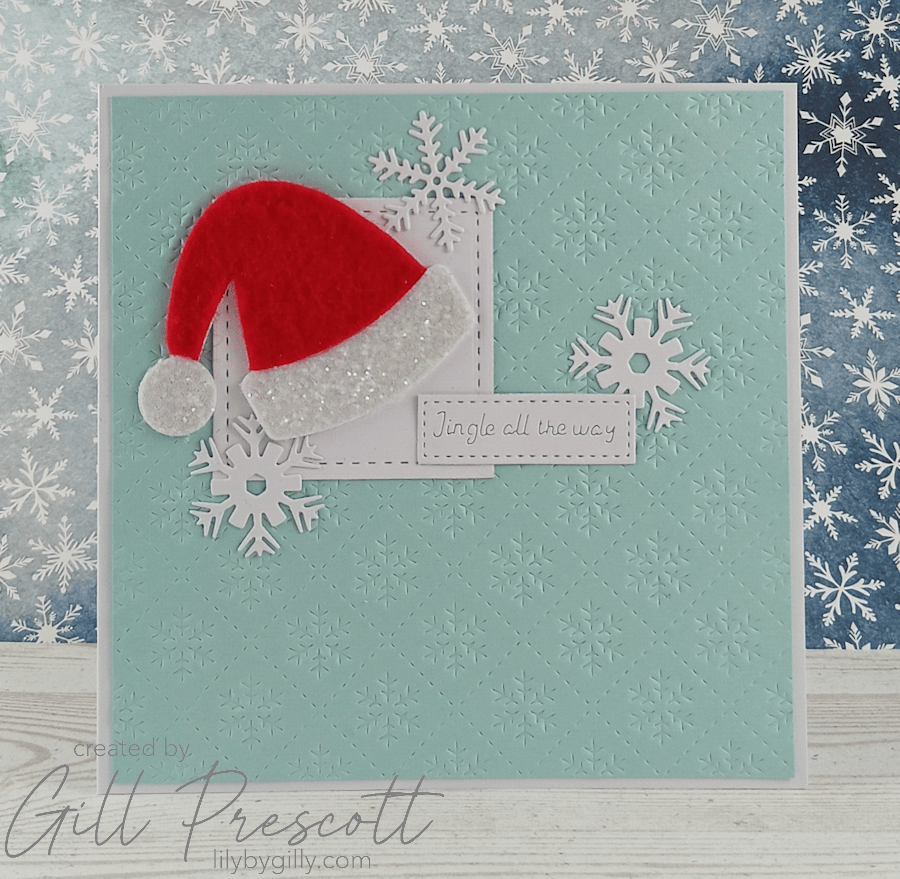
Hello, crafty friends! It’s time for another 52 Christmas Card Throwdown challenge, and this week we’re back with a new Sketch Challenge. I do love a good sketch. It takes away the “where on earth do I start?” moment and gives you a great starting point for creating your card, while still leaving plenty of room to add your own style and favourite crafty goodies.
I’d recently treated myself to some dies from the new Christmas release at Craft Addiction UK, so this was the perfect opportunity to have a play with them. And, as soon as I saw the sketch, I knew I wanted to include one of the cute little Santa hats from the Festive Hat Builder die set.
Here’s how I made my Design Team card.
Materials Used
- Cardstock: white, pool party
- Dies: snowflake cover plate, slatted square collection, festive hat builder, mini Christmas tags, large Christmas cracker, all by Craft Addiction UK
- Additional: red and white felt, white glitter
- Liquid adhesive
- Die-cutting machine
Step 1 – Create the Card Base
I started with a 5¾” square white card base.
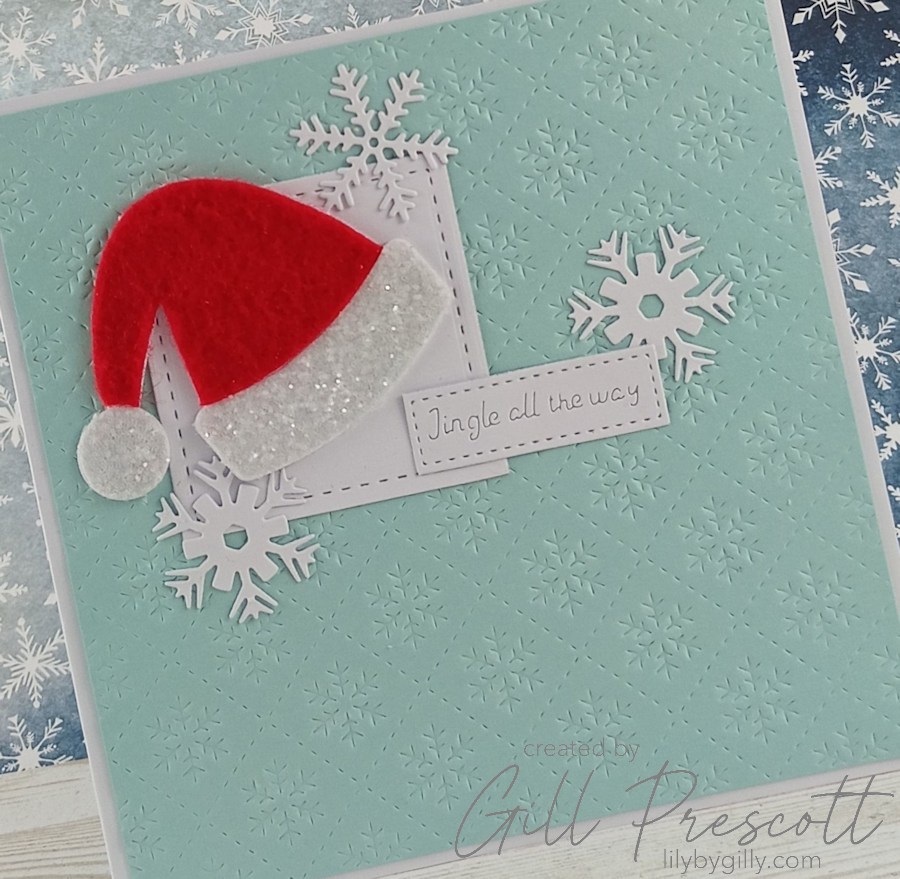
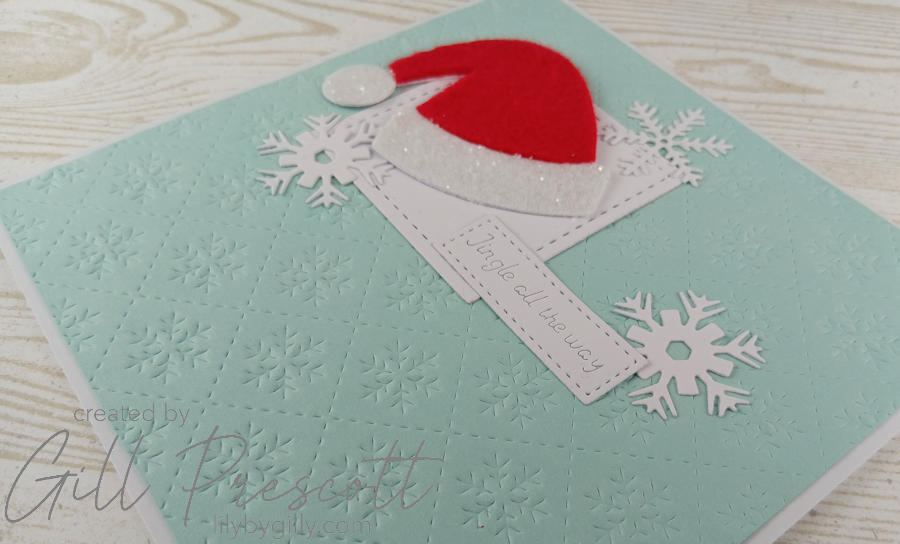
For the matting layer, I chose some Pool Party cardstock cut slightly smaller than the base card and embossed it using the Snowflake Cover Plate die.
I love using a cover plate like this because it adds lots of texture without making the card too busy. The soft Pool Party colour also gives the card a lovely frosty Christmas feel.
Step 2 – Create the White Centre Panel
For the main white panel, I used the Slatted Square Collection dies.
I chose the outer die together with the stitched detail, which creates a lovely subtle border around the panel.
The stitched edge adds just enough detail to define the white panel against the Pool Party snowflake background without taking away from the focal point.
Step 3 – Make the Santa Hat
Now it was time to play with one of my new dies!
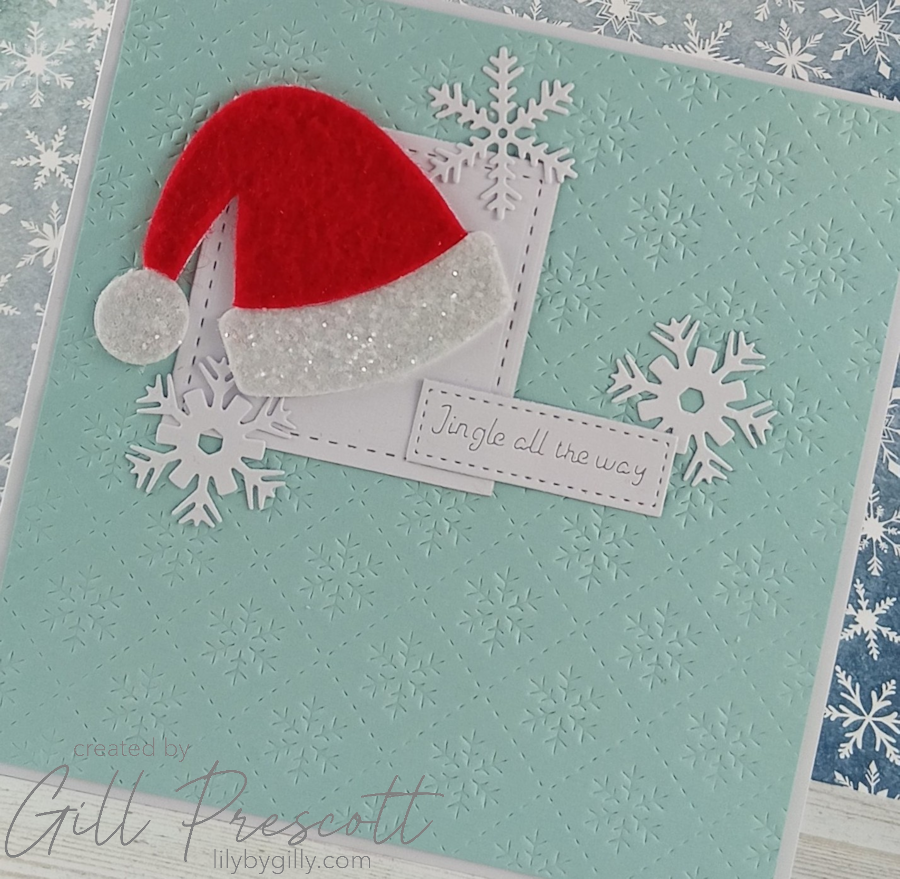
I used the Festive Hat Builder die to cut the Santa hat shape from white cardstock. I then die cut it again from red and white felt.
I wasn’t quite sure how well the dies would cut felt, but they cut through it no problem at all! It was such a satisfying little discovery. I adhered the felt pieces to the white cardstock hat shape, which gave the felt a little more stability and made the finished hat much easier to handle and attach to the card.
Step 4 – Add Some Sparkle
Of course, no Santa hat would be complete without a little sparkle! I added some liquid adhesive to the white felt brim and bobble of the hat and sprinkled over some white glitter. Once the excess glitter was tapped away, I was left with a lovely sparkly finish that makes the hat look just a little more festive.
I do think a Santa hat is one of those things that simply demands a bit of sparkle!
Step 5 – Create the Sentiment and Snowflakes
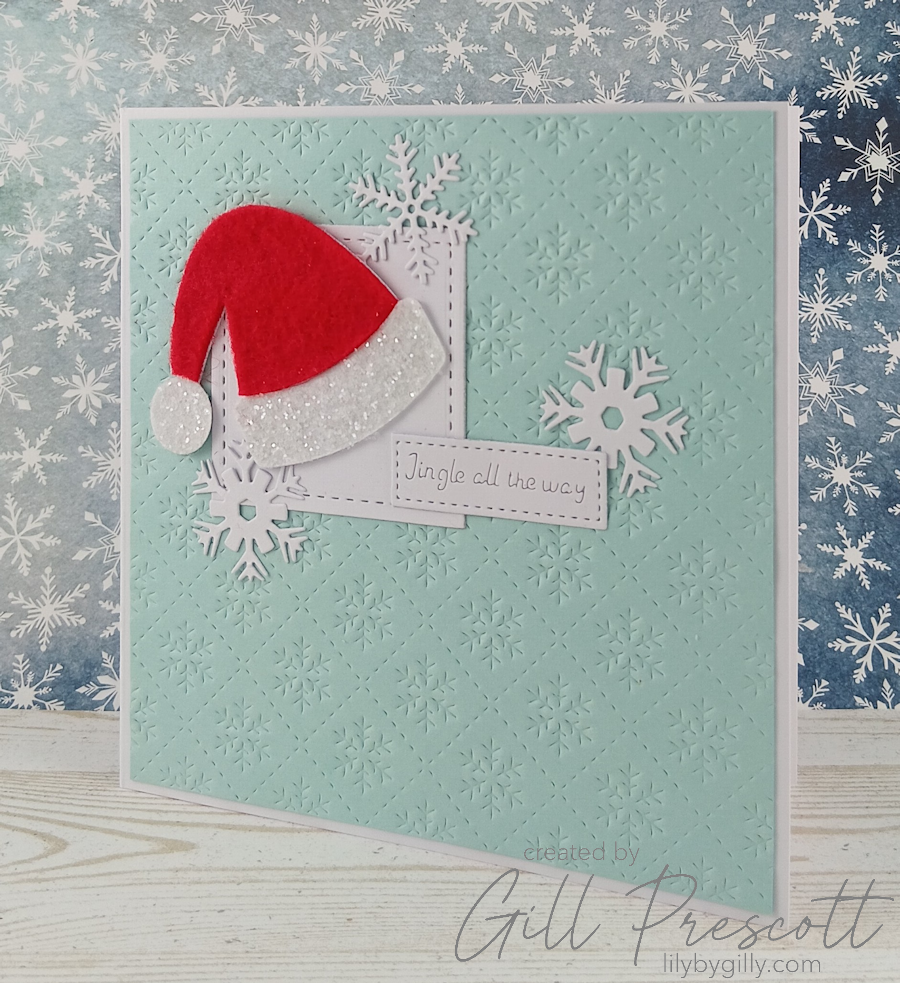
For the sentiment, I used one of the long tag dies from the Mini Christmas Tags set. I cut and embossed the tag with a sentiment to give it some extra texture and detail. The die actually cuts a tag shape with a hole for ribbon or string, but I trimmed this off with my paper snips to give a clean line and to match the sketch.
I also die cut three snowflakes from white cardstock to use as embellishments. Two were cut using dies from the Christmas Cracker die set and the third came from the Mini Christmas Tags set.
Using different snowflake designs adds a little variety while keeping the embellishments coordinated.
Step 6 – Put It All Together
Finally, it was time to bring all the elements together.
I adhered the stitched white square, Santa hat and sentiment tag onto the card, following the layout of this week’s sketch.
I then added the three white snowflakes around the design as embellishments.
The finished card has lots of lovely texture from the embossed snowflake background, stitched panel, felt Santa hat and embossed sentiment tag, with just a touch of glitter to catch the light.
Final Thoughts
I really enjoyed making this card, and it was lovely to finally get my new Craft Addiction UK Christmas dies out and have a play with them. There’s something rather satisfying about opening a new set of Christmas dies and discovering all the different ways you can use them!
I particularly love the little felt Santa hat. The fact that the dies cut through the felt so easily was a real bonus, and I think the soft texture makes the hat feel extra special.
And, of course, a little sprinkling of white glitter on the brim and bobble was the perfect finishing touch.
Why not take a look at this week’s 52 Christmas Card Throwdown Sketch Challenge and see where the sketch takes you? Remember, you don’t have to follow it absolutely literally — use it as a starting point and add your own twist.
We’d love to see your Christmas creations in the gallery!
Happy crafting and happy Christmas card making!


Mir gefällt der geprägte Hintergrund ausgesprochen gut und auch deine Farbwahl! Der Kontrast, den du mit dem Hut erzielt hast, passt perfekt für Weihnachten. Liebe Grüße
I really like the embossed background and your choice of colors, too! The contrast you achieved with the hat is perfect for Christmas. Best regards.
ELFi
Fab card Gill! Love that Santa hat – great idea to cut it out of felt.
elle est si jolie et fraiche Gill, j’aime ce combo rouge bleu pâle et blanc, biz
She’s so pretty and fresh, Gill. I love this red, pale blue, and white combo. Kisses.
Gill, you did such a perfect pretty and lovely Christmas Card with Santa’s hat. Just some sperkles and the card look perfect! So happy that you like my simple sketch that bring so much creativity for you card. I’m really glad to enjoy crafting with you! ♥